Between The Buttons

Caught a few interesting pieces this past weekend. Loading them out of a hundred degree warehouse wasn’t a treat, but it was worth the effort.

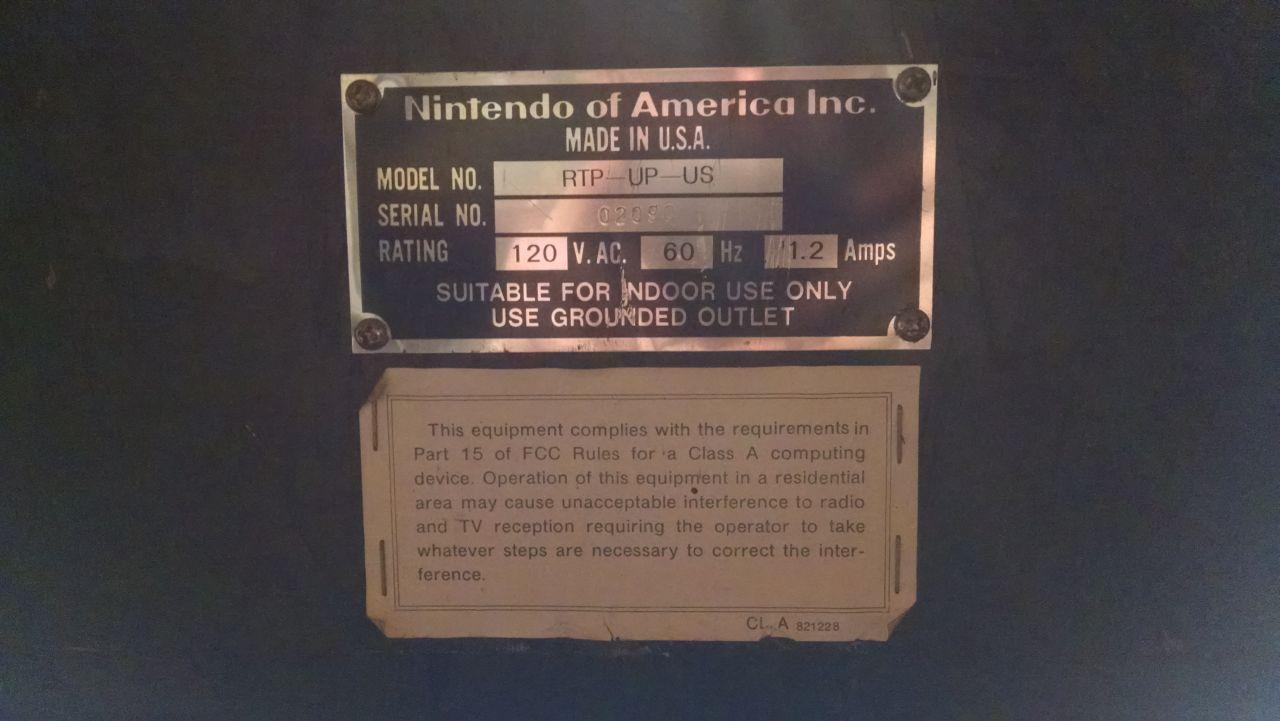
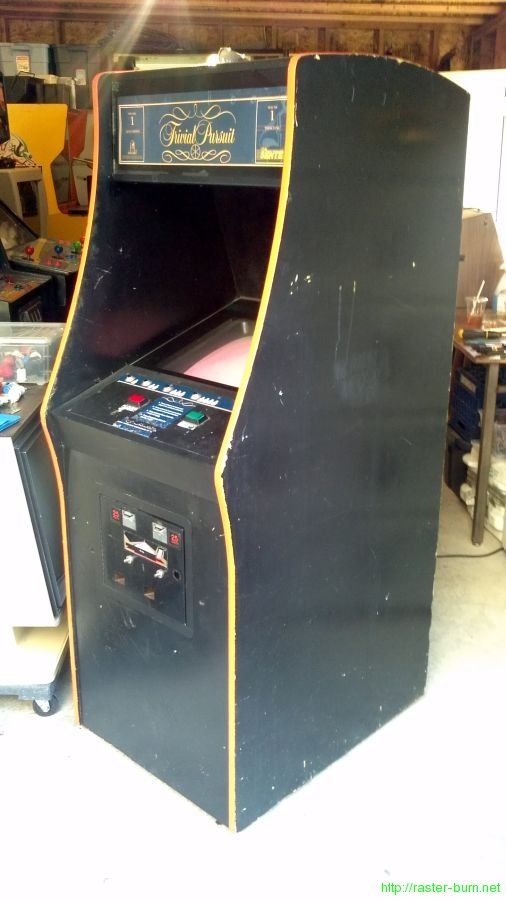
First is what started as a dedicated Nintendo R-Type upright. Serial number is quite low, but it wasn’t exactly a common game either.

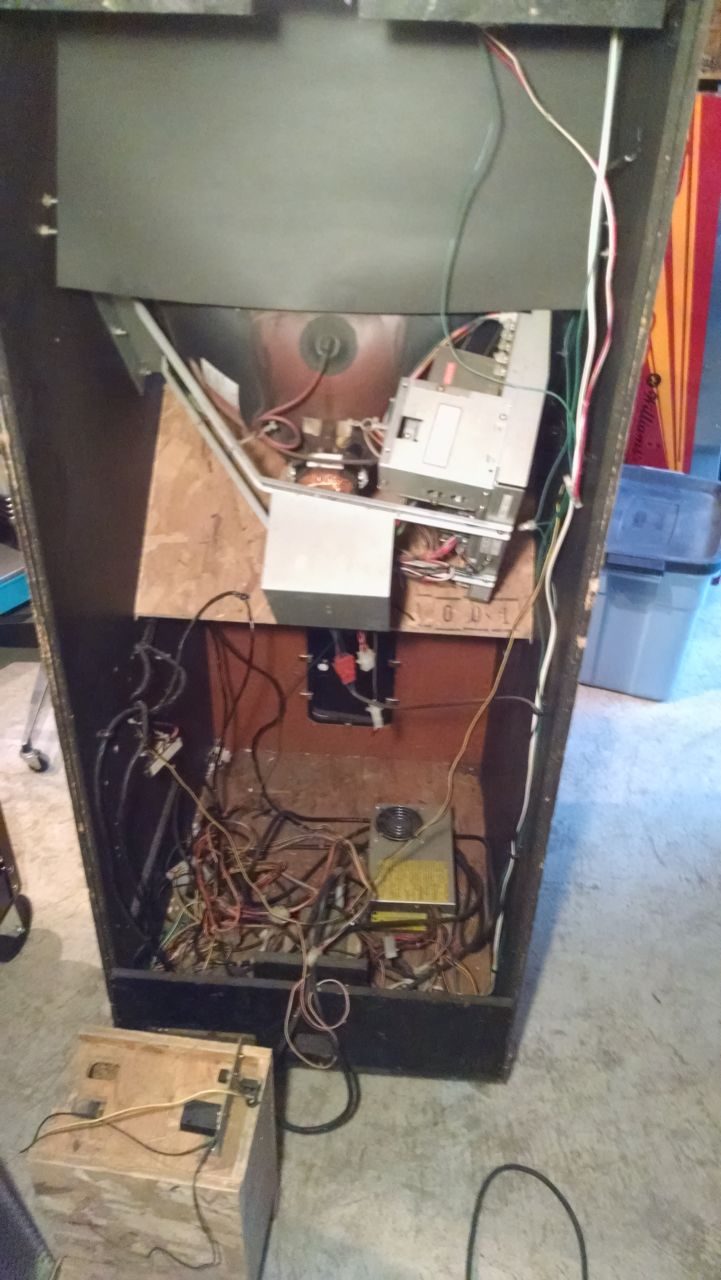
At some point it received a conversion to Golden Axe 2 that looks a lot messier than it is. The wiring was all terminated nicely so I can clip a Nintendo harness right back into place on the original connectors that were left intact. The coin door and vault were pretty messed up or absent but I’ve got spares I salvaged from some destroyed cabs at another warehouse years ago that will be a good match.

With some cleaning and the installation of a few parts it’s already looking most of the way there.


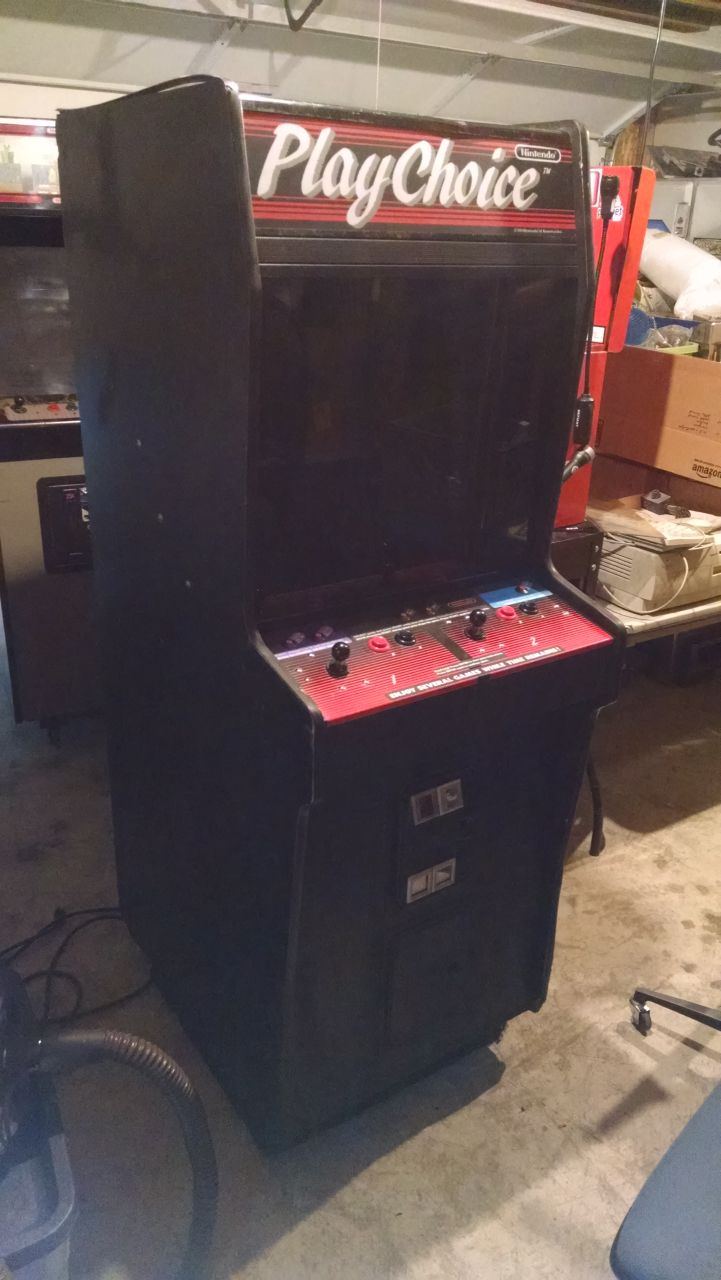
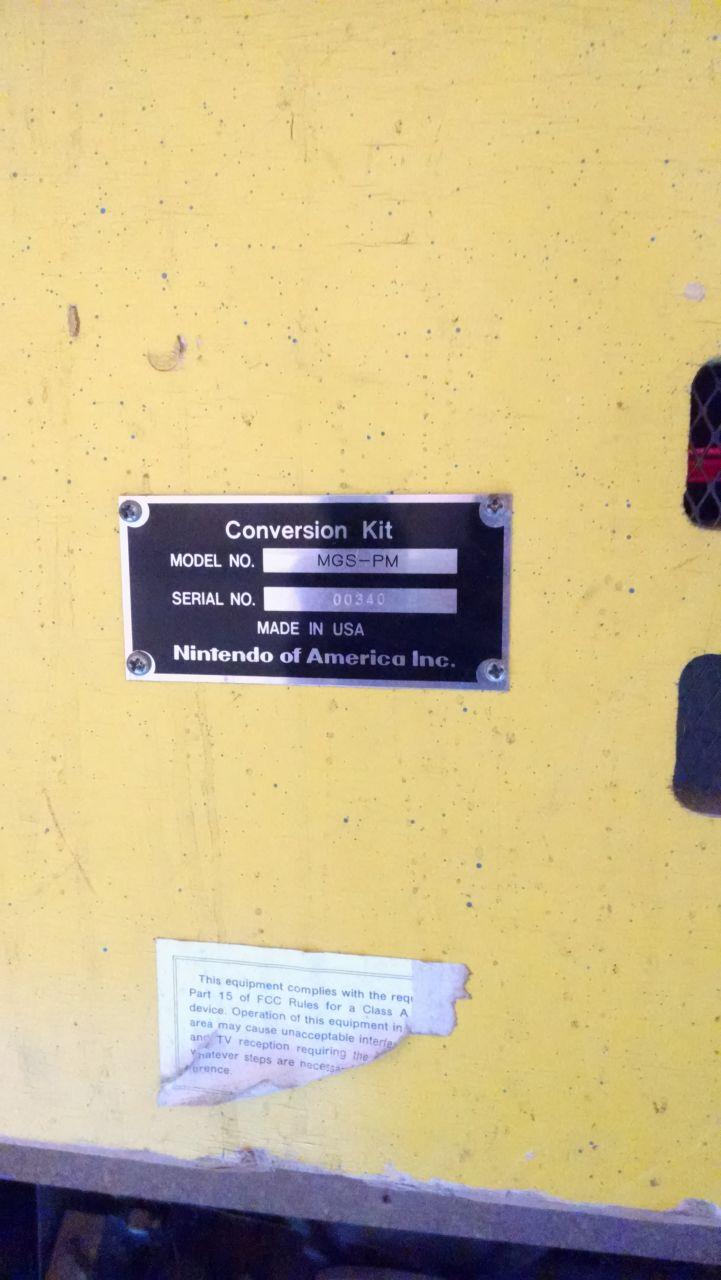
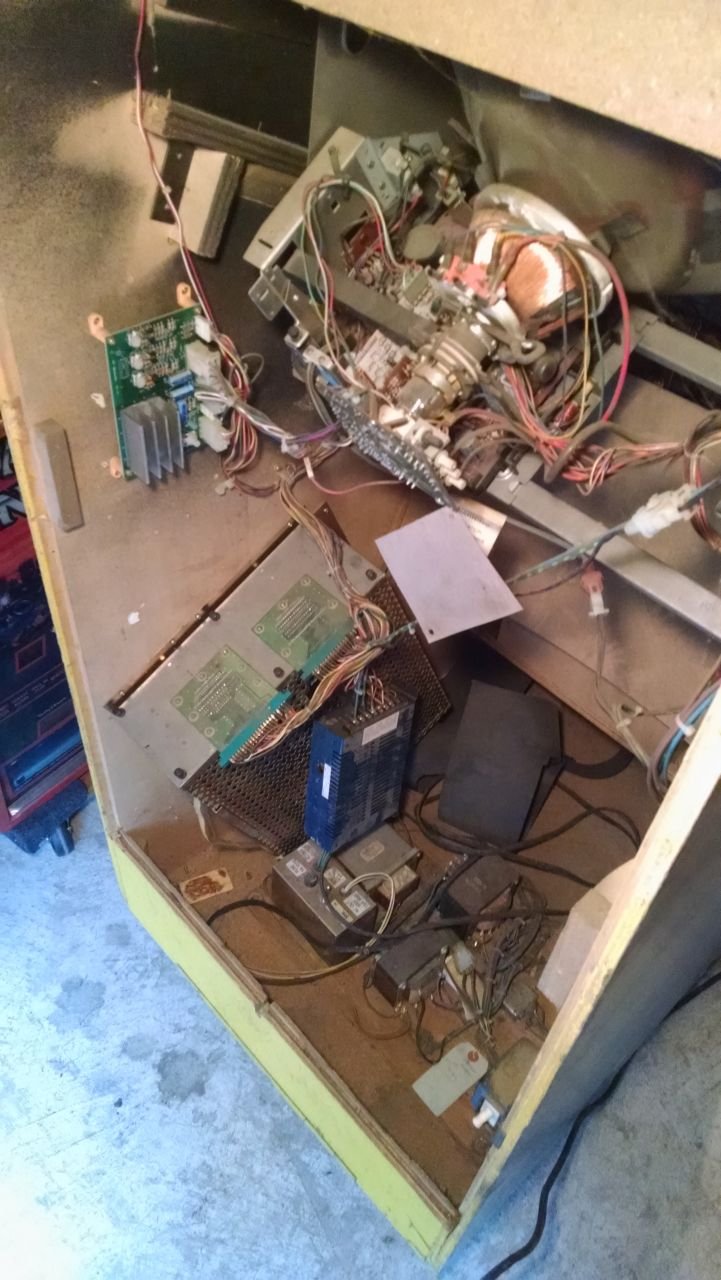
The second grab is another example of the purpose designed conversion kits that many manufacturers put out for the ubiquitous Pac Man and Ms Pac Man as they got on in years and stopped earning once the fever around those titles broke.

It’s a Nintendo conversion kit for the Vs. multi-game system. Similar in character to the Bally Sente conversion kit for these cabs, it takes a different approach to reconfiguring the monitor orientation and changing out the control panel.

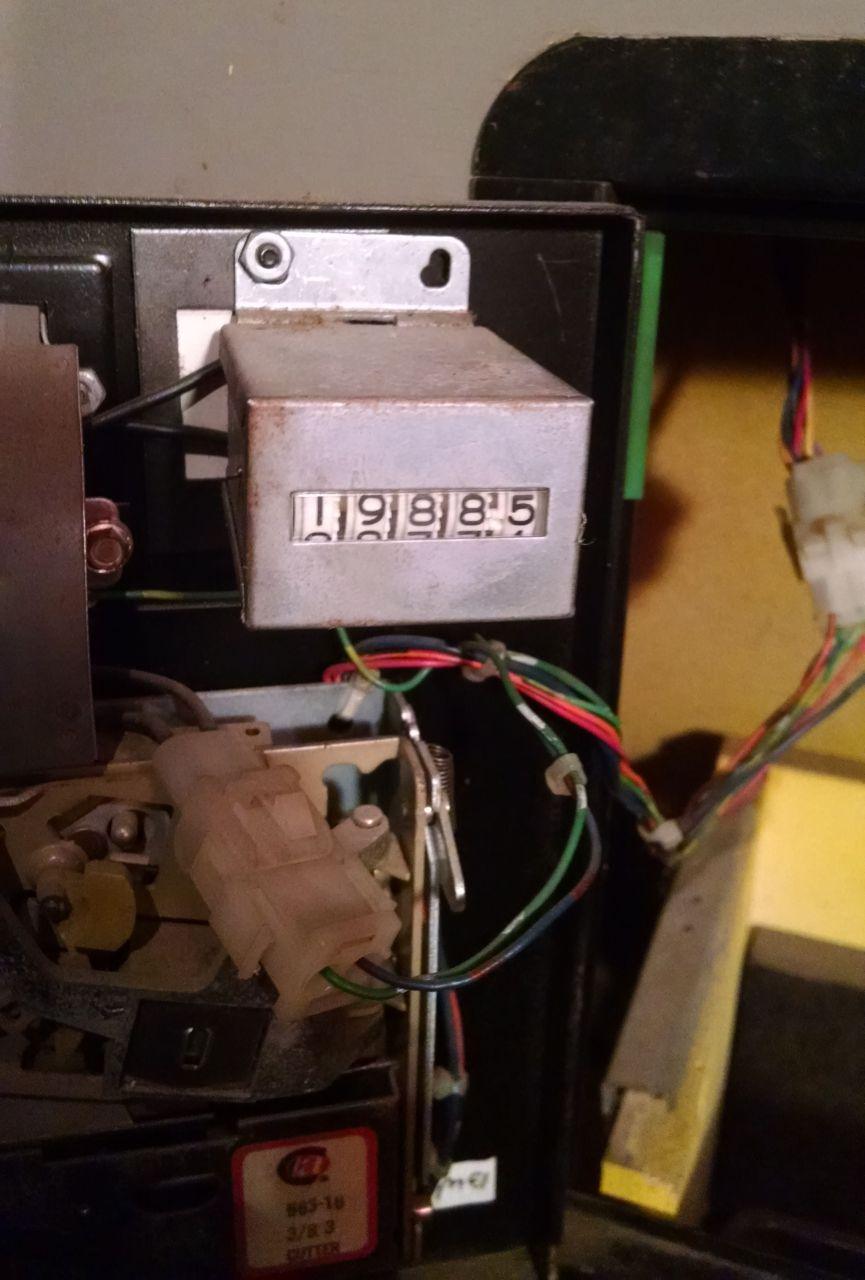
This one clearly earned its keep as Pac Man before the transformation with almost twenty thousand plays on the clock, likely paying for itself twice over in its original incarnation.

The conversion was quite cleanly executed, though the Nintendo switching power supply has at some point been swapped for a generic model which was left hanging against the PCB cage.

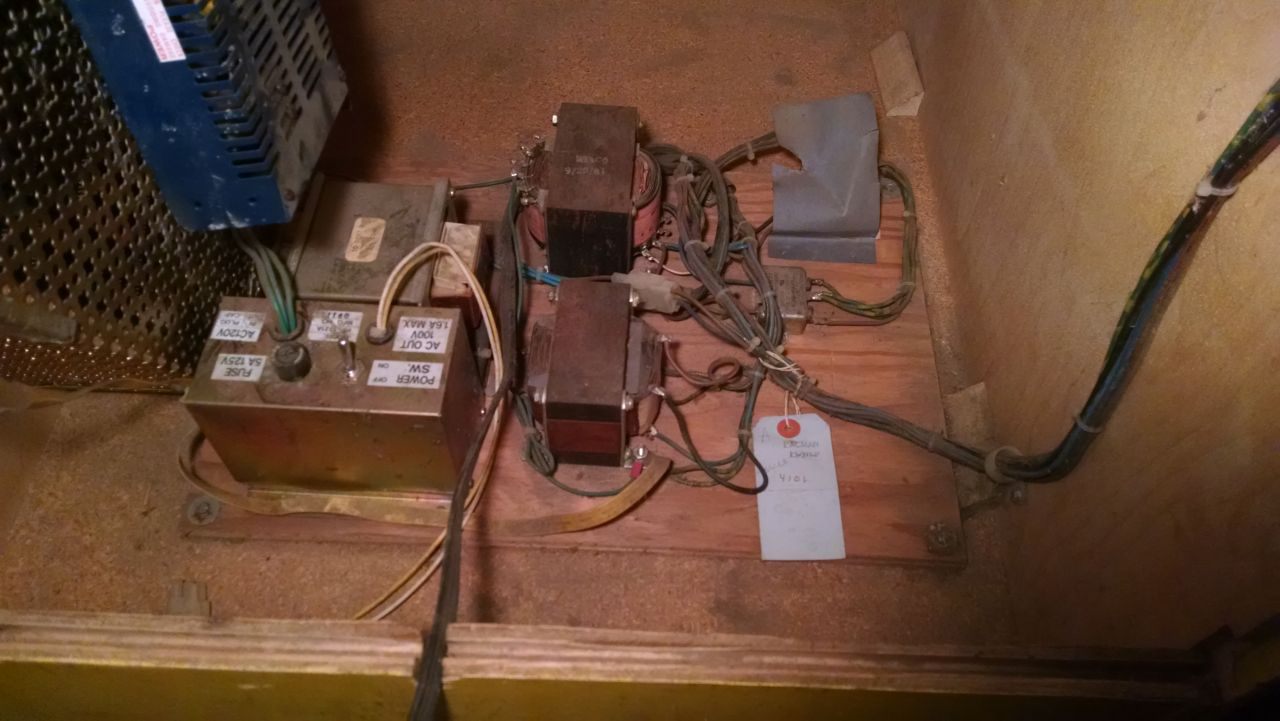
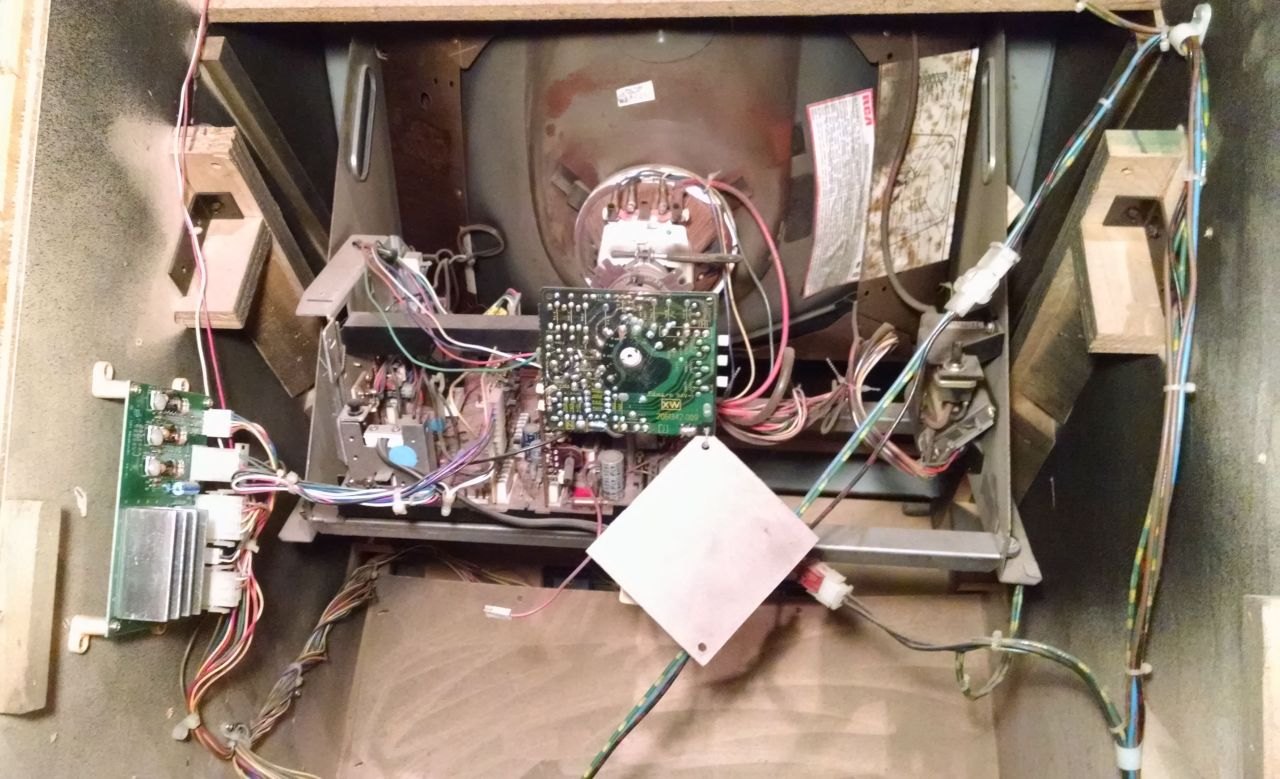
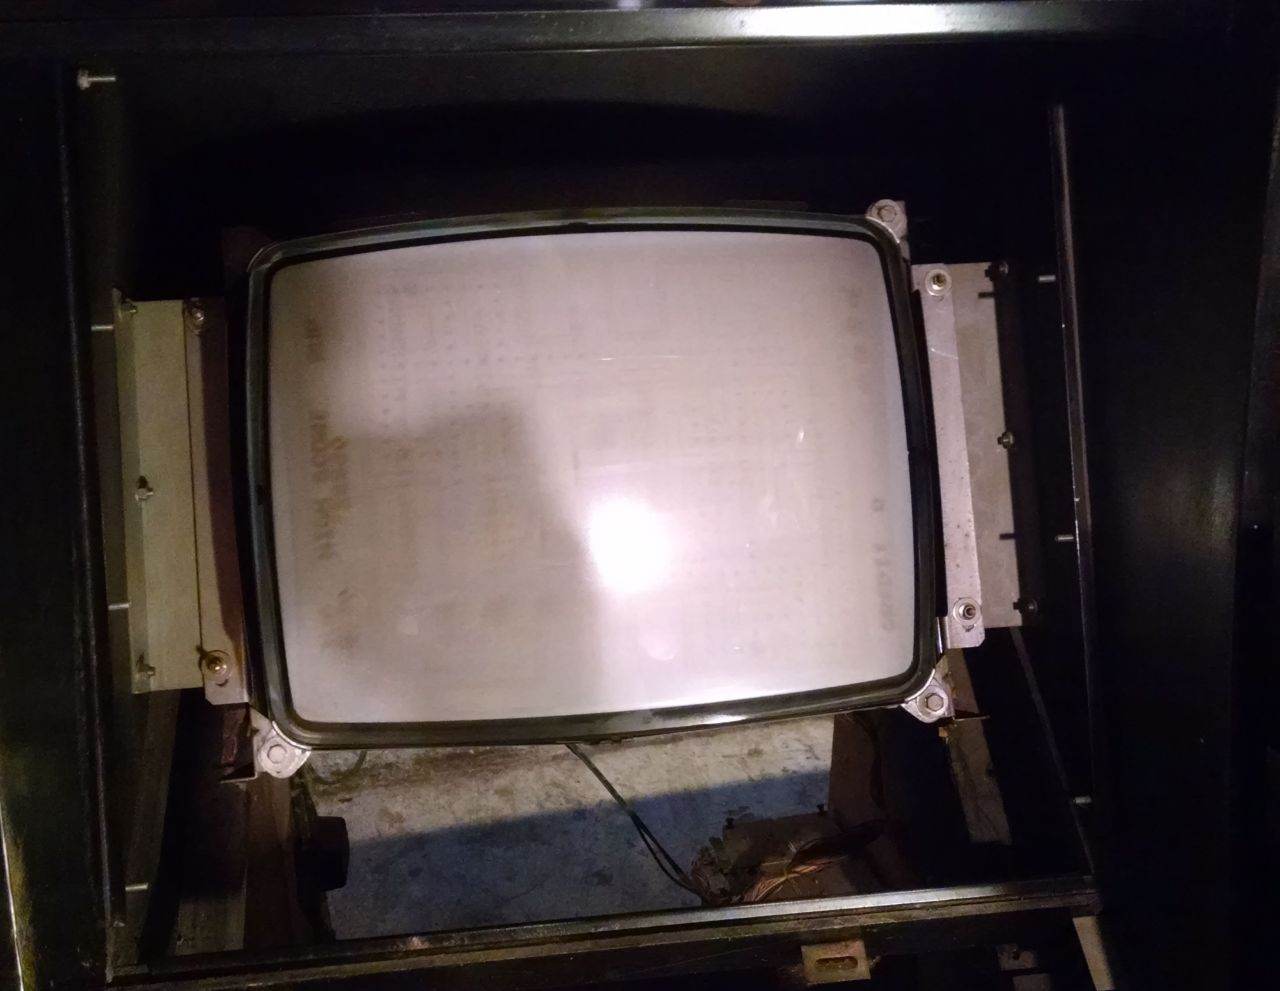
Not a lot is retained of the original Midway internals. Portions of the power panel, AC wiring, and the Wells Gardner K4600 monitor are all that came along for the ride. The monitor has the maze burn you’d expect from any Pac Man game but it’s hidden pretty well by the smoked plexiglass panel that goes in front. Interestingly a standard Nintendo isolation transformer was included with the kit, though its 100V output is left unused and the Midway transformer is used to isolate power to the monitor.

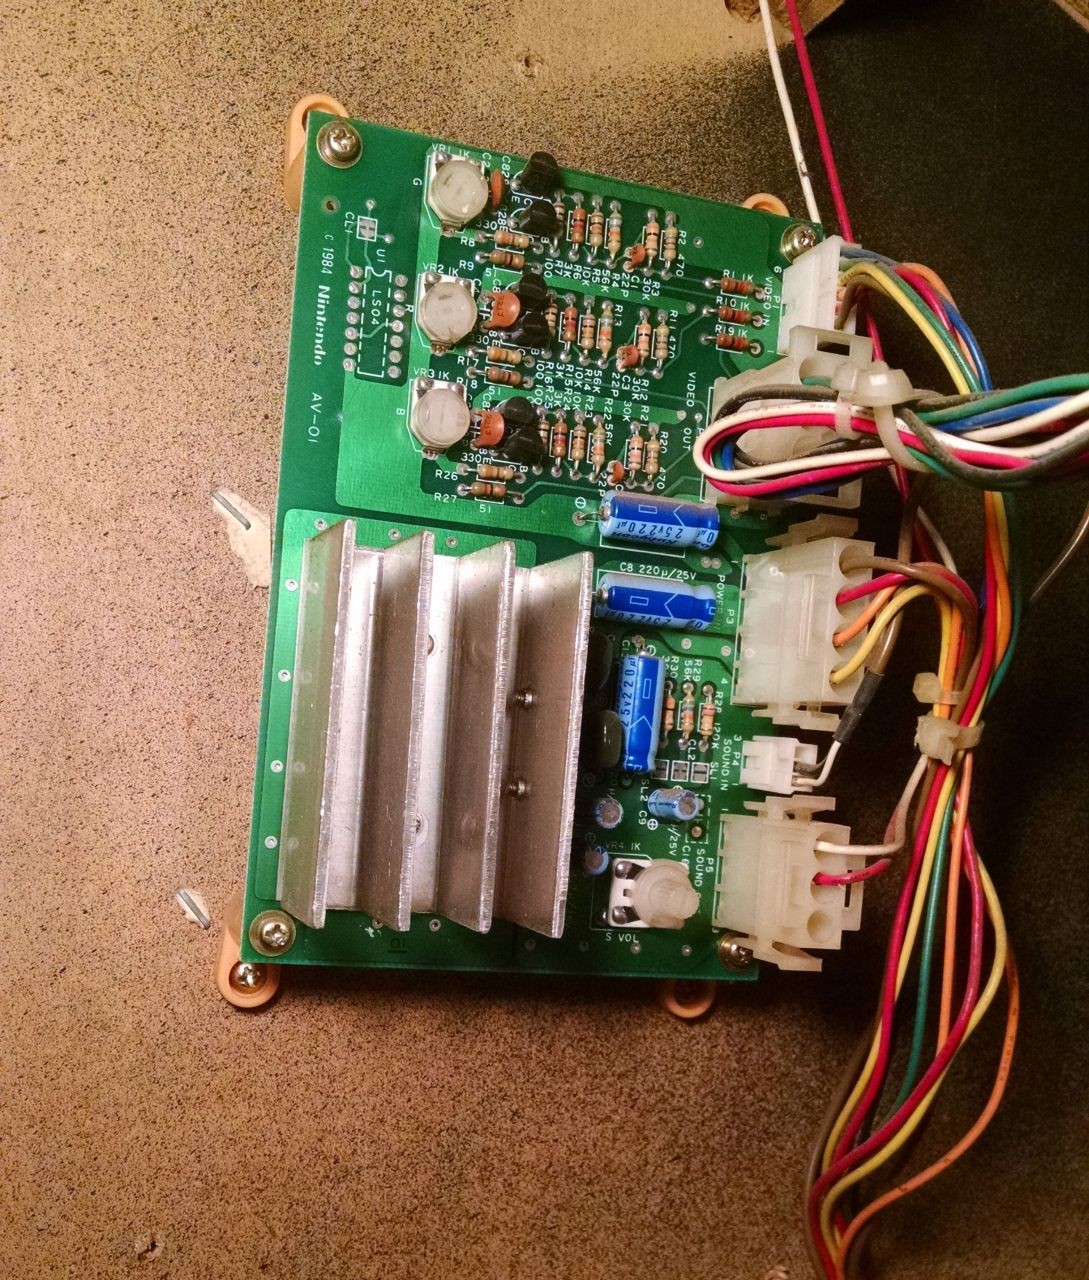
A Nintendo video inverter and sound amp board is used to adapt the signal from the Vs. PCB to the output hardware in the cabinet.

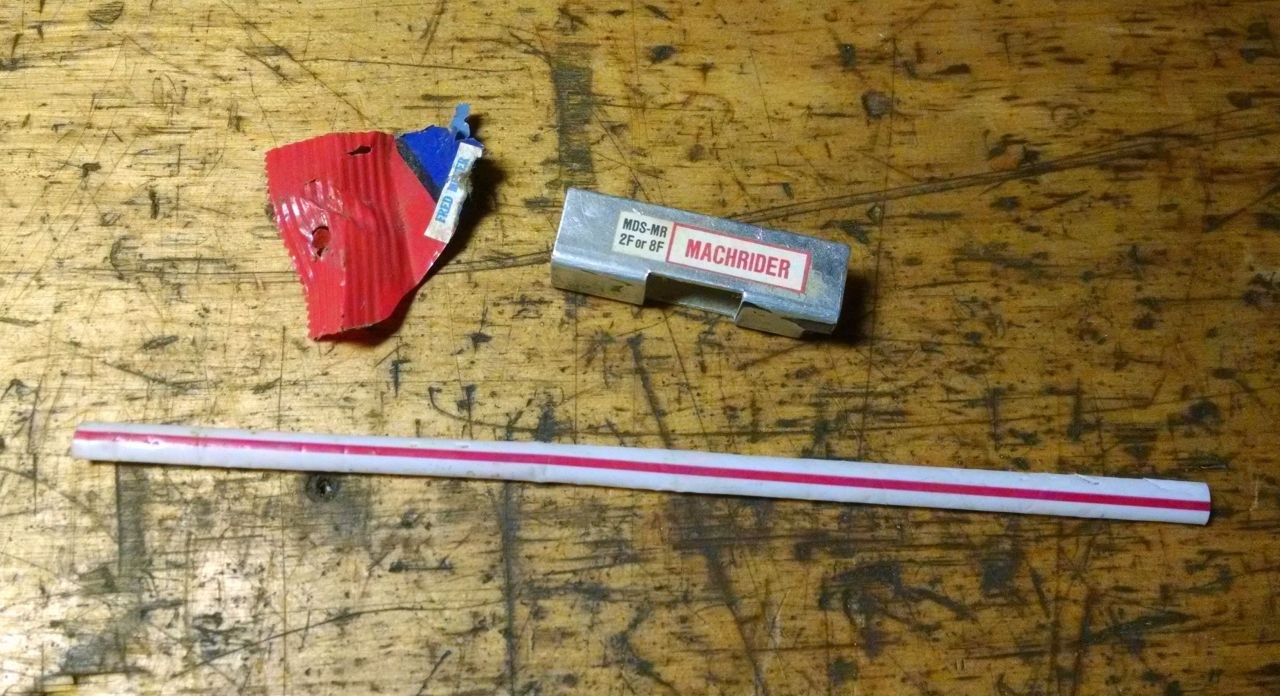
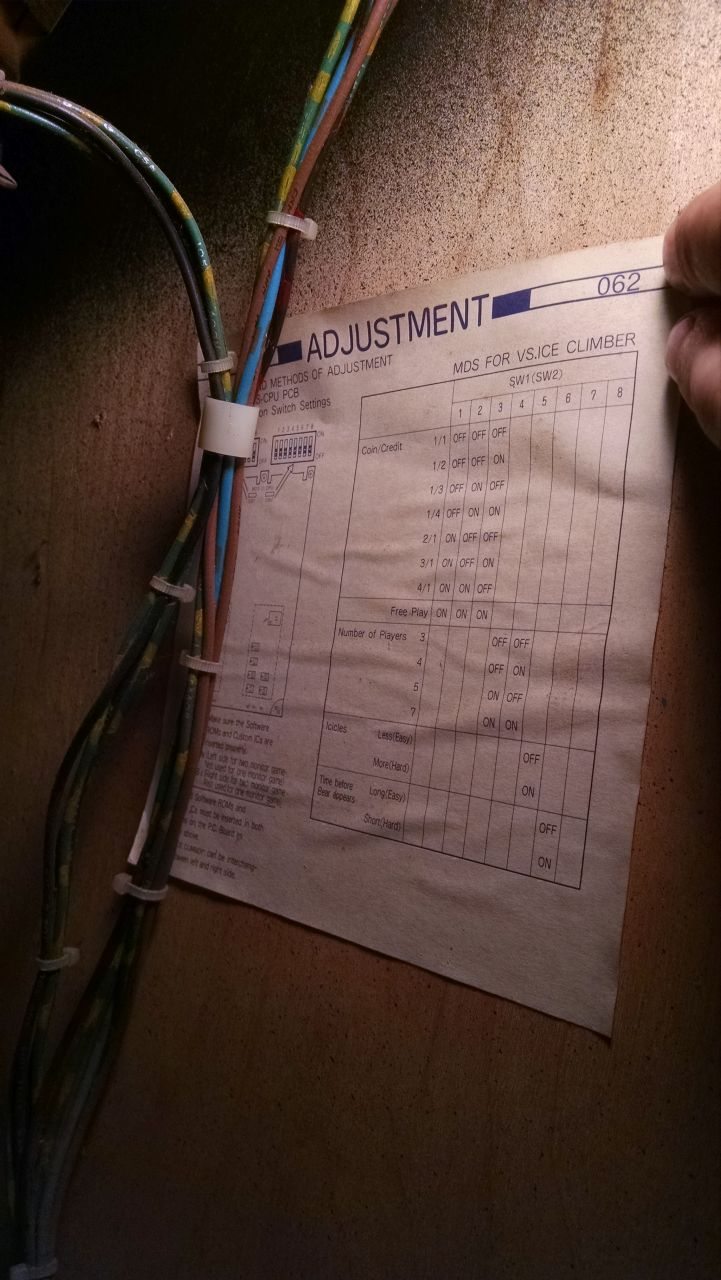
Detritus in the cab says this one hung around in the Pacific Northwest, nearby one of the outposts of the Fred Meyer chain. The straw trick (“It has been brought to our attention that a flattened straw or similar object can be passed through the center opening in the upper hinge. If the object makes contact with the coin switch, it can be used to run up multiple credits.”) to getting free credits on Nintendo games must have made the rounds too, though whoever applied it didn’t realize that it only works on original Nintendo coin doors. We can also see the Vs. boardset played host to a few different titles over time, with Ice Climbers and Mach Rider in evidence.

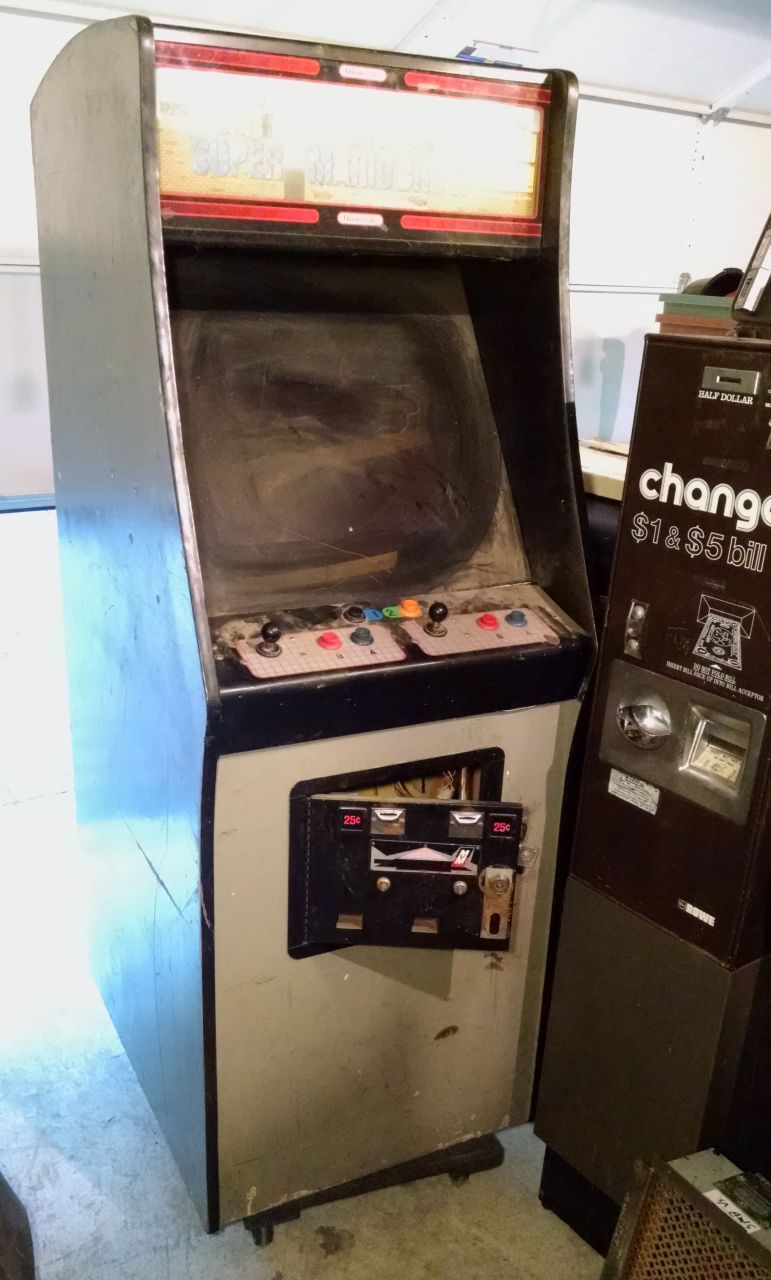
This one will stay converted, though I’ll swap in a Dr. Mario daughterboard for the Super Mario Bros. chipset.

Battle stations!

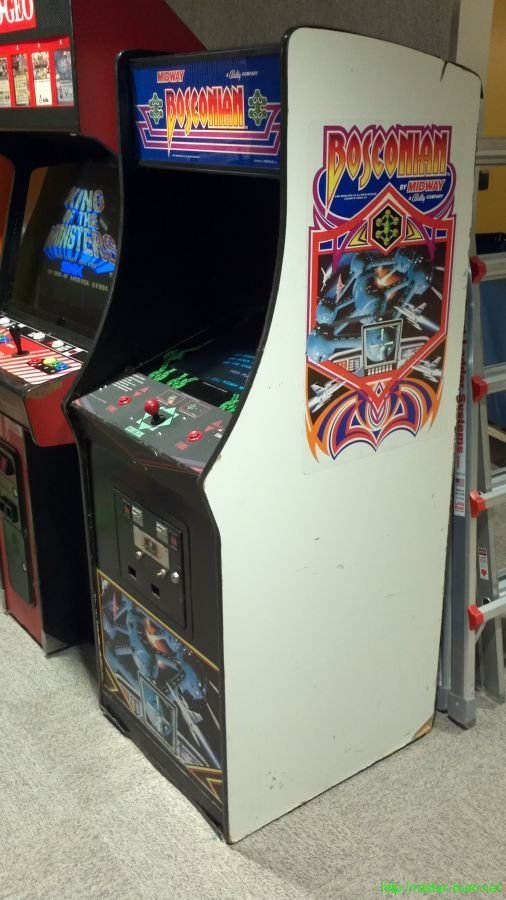
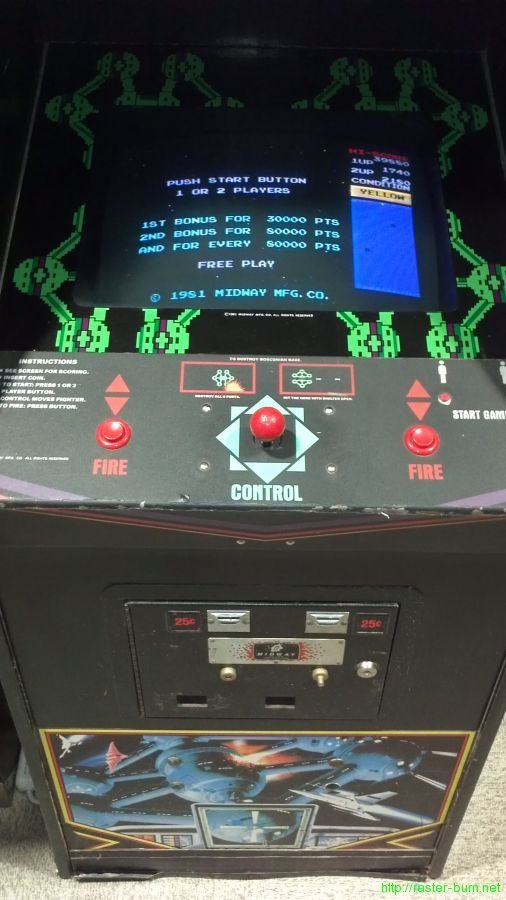
Grabbed a machine I’ve been keeping an eye on for a while this weekend. It’s been advertised for several weeks and just hit the magic $300 mark so I gave the seller a call and picked it up this past Sunday.

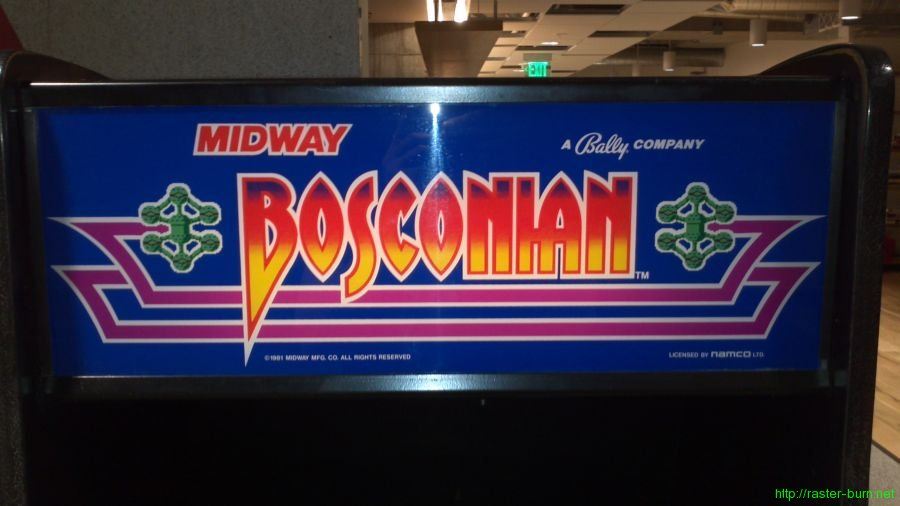
Bosconian, released under license from Namco by Midway in 1981, is pretty rare to find in its dedicated form anymore. Lots and lots of them were converted, and the cabinets are made out of some particle board that doesn’t hold up well at all compared to the plywood cabinets used for other Midway games.

This one is only the second or third I’ve ever seen in person. It’s in decent original condition, with plenty of signs of having been on route but no gratuitous damage for the most part. Only things I might repair cosmetically are the plastic strip at the bottom of the front panel that has come loose, and perhaps replace the control panel overlay that has worn badly on the front edge.

It definitely needs a bit of electronics attention. The audio doesn’t work currently, which hopefully is just a common issue with the amplifier. I’ve also noticed the mini map dot for the player’s ship will often end up drawn on the opposite side of the screen from where it belongs, which makes the game a little harder. Going to leave it as is for a while before I dive into troubleshooting though.

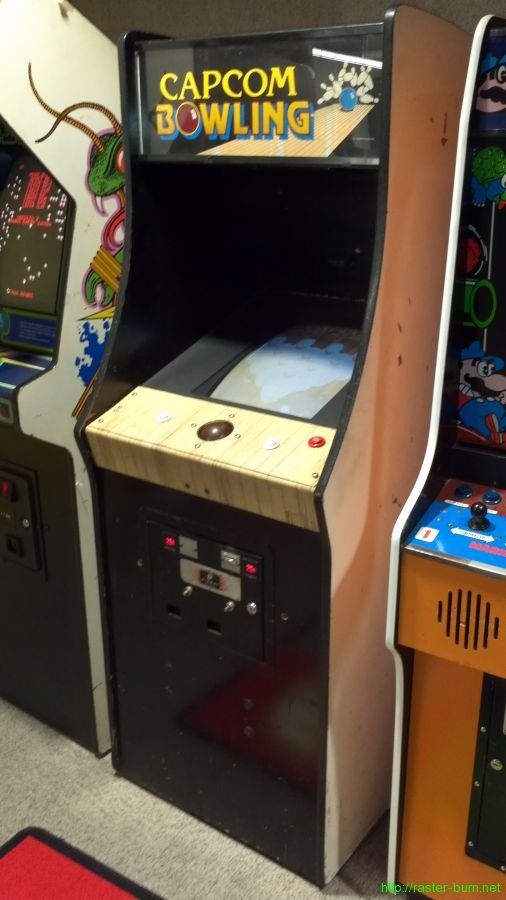
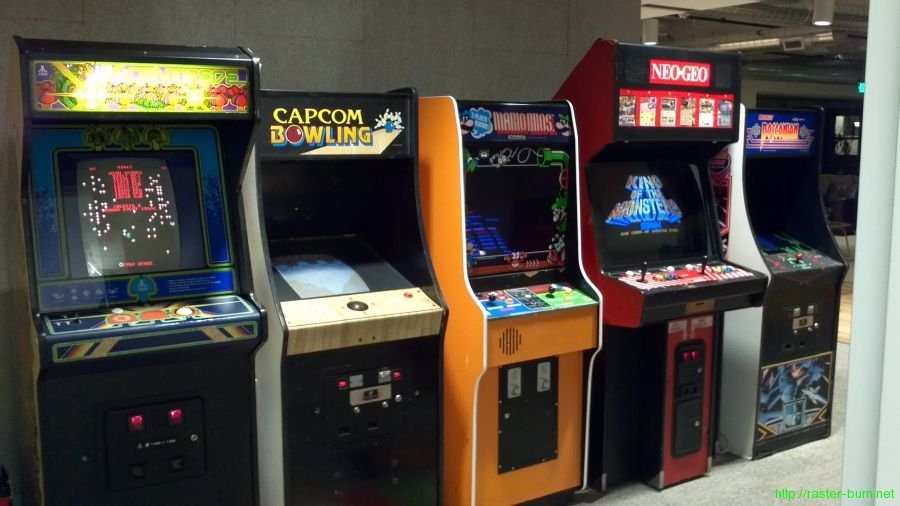
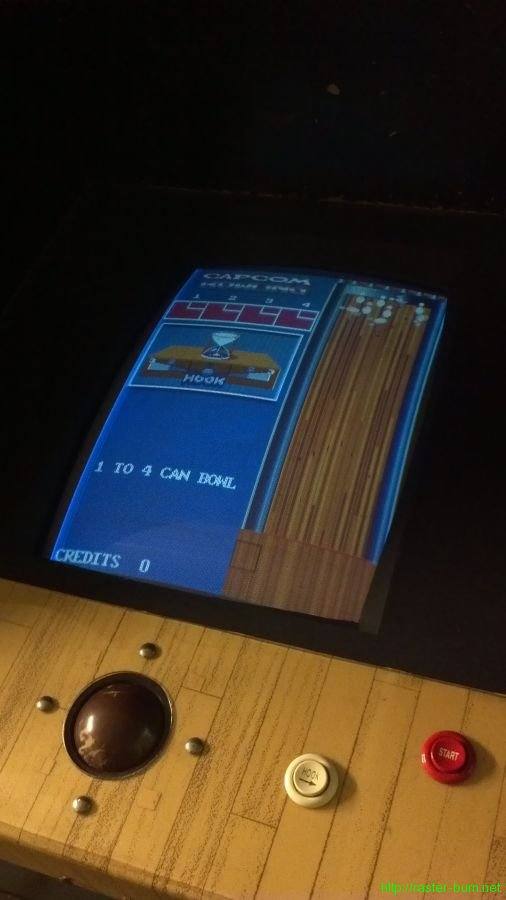
The Bosconian went straight to my workplace’s new offices in downtown Portland, joining the rest of the lineup that was moved over the week prior. I also hauled over the former-Bosconian I have, a Capcom Bowling conversion.

There’s still room for more on the opposite wall, but I haven’t totally decided what else to bring in. Will give things a few more weeks to settle out before I add on further.

Fabrication Friday

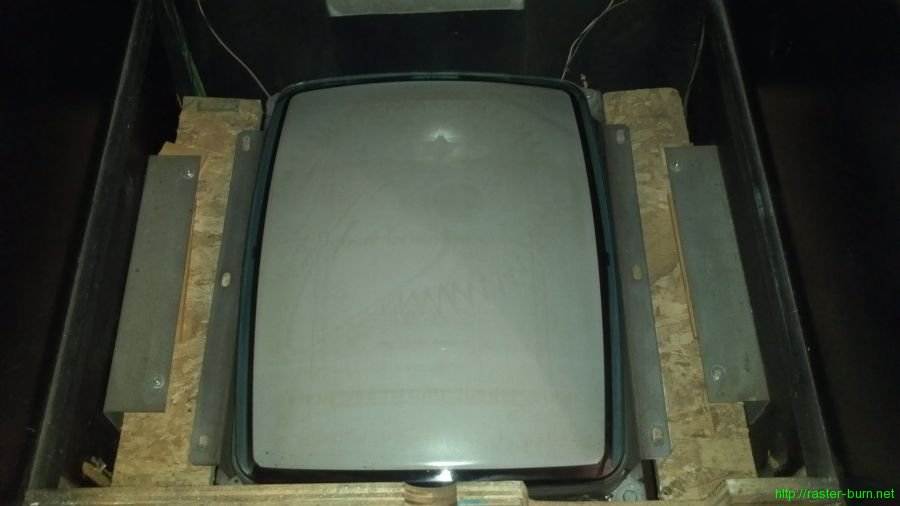
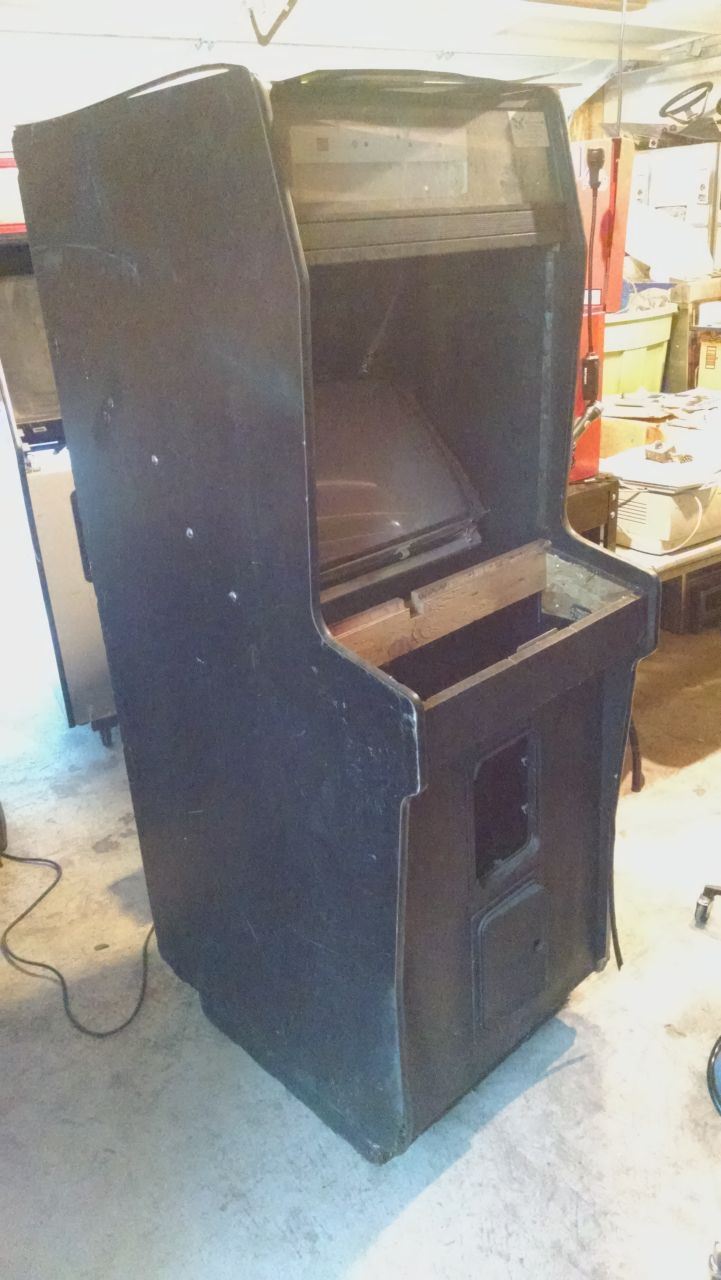
So I’ve had a Midway Bosconian cabinet for a while that I acquired converted to Krazy Bowl, and then swapped in Capcom Bowling myself. Part of that initial conversion, performed long ago by an operator, was to switch the game from Bosconian’s horizontal monitor orientation to the vertical orientation required for Krazy Bowl. This was done using very questionable materials, with results that looked like this…

Scraps of OSB, a stack of shims, and drywall screws isn’t how *I* would have done it… So I replaced all that with something sturdier. While structurally sound that still left one staring at the guts of the machine while playing it. And, because this was never a configuration supported by the cabinet originally, no premade bezels would fit the thing since the monitor was now mounted several inches higher than usual to allow for the tube neck to clear the back of the cabinet.

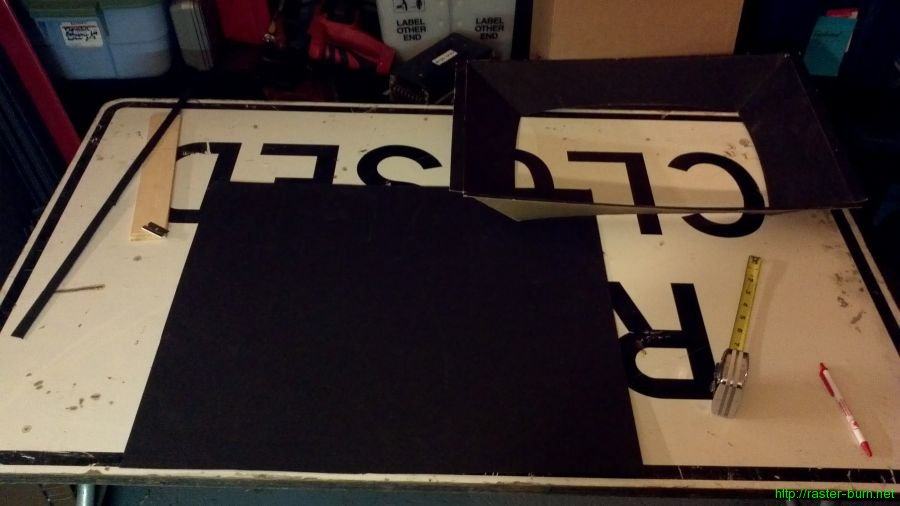
So I got a sheet of mat board and a used cardboard bezel from my parts stash and got to work…

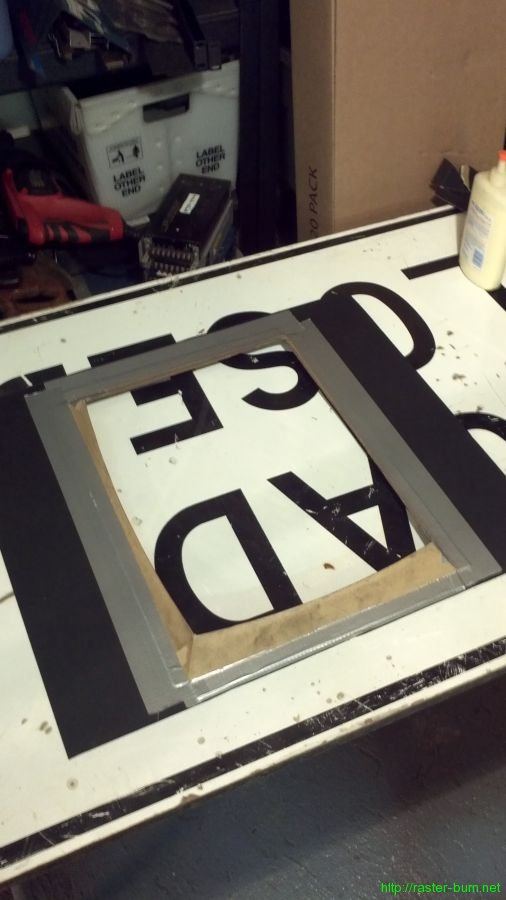
First step was straightforward: Cut the mat board down and make a hole for the monitor.

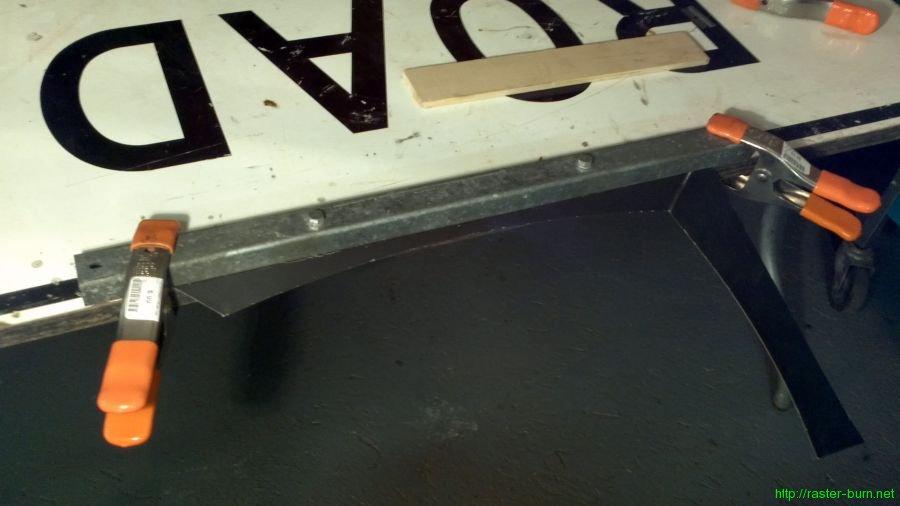
The next part took a little more craftiness. I measured the distance between the tube surface and the bottom of the mat board to determine how much clearance I had. It ended up being about a half inch at the middle of the tube’s curve along the long side. Then I measured from the new crease point in the bezel to the edge of the material to figure out how much excess I had, and trimmed it down allowing for about three quarters of an inch of material to glue to the mat board and hold the important part in place. Trimmed everything and then used a makeshift brake to make the new crease.

Test fit the one half of the bezel to make sure everything looked good, then cut down and creased the other half.

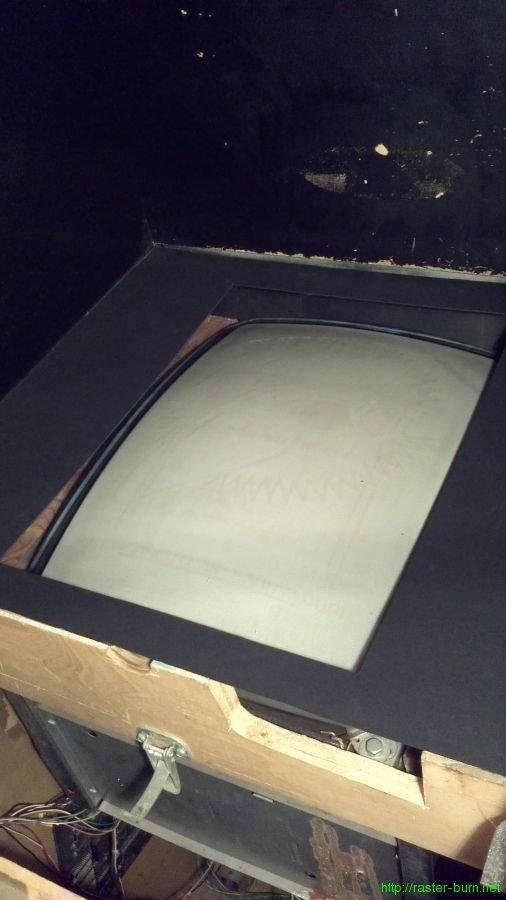
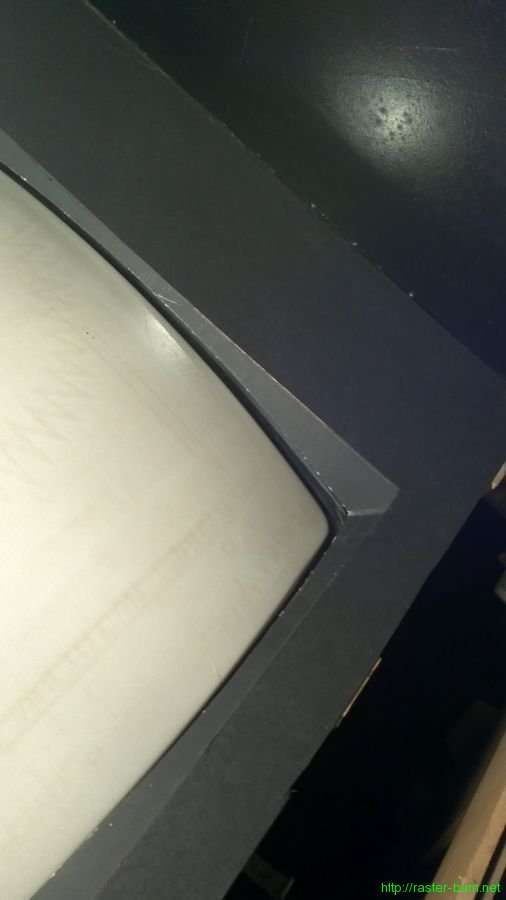
Then spent some time with it loosely taped together to adjust and get the tube centered in the new bezel. After getting it looking decent I glued down and taped the flaps to the mat board, and at the corners where the two halves of the curved bezel part come together.

…And installed!