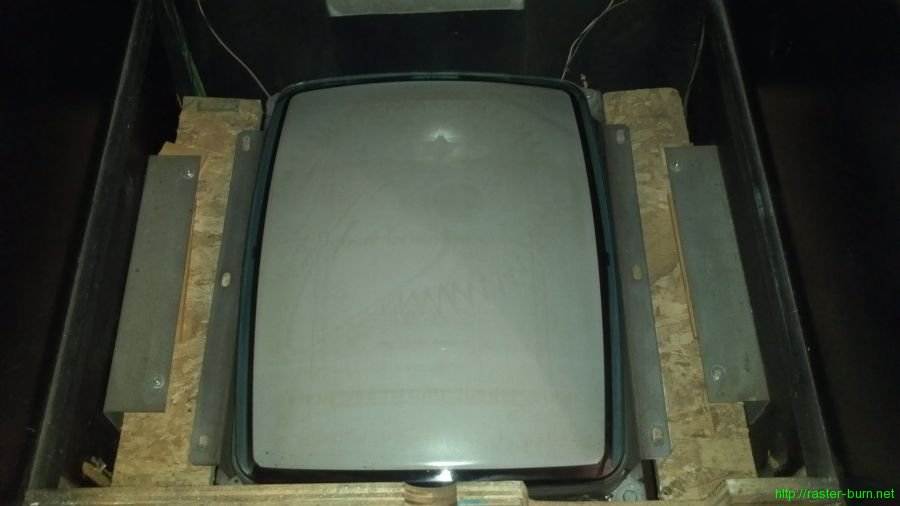
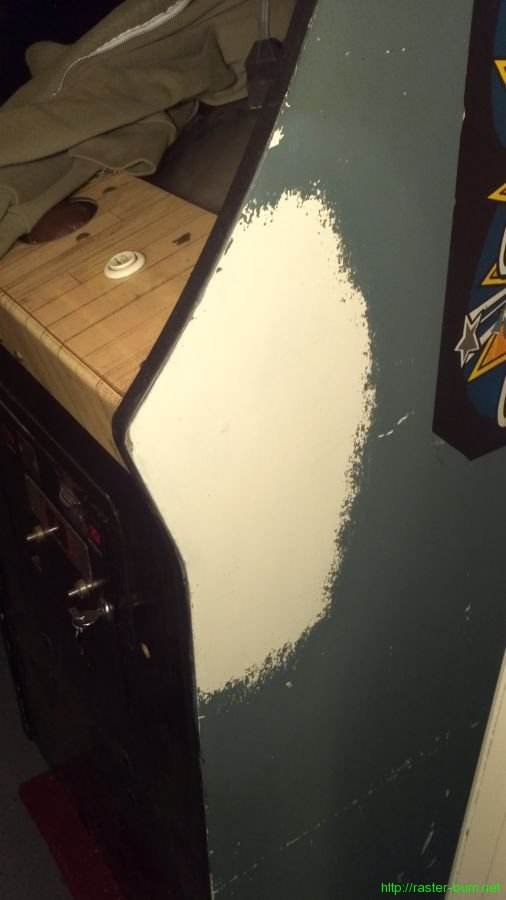
So I’ve had a Midway Bosconian cabinet for a while that I acquired converted to Krazy Bowl, and then swapped in Capcom Bowling myself. Part of that initial conversion, performed long ago by an operator, was to switch the game from Bosconian’s horizontal monitor orientation to the vertical orientation required for Krazy Bowl. This was done using very questionable materials, with results that looked like this…
Scraps of OSB, a stack of shims, and drywall screws isn’t how *I* would have done it… So I replaced all that with something sturdier. While structurally sound that still left one staring at the guts of the machine while playing it. And, because this was never a configuration supported by the cabinet originally, no premade bezels would fit the thing since the monitor was now mounted several inches higher than usual to allow for the tube neck to clear the back of the cabinet.
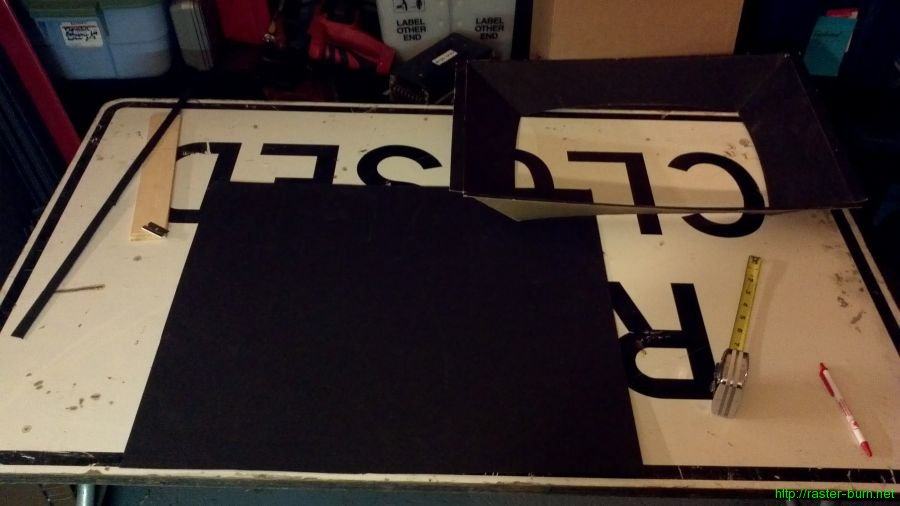
So I got a sheet of mat board and a used cardboard bezel from my parts stash and got to work…
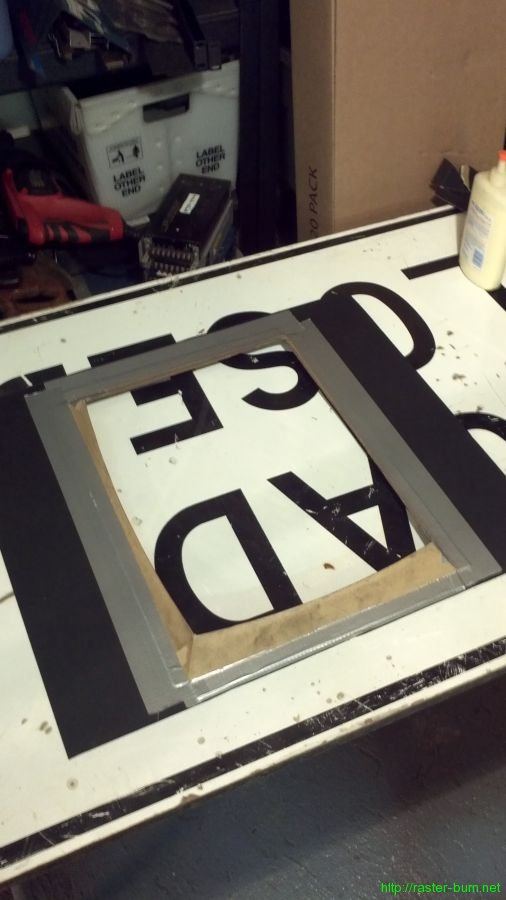
First step was straightforward: Cut the mat board down and make a hole for the monitor.
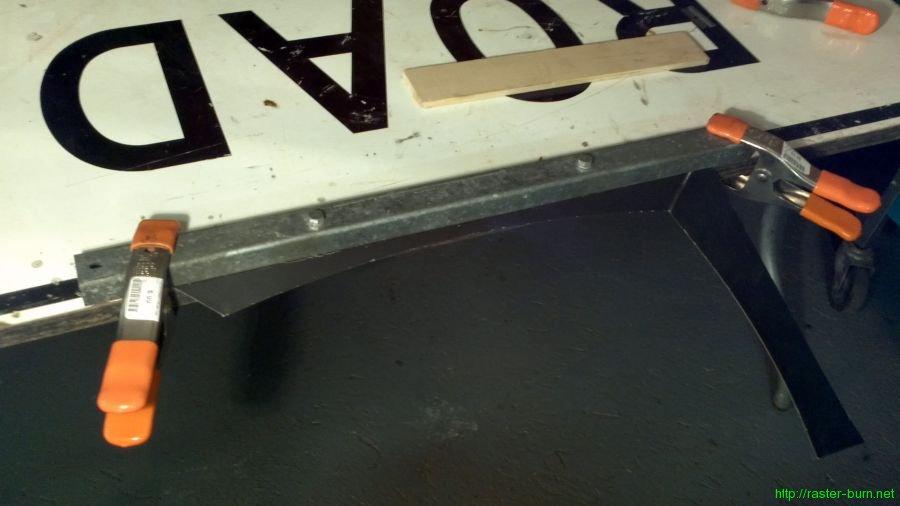
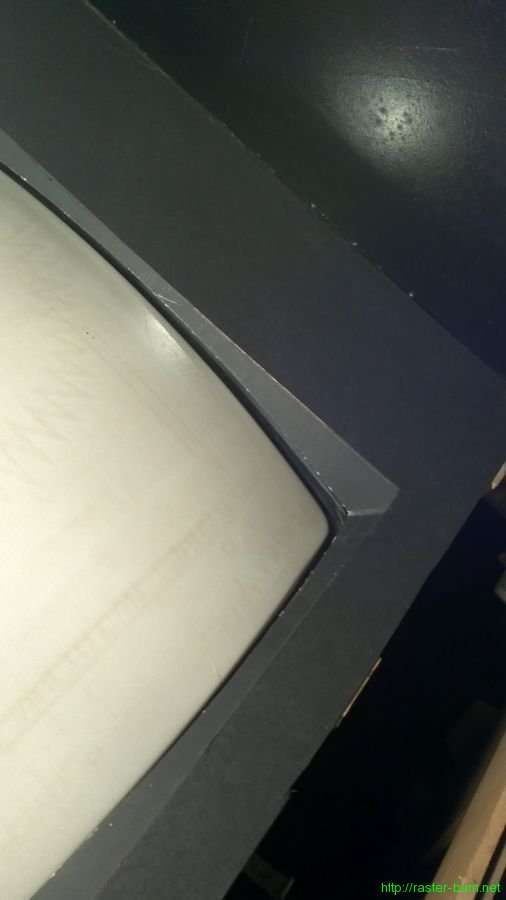
The next part took a little more craftiness. I measured the distance between the tube surface and the bottom of the mat board to determine how much clearance I had. It ended up being about a half inch at the middle of the tube’s curve along the long side. Then I measured from the new crease point in the bezel to the edge of the material to figure out how much excess I had, and trimmed it down allowing for about three quarters of an inch of material to glue to the mat board and hold the important part in place. Trimmed everything and then used a makeshift brake to make the new crease.
Test fit the one half of the bezel to make sure everything looked good, then cut down and creased the other half.
Then spent some time with it loosely taped together to adjust and get the tube centered in the new bezel. After getting it looking decent I glued down and taped the flaps to the mat board, and at the corners where the two halves of the curved bezel part come together.
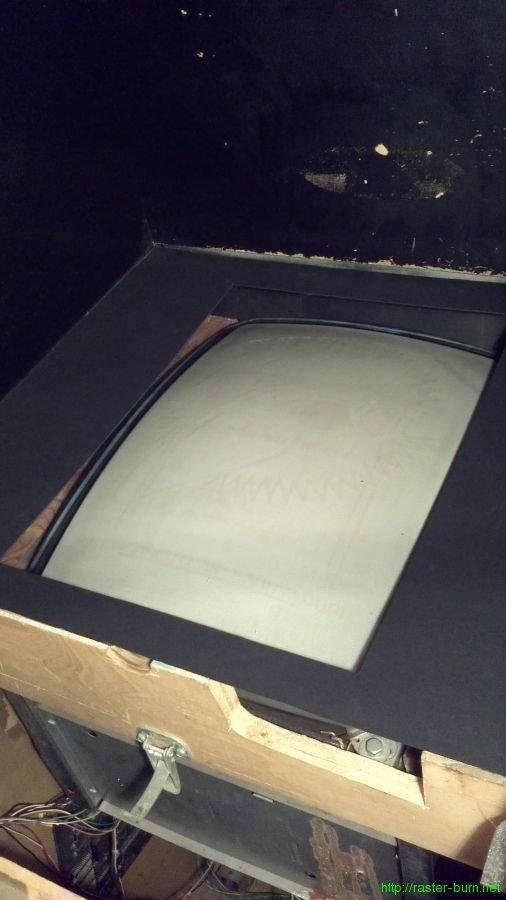
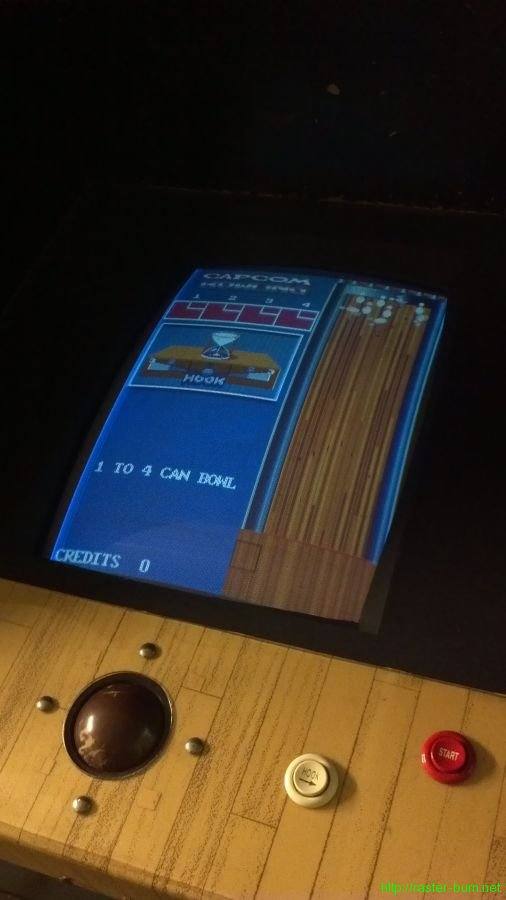
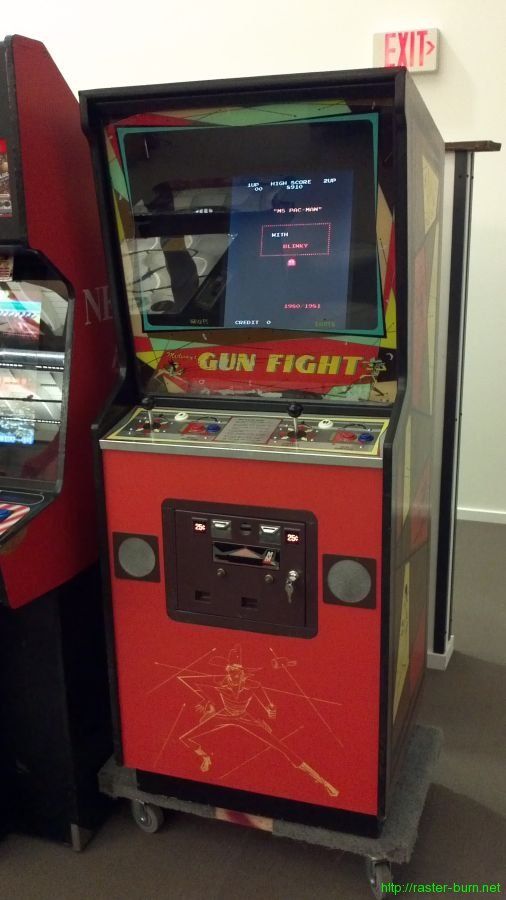
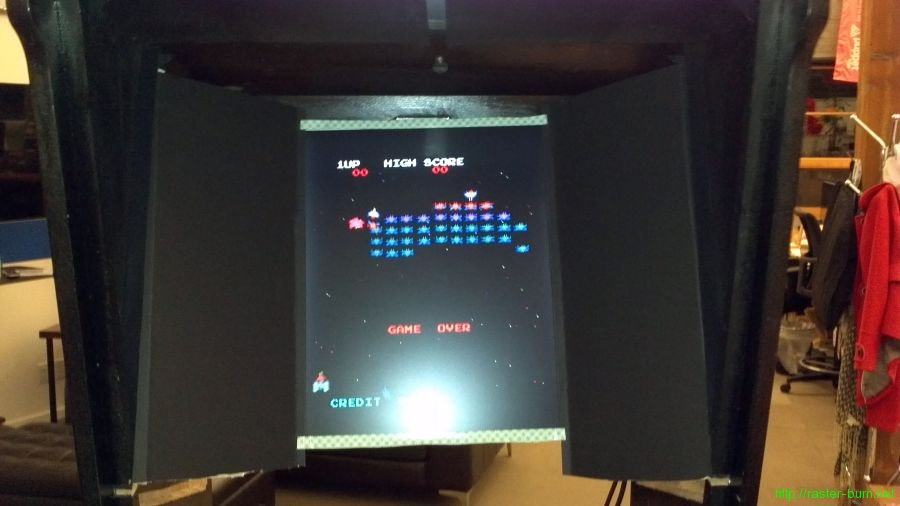
…And installed!

