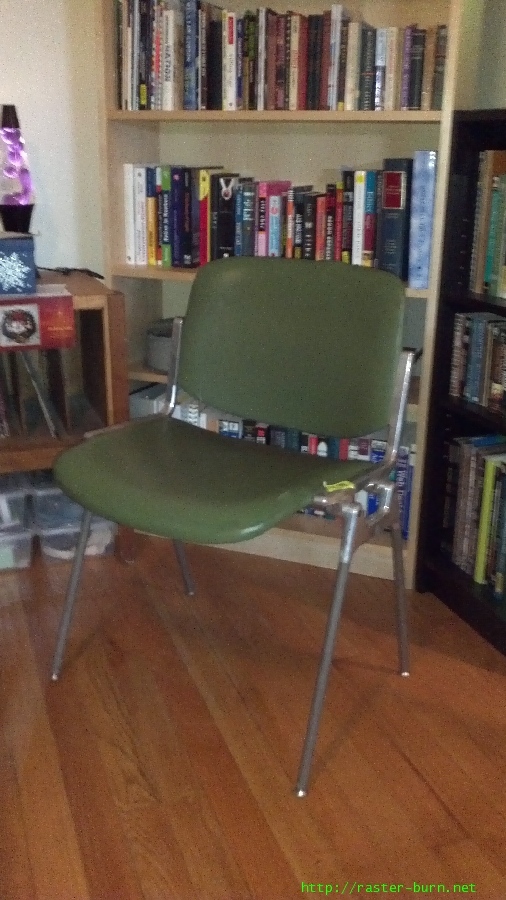
One of my first posts on this blog was about a Castelli DSC 106 I picked up at City Liquidators. That was ah, a while ago. 2012 is further in the past than I’d like to think about. But without dwelling on that too much, here’s the long due followup!
Since it’s been awhile, here’s how that originally looked. Lots of split seams, cracks in the vinyl, and splotches in the color… Not great!
I’d originally intended to ditch the vinyl entirely and just paint the underlying plywood. But, after having it all apart, seeing the condition of the wood, and trying some experiments with refinishing, I decided to back off on that idea and reupholster it.
I picked apart the old covers, patterned out new ones, and set to the task of putting it all together.
The zipper on the backrest made things a little complicated but I was able to get a decent result. I did a trial run with some scrap material and ran into issues with fitment, but once I added the foam padding in all of that cleared up nicely.
The final seam of the seat was put together with staples originally, and I attempted to duplicate that with my BeA 71. I ended up with a few spots where I estimated the stretch of the material wrong and had some rippling. Fortunately this part of the work is decently hidden on the underside, with the cross-bar between the side supports over top of it, so I didn’t feel the need to tear things back apart and try to achieve perfection.
Once I had everything stitched and stapled back up, final assembly was a matter of quality time with a mallet and screwdriver. I banged on the thing futily for a while before I tried using the screws to draw things tight and found success with that, clearly the way to go. Also had some added difficulty with the plywood having warped a bit during its nine years on the shelf, but I was able to finesse everything into place.
Clearance was much, much tighter than I expected and I found myself cursing the fact that I went with a thicker vinyl than was originally used. I used a plastic wedge to carefully push the vinyl into the channels of the supports when it would bunch up. In one spot some staples actually started to pull up due to the amount of force on the material. I knocked them back down with a pin punch and slowly got everything where it needed to be.
All in all, pretty good result! I’m pleased with how it looks, and confident I could do even better next time, though I might be loathe to take on another of these now knowing what a pain certain aspects of the job are.

