Another weird old computer from the Bins – Crown TEF-12

Saw this weird box with the Crown logo on it in the reject bin right by the checkout as I was leaving and turned right on around to check it out more closely. Once I figured out how to open the front (push the two ‘top’ feet inwards!) I saw it was an old luggable in an interesting format. Bought it without hesitation for the perfunctory price asked, and took it home to dig in further…

The front is pretty familiar as far as early 80s luggable computers go.

The back gets interesting. Bunch of audio I/O that very unusual.

And inside we find this built like a tank modular machine with all kinds of extra audio handling functionality.

I haven’t researched it thoroughly yet, but it looks like it was capable of pretty groundbreaking acoustic data collection and visualization for its time. I’ll leave the specifics to another post by someone who used one of these things to great effect back when it was new: https://www.tvtechnology.com/opinions/audio-breakthroughs-with-tef-analysis

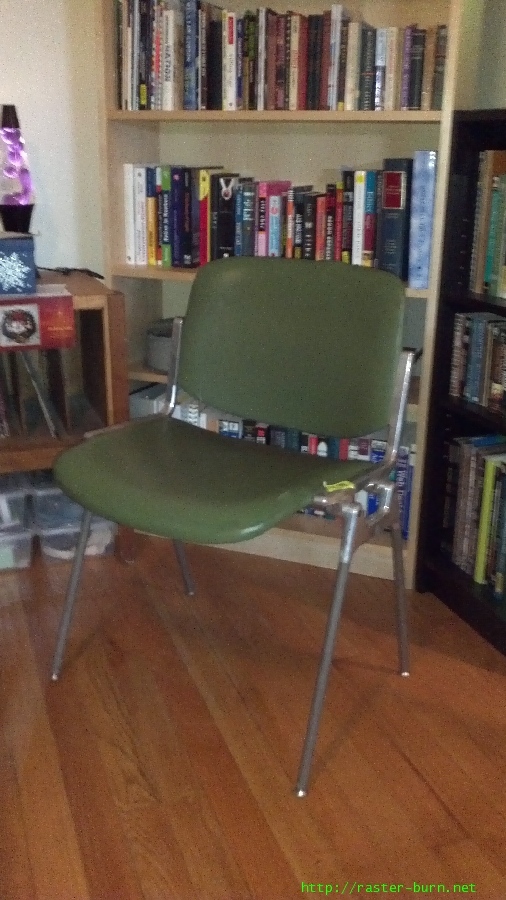
Castelli DSC 106 part II – Reupholstery

One of my first posts on this blog was about a Castelli DSC 106 I picked up at City Liquidators. That was ah, a while ago. 2012 is further in the past than I’d like to think about. But without dwelling on that too much, here’s the long due followup!

Since it’s been awhile, here’s how that originally looked. Lots of split seams, cracks in the vinyl, and splotches in the color… Not great!

I’d originally intended to ditch the vinyl entirely and just paint the underlying plywood. But, after having it all apart, seeing the condition of the wood, and trying some experiments with refinishing, I decided to back off on that idea and reupholster it.

I picked apart the old covers, patterned out new ones, and set to the task of putting it all together.

The zipper on the backrest made things a little complicated but I was able to get a decent result. I did a trial run with some scrap material and ran into issues with fitment, but once I added the foam padding in all of that cleared up nicely.

The final seam of the seat was put together with staples originally, and I attempted to duplicate that with my BeA 71. I ended up with a few spots where I estimated the stretch of the material wrong and had some rippling. Fortunately this part of the work is decently hidden on the underside, with the cross-bar between the side supports over top of it, so I didn’t feel the need to tear things back apart and try to achieve perfection.

Once I had everything stitched and stapled back up, final assembly was a matter of quality time with a mallet and screwdriver. I banged on the thing futily for a while before I tried using the screws to draw things tight and found success with that, clearly the way to go. Also had some added difficulty with the plywood having warped a bit during its nine years on the shelf, but I was able to finesse everything into place.

Clearance was much, much tighter than I expected and I found myself cursing the fact that I went with a thicker vinyl than was originally used. I used a plastic wedge to carefully push the vinyl into the channels of the supports when it would bunch up. In one spot some staples actually started to pull up due to the amount of force on the material. I knocked them back down with a pin punch and slowly got everything where it needed to be.

All in all, pretty good result! I’m pleased with how it looks, and confident I could do even better next time, though I might be loathe to take on another of these now knowing what a pain certain aspects of the job are.

Burroughs Adding Machine Company 21466 swivel chair reupholstery

The Burroughs Adding Machine Company ‘21466’ swivel chair

This neat piece was an overlooked leftover from the liquidation of a machine shop down the street from me. I’d picked up a few items at their auction, and a few more scrounging through the scraps at the end and asking the right questions, and I noticed this chair off to the side toward the end of load out. (Some other finds include a Friden Flexowriter and matched paper tape reader from an early numeric-control machining setup, and a CP/M capable TRS-80 Model III, but those will have to wait for another post…)
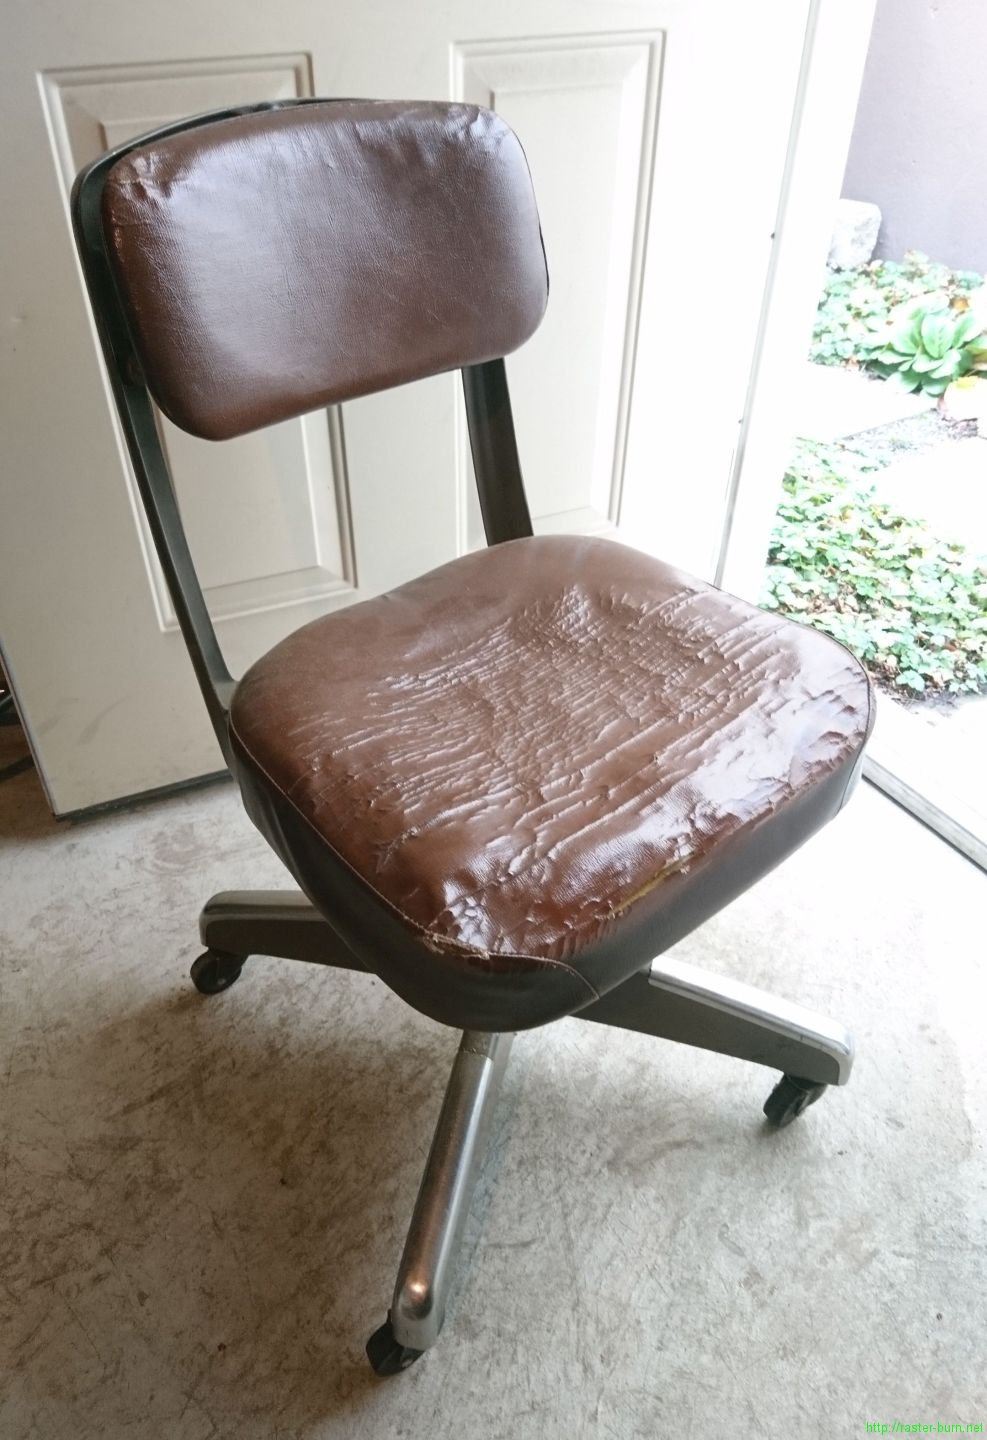
Looking past the shot vinyl, it was obviously a gem. The seat and backrest uprights are cast aluminum parts which would be an absurd extravagance now. The rest of the thing is hefty stamped steel, high quality fasteners, and more points of articulation and adjustment than you’d believe. When I asked about it, the guy running the sale took a dubious look at it, and told me I could just take it. I loaded it into the van, took it home, stashed it in the shop, and forgot about it until now.

I’d gotten the bug to break out the sewing machine, and was chewing through a few long latent projects with it. I ended up blocked on one of those, and while waiting to get the stuff I needed to continue remembered I had this sweet Burroughs chair just waiting to be recovered. So I dug it out and started tearing things down.

Every bit of vinyl, and most of the stitching and rubber padding, was dry rotted all to hell. Was able to get the old covers apart very easily, on most of the chair the top stitching was long gone, sometimes just tugging on the seam was enough to break it.

The backrest is a kinda cool two piece design that allows it to be upholstered without any machine stitching. The foam in it also yielded a clue as to the age of the chair. The U.S. Koylon Foam logo on it matches up to advertising for the brand from the late 1940s, while from 1950 or so onward the cursive look was dropped.

This was kinda what I was guessing anyway. The heavy use of cast aluminum, simple and robust adjustment mechanisms and construction, green paint on some of the fasteners, and general styling cues all had me thinking immediate post-WW2 era. The post-war era saw a lot of factory machinery and expertise from the war effort suddenly shifted to cranking out consumer goods. Many of those products, especially in the commercial market, retained a bit of a martial quality under the surface as wartime tooling stayed in service and back stock was used up.
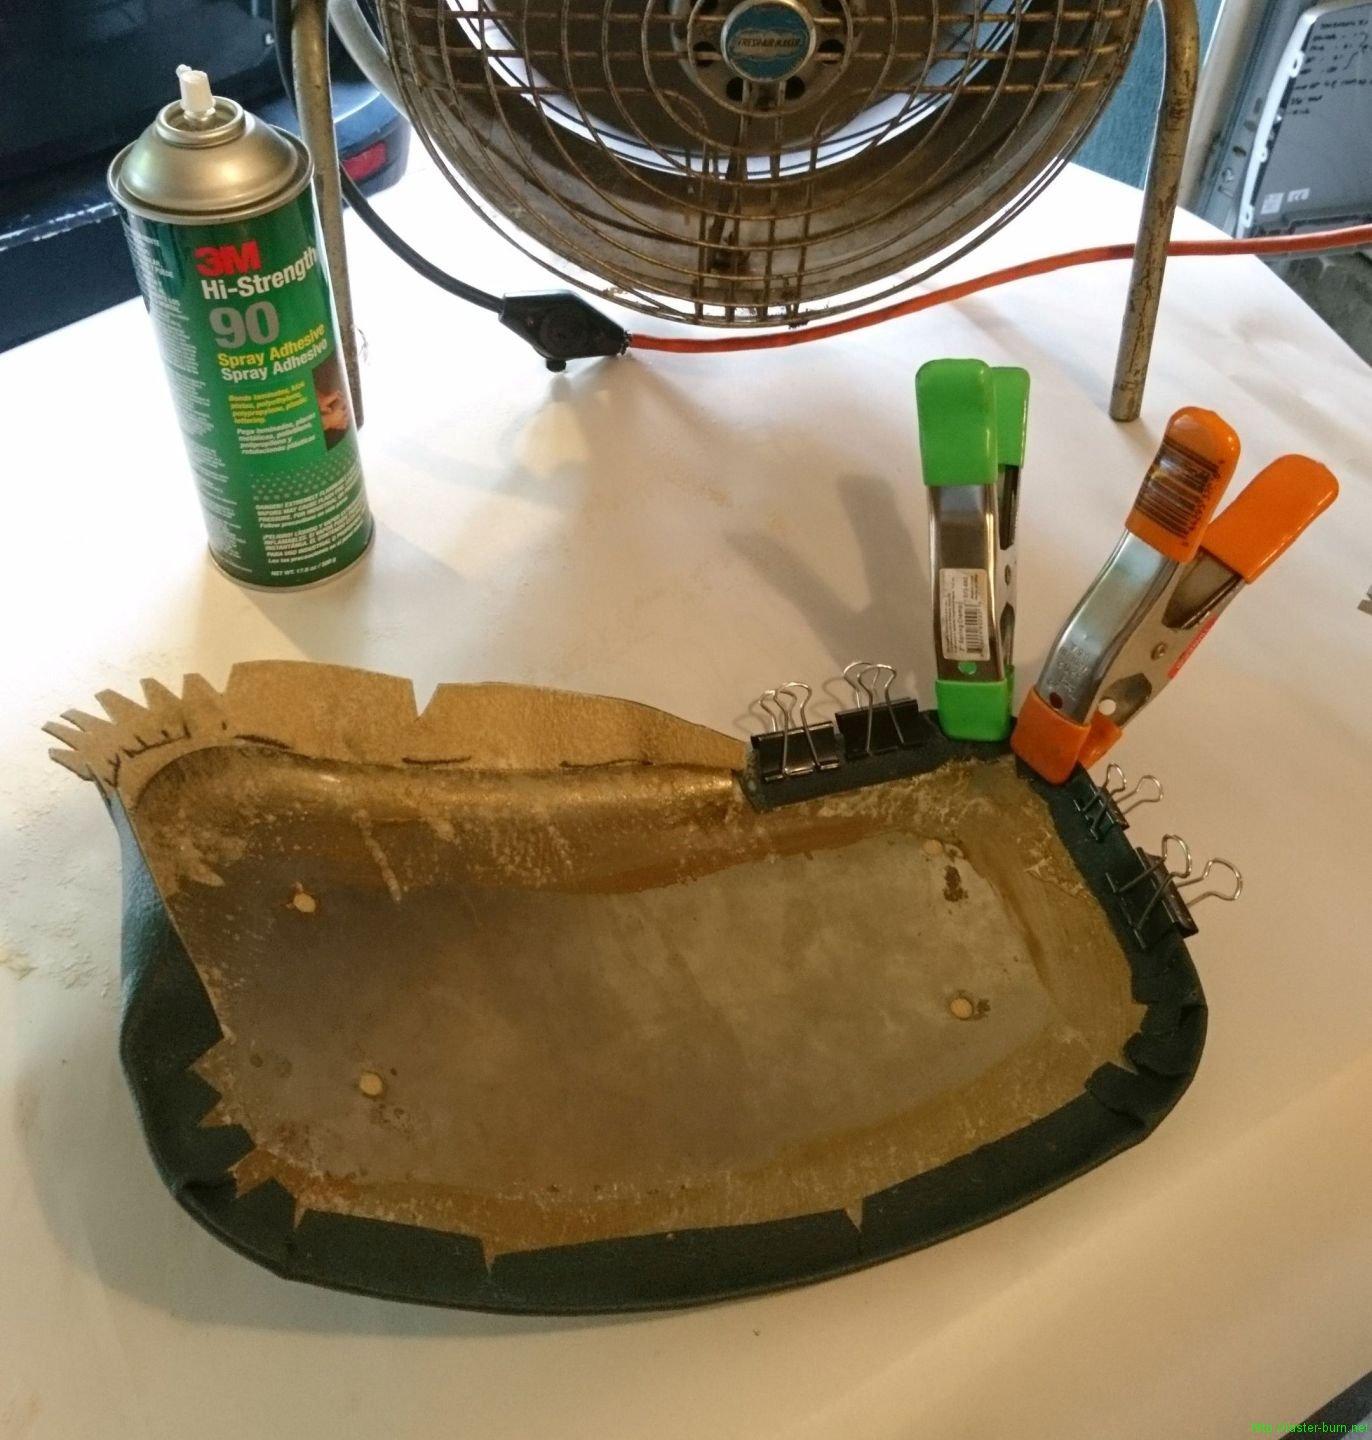
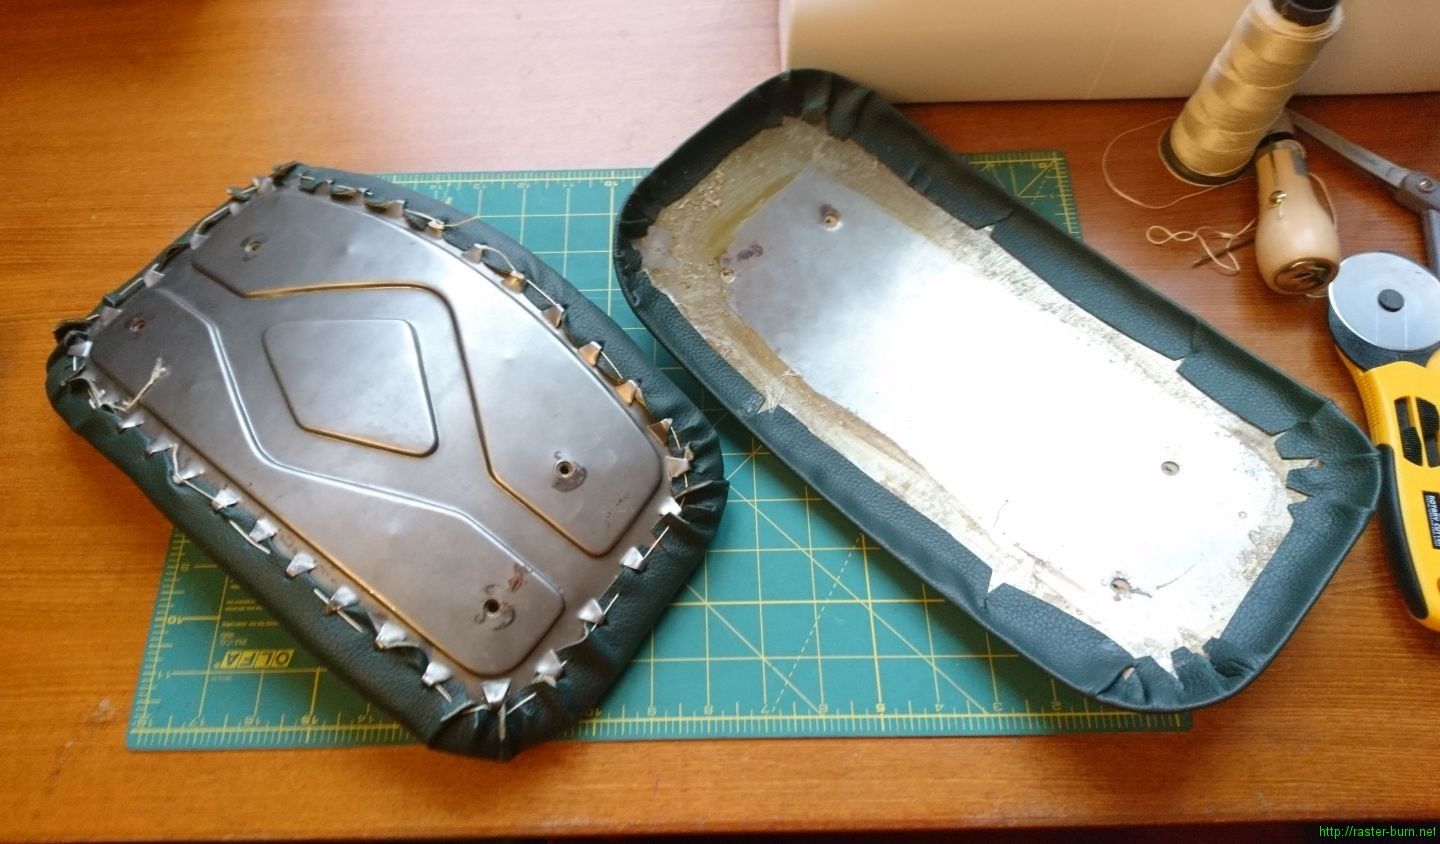
I was able to pattern off of the original covers pretty effectively. No major surprises really, everything was pretty obvious as to how to recreate with fresh materials. I wish I’d erred a bit further on the small side with some of the pieces, as I ended up with some ripples I think I could have avoided. I also think the top stitching could have been more consistent with a bit more care taken with the trimming of the leave on the inside of the cover. All that said, pretty happy with the results, considering how few of these types of jobs I have under my belt.

The finished product. Pretty fun project that only took a couple evenings, and I have a nice comfy shop chair now instead of a lumpy grody one that sheds yellow dust that sticks to everything!

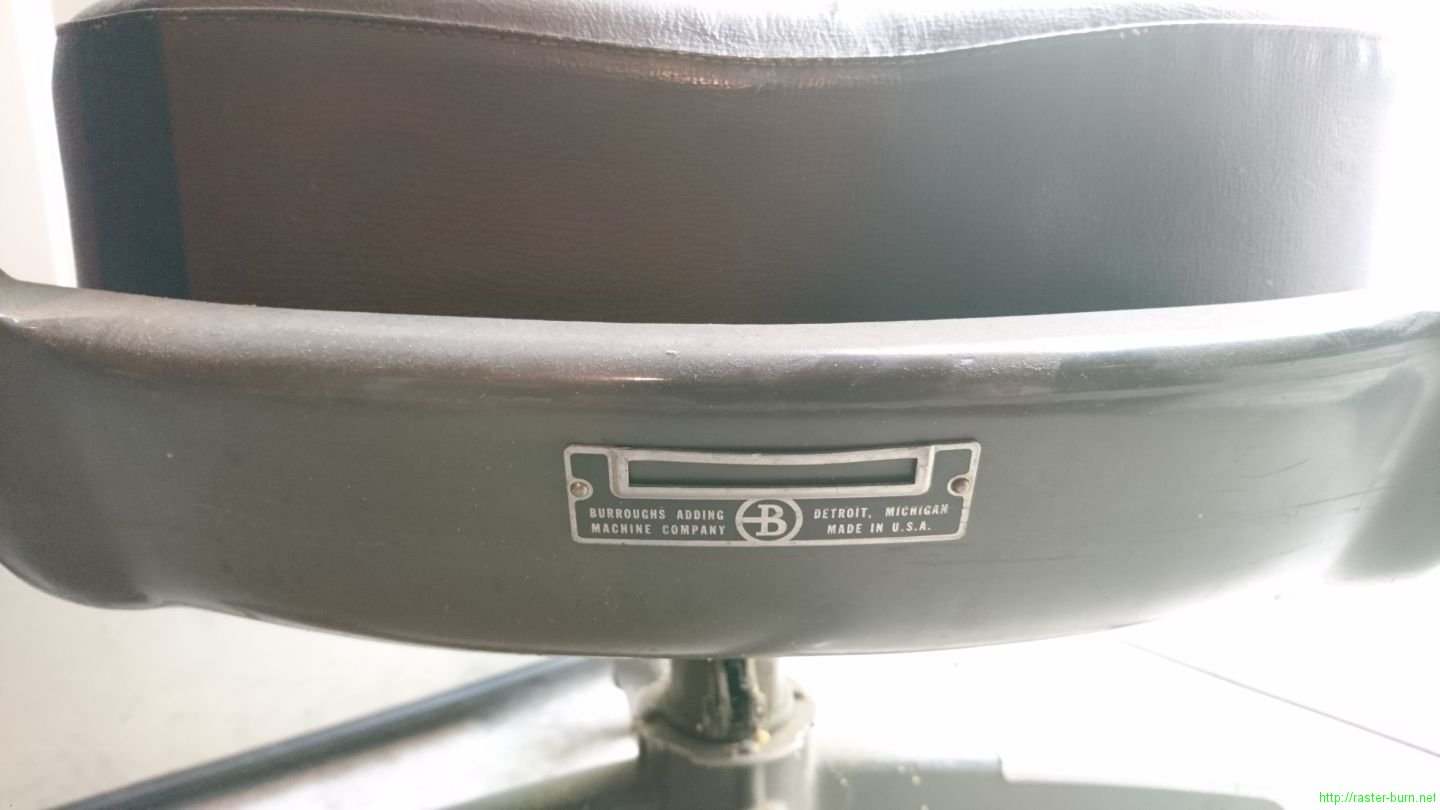
Some more reference pictures of identifying marks follow:

Seat base cast markings
“Burroughs Adding Machine Company 21466 Made In USA”

Backrest upright cast markings
“Burroughs Adding Machine Company 21466 Made In USA”

Label sewn in to seat cover edge
“Identification 5180 1-21466 Seats Burroughs”

Label glued to seat base
“Manufactured By Burroughs Adding Machine Company Detroit 32 Michigan”