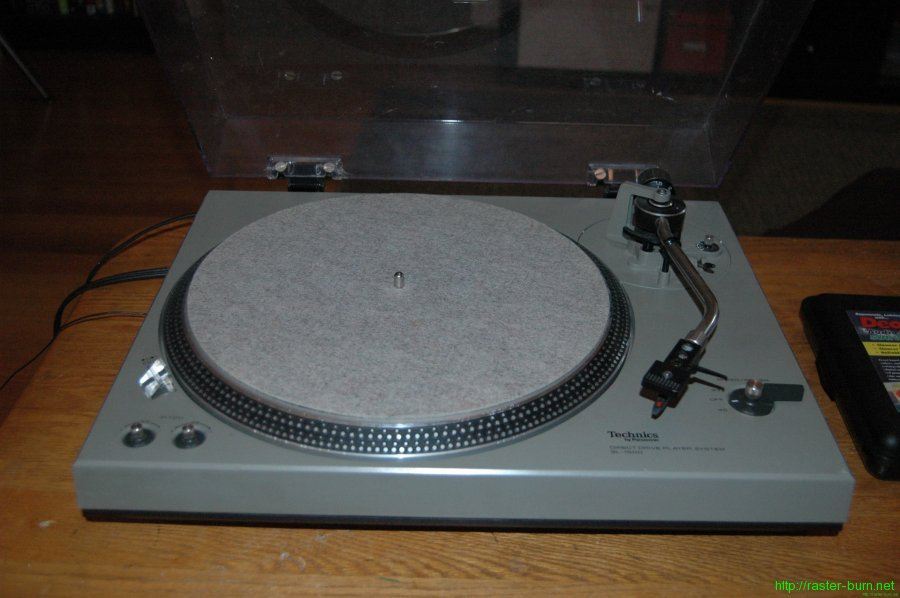
One thing that has been on my to-do list for far too long is to clean up my turntable so I can start listening to and ripping vinyl again. It’s embarrassing to admit how long I’ve been putting it off… I think I noticed it being erratic two years ago, bought the DeoxIT stuff I needed to fix it a year later, and then sat on it until today. Anyways, it’s done at last! Here’s how…
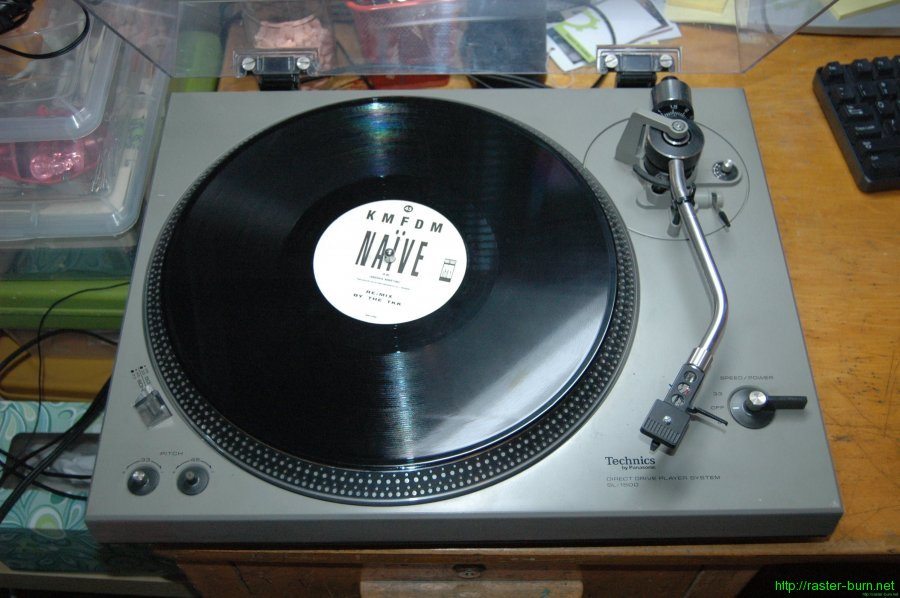
Start with a Technics SL-1500 in good condition save for the fact that it will vacillate wildly between making your favorite musicians sound like they’ve been hit on the head a few times too many, and been breathing helium.
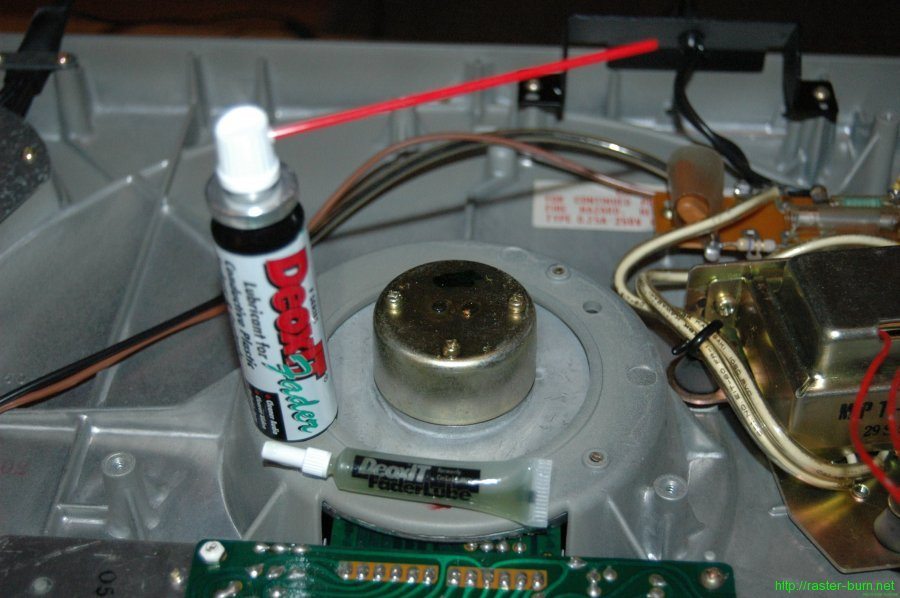
Also have a good electronic switch cleaner and lubricant ready. I used Caig Labs DeoxIT Fader formula for the switches and pots, and DeoxIT Gold for the connections between the board with the trim switches and the speed controller and motor board.
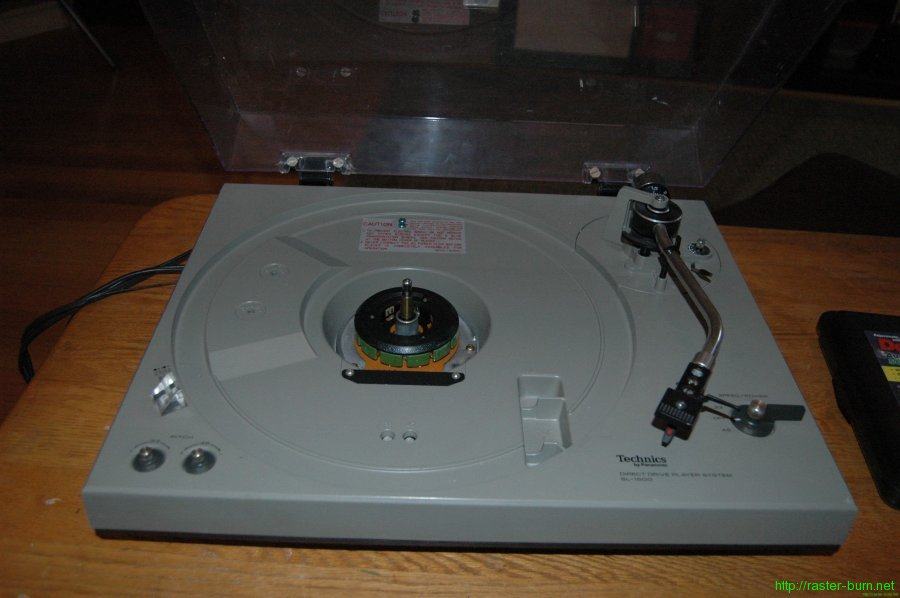
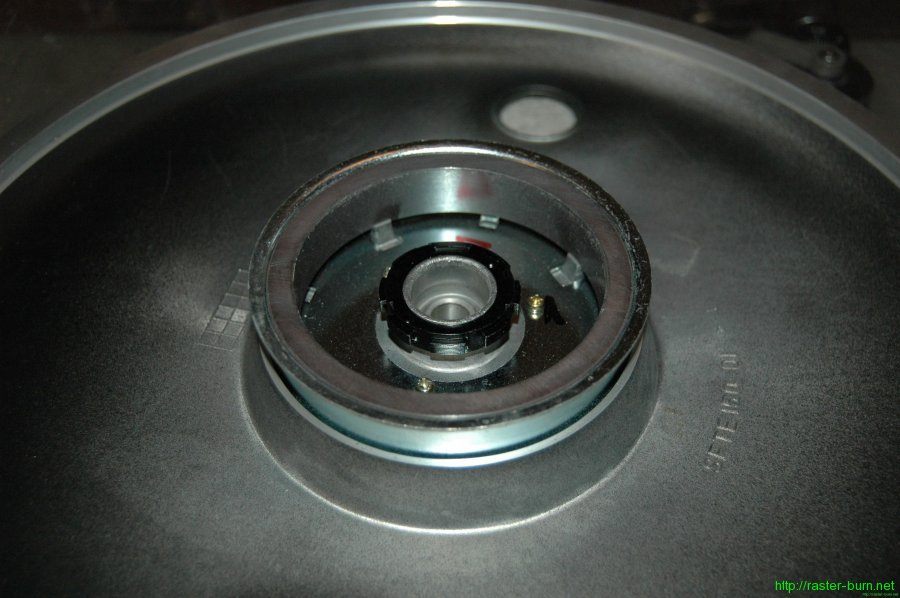
Set it down on your work surface. First thing you’ll need to do is remove the platter. For this model it’s held in place by a magnet, so you can just grasp it by the two holes uncovered by removing the slip mat and pull it straight up and off the motor.
Next, flip it over and remove the bottom case. You’ll want to loosen all the phillips screws on the bottom, keeping track of where the long and short ones came from, or just leaving them in their holes and lifting them out with the casing.
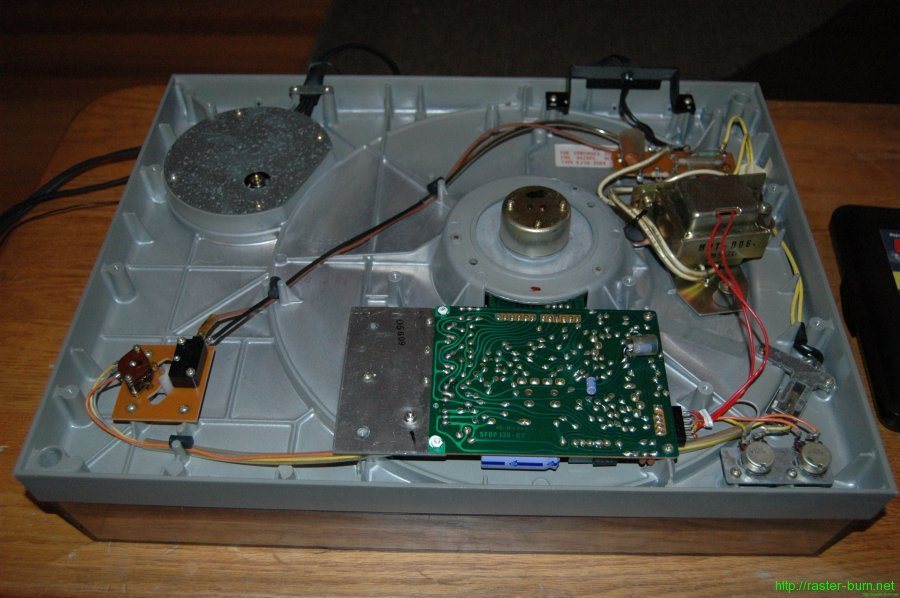
Once you’ve got it open you’ll see this:
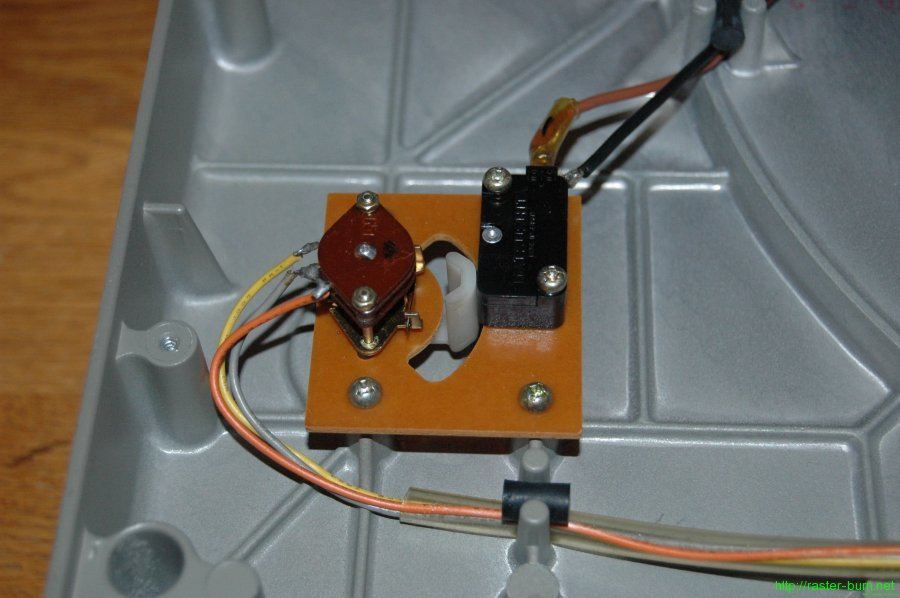
We have three targets for cleaning and lubrication here. In the lower left is the main speed selector and power switch. Hitting it with the chemicals should be easy since the mechanism is completely exposed. I recommend taking the board loose so you can drip the lubricant down in between the discs that make up the switch and use gravity to your advantage.
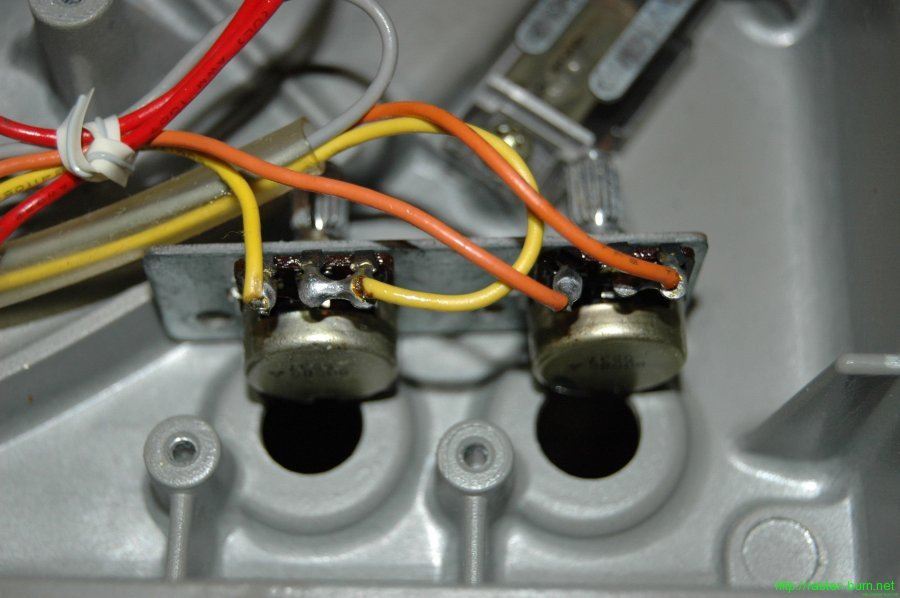
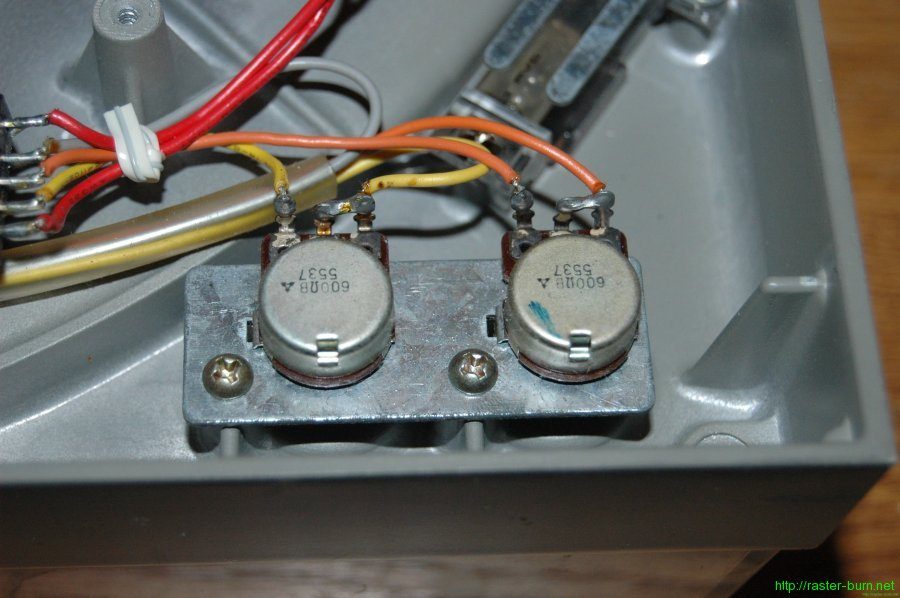
Next are the two speed adjustment potentiometers. You’ll wanna take the plate these are mounted to loose to give you better access to spray stuff in since as installed they’re hard to get at. Make sure to twist these lock to lock several times at each stage to circulate the cleaner well and get rid of built up gunk on the contacts.
Also, make sure to check that once you’ve screwed the plate with the potentiometers back in place that you can reinstall the knobs that go on them and turn them freely. There was enough play in the fitment on my turntable that on my first go the knobs would rub against the sunken area of the top case they fit into and I had to take everything back apart to adjust and get them moving freely.
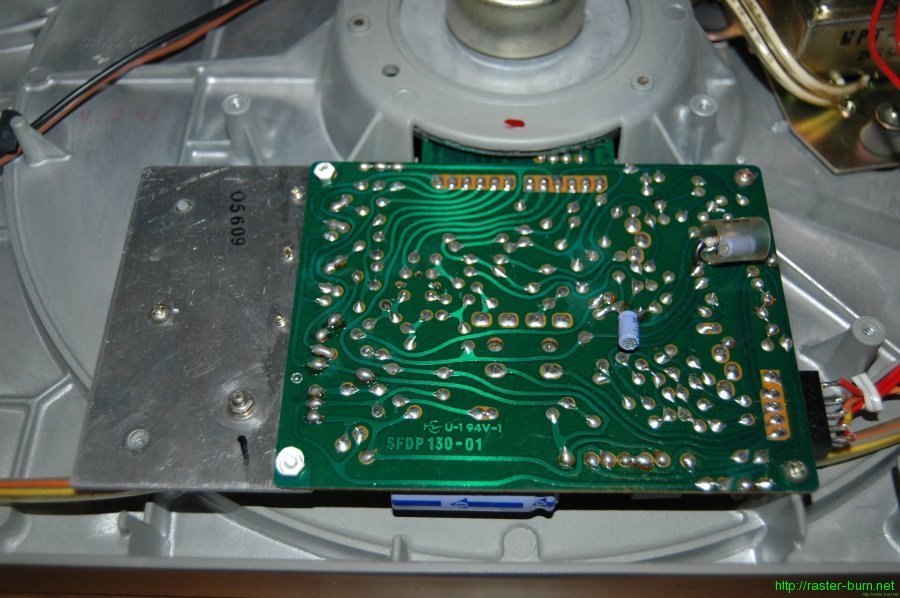
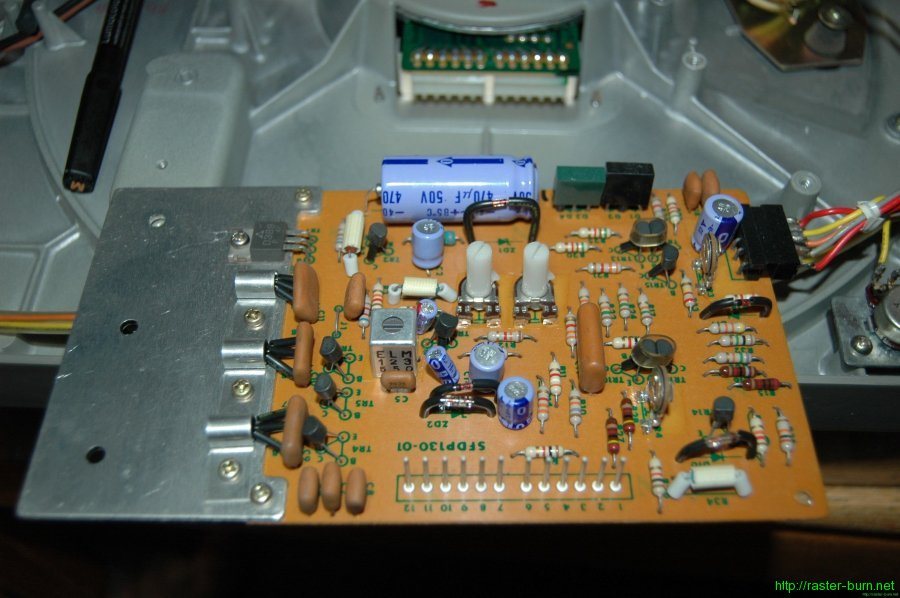
Finally, you’ll want to take the big circuit board in the middle loose and take care of the two trim switches on it.
The trim switches are the two white knobs you can see in the below picture. Make sure to mark their initial position as if they are moved too far off the main adjustment knobs will not have the right range to adjust the speed of the turntable into a useable setting.
I also lubricated the motor using some Triflow sewing machine oil I had for *another* project I’ve been sitting on for too damn long (a seafoam green Singer 338). There’s a special Technics-approved oil for the purpose but I figured this stuff would work well enough. Can’t be any worse than not being oiled period for 20 years.
Once you’ve reinstalled that board, stitch everything back together, hook things back up, and enjoy the fruits of your labor.
Mad props to the author of Thrift Store Record Report for their awesome guide (http://recordreport.blogspot.com/2011/05/fixing-unstable-turntable-speed.html) to the SL-1300 that helped reassure me I wasn’t Doin’ It Wrong. Thanks also due to The Vinyl Engine for having the manual for my turntable available online (http://www.vinylengine.com/library/technics/sl-1500.shtml).

