A matter of perception – 2015 Ford Transit Connect ambient air temperature sensor replacement

So, I’ve had an issue with my van that’s been bugging me for a while. The outside air temperature reading on the center console display would fluctuate wildly, especially in hot weather, which wouldn’t be that bothersome on its own… Unfortunately the air conditioning system uses the same sensor as the information center, and when the temperature reads below around 32 degrees it will no longer operate to cool air. So, I’d be driving around in the summer baking while the car thought it was -20 outside and refused to run the air conditioning.

This seems to be a pretty common issue on 2010s Fords, apparently these sensors have a high failure rate. Fortunately, it’s easy enough to solve. There are a bunch of videos out there showing how to access this sensor, but none of them is great, so I decided to post some pictures of where exactly this thing is and what you need to do to get to it.

Parts and tools wise, you don’t need much. You’ll require a trim tool, and a T30 Torx. For the replacement sensor, I went to O’Reilly and they looked up Standard part number AX352 as the correct one for this vehicle. The exact Ford part number on the sensor I removed was AU5T-12A647-AC, but it looks like a bunch of different Ford part numbers correspond to this same sensor, and it’s a generic thing used across many models.

To access the sensor, you’ll need to remove the plastic front splash guard that mounts up under the bumper. To loosen it there are several push-in plastic fasteners to remove with your trim tool, and a few T30 Torx screws. Once those are all removed, pull one side of the splash guard toward the rear of the vehicle, you might have to push the edge of the front bumper cover out slightly to get it to clear. Once you have one edge loose you should be able to easily slide the whole thing out. Keep it horizontal while you’re doing so, because there’s probably a bunch of road debris on top of it that you don’t want to pour all over yourself.

With the splash guard out of the way, you’ll be able to look up inside the bumper cover on the driver’s side, and readily see the sensor’s location. It mounts right up next to the lower air inlet in the bumper cover. Pop the sensor out of its mounting holes with your trim tool, push in the tab on the connector and pull to remove, install your new one, and you should be good to go. As you’re doing this check the pins in the connector for corrosion. If they’re looking nasty you may need to use some contact cleaner or replace the connector, as these sensors can be sensitive to connection issues.

Once you’ve got everything buttoned back up, take the vehicle for a test drive. The new sensor reading won’t show up on the info center display immediately, I think it starts off from whatever it read last time the vehicle was run, and then takes a rolling average of new readings as you drive. It took about twenty minutes of driving for the computer to catch up and read the actual outside temperature and hold steady.

Another weird old computer from the Bins – Crown TEF-12

Saw this weird box with the Crown logo on it in the reject bin right by the checkout as I was leaving and turned right on around to check it out more closely. Once I figured out how to open the front (push the two ‘top’ feet inwards!) I saw it was an old luggable in an interesting format. Bought it without hesitation for the perfunctory price asked, and took it home to dig in further…

The front is pretty familiar as far as early 80s luggable computers go.

The back gets interesting. Bunch of audio I/O that very unusual.

And inside we find this built like a tank modular machine with all kinds of extra audio handling functionality.

I haven’t researched it thoroughly yet, but it looks like it was capable of pretty groundbreaking acoustic data collection and visualization for its time. I’ll leave the specifics to another post by someone who used one of these things to great effect back when it was new: https://www.tvtechnology.com/opinions/audio-breakthroughs-with-tef-analysis

Speed Heart

Just when I was getting a bit of space back in the shop, another too good to pass on deal popped up. I thought it was a bogus ad at first, what kind of person offers, among other titles, Paperboy for $150 in working condition?

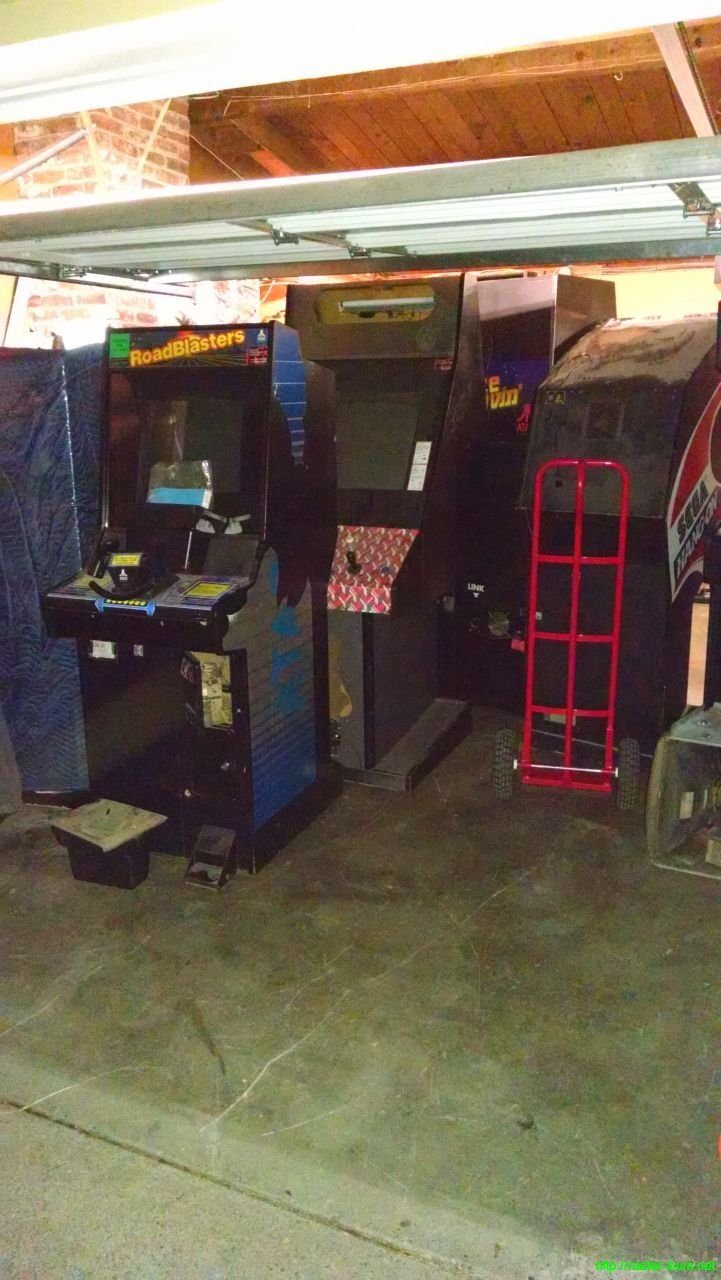
A friend had more confidence in the promise of Craigslist to deliver a steal every so often and texted the seller… They got an answer back, and a seven trip Friday night of acquisitional frenzy later we’d packed his garage solid. Thankfully, only two of our purchases would follow me home.

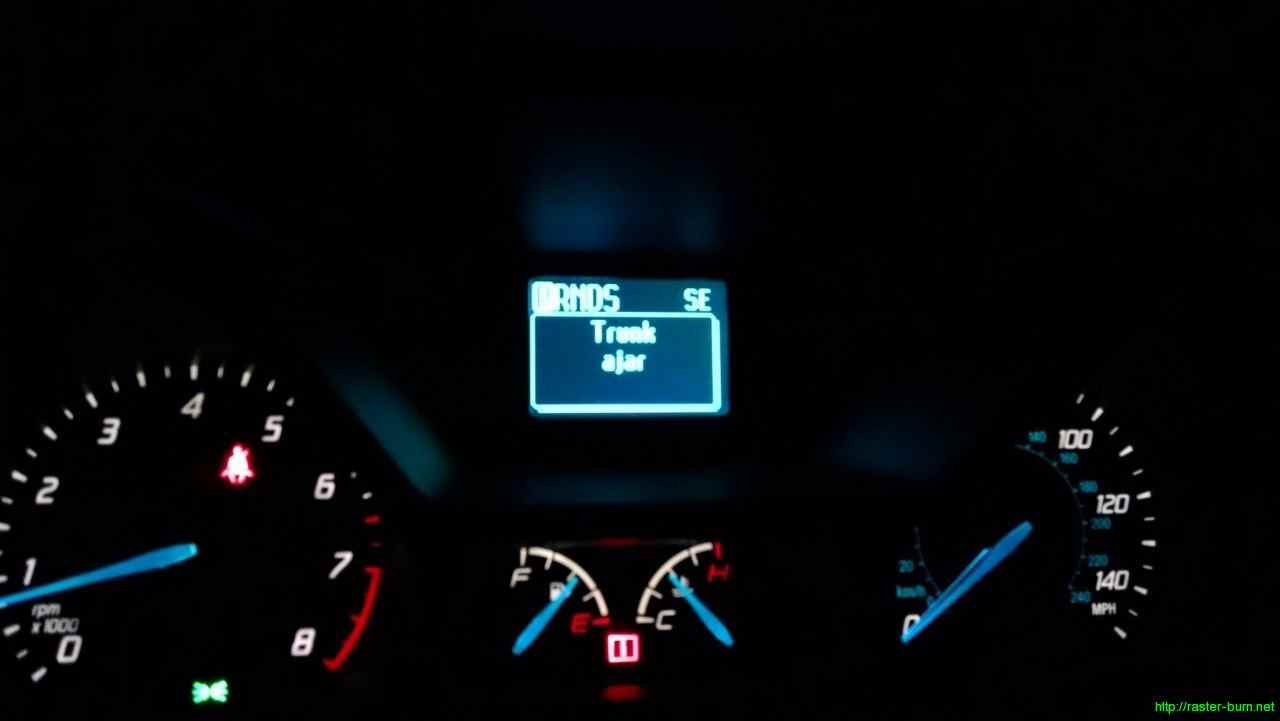
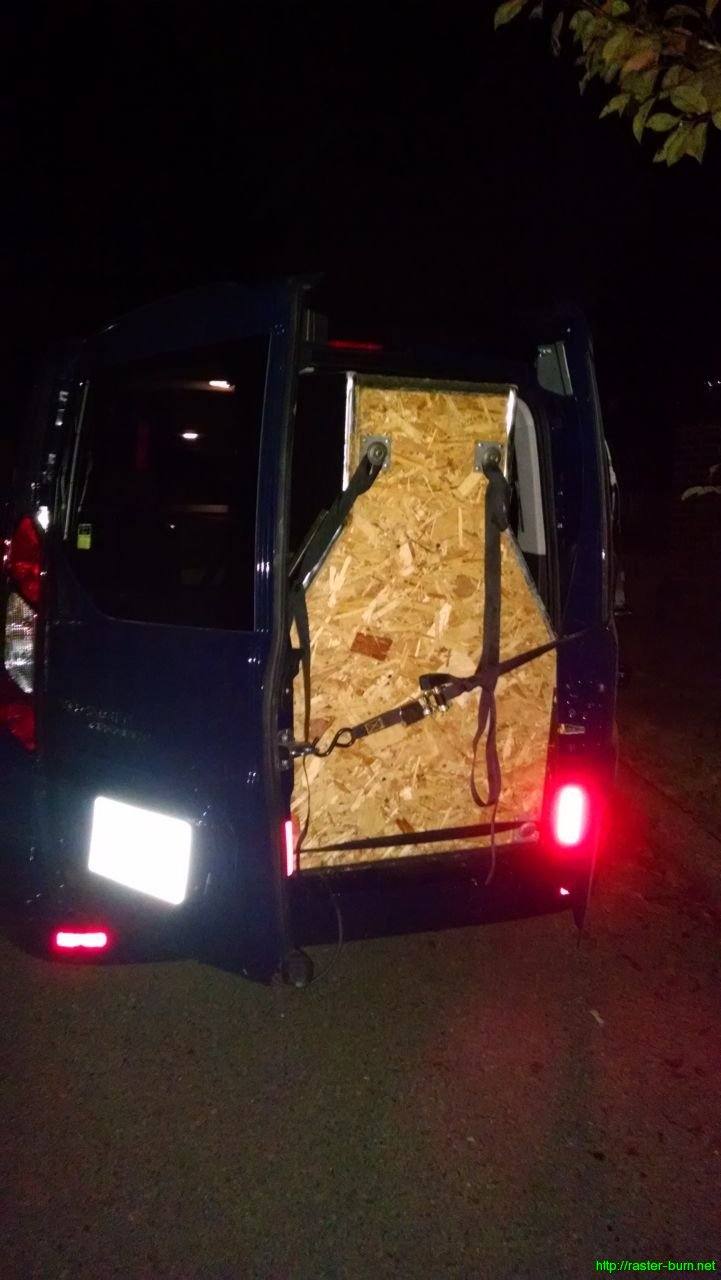
What’s six and a half feet tall, four hundred fifty pounds, and doesn’t clear the rear door latch of my van by about an inch?

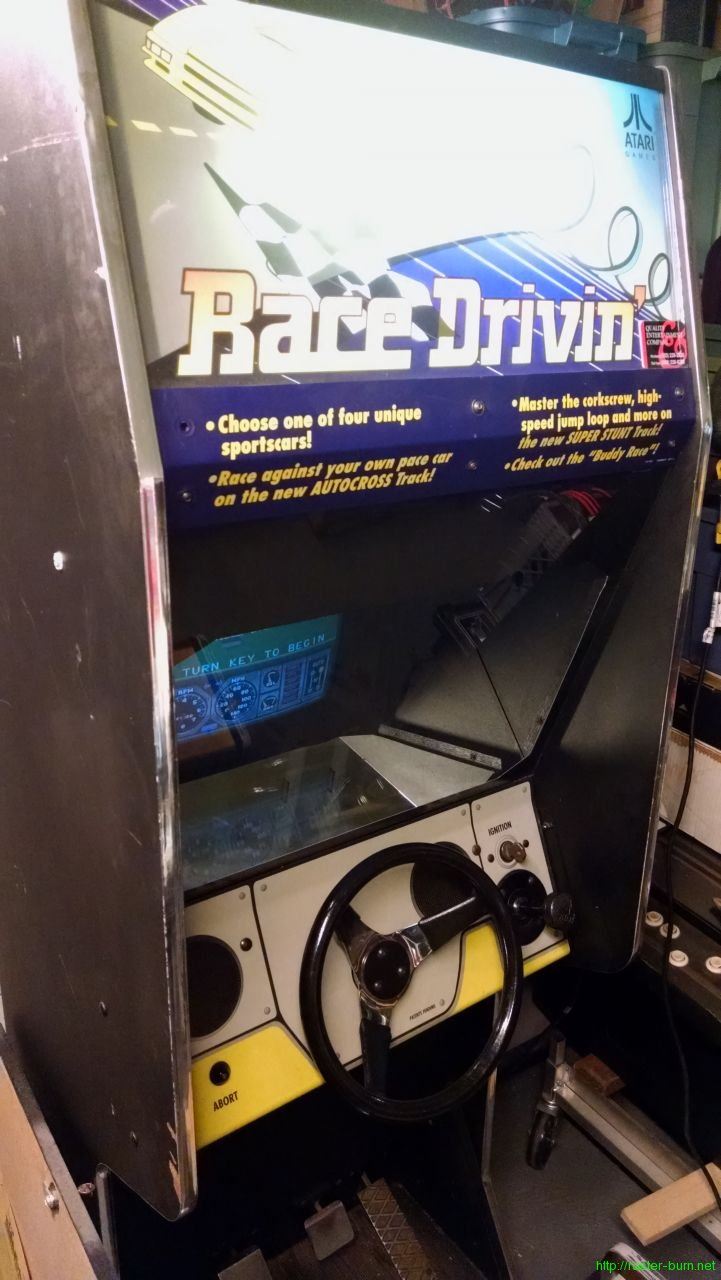
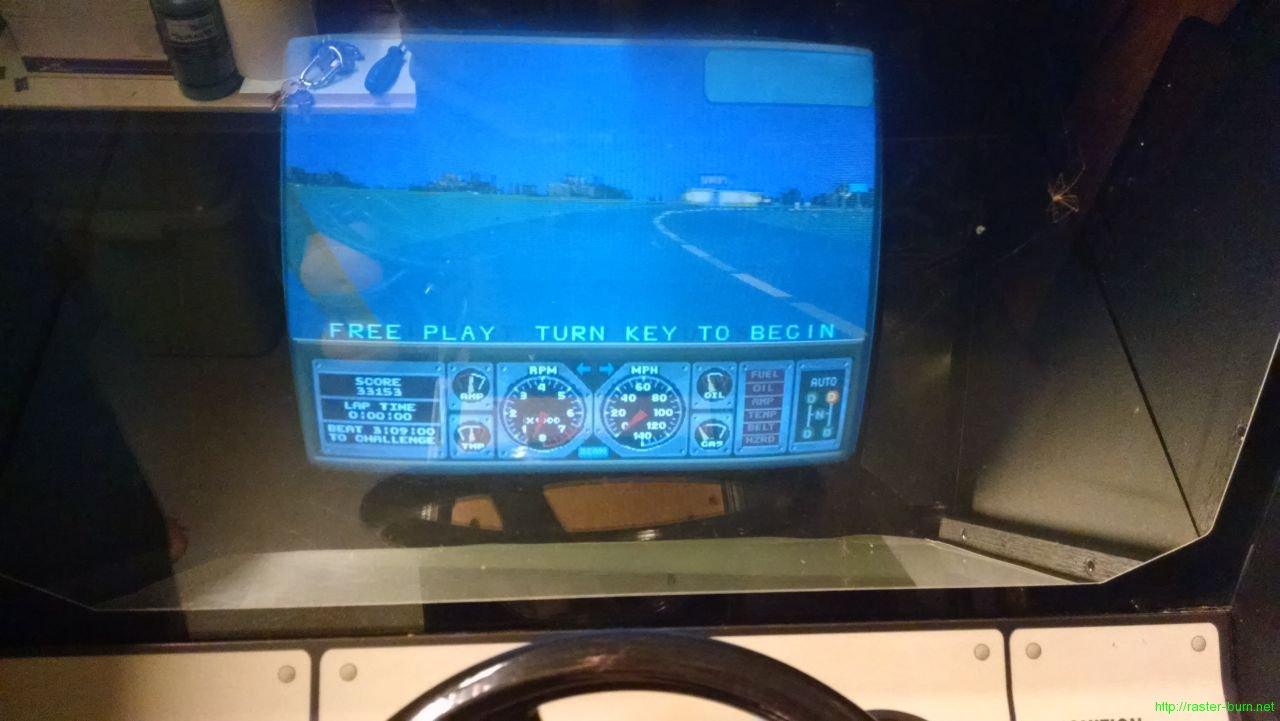
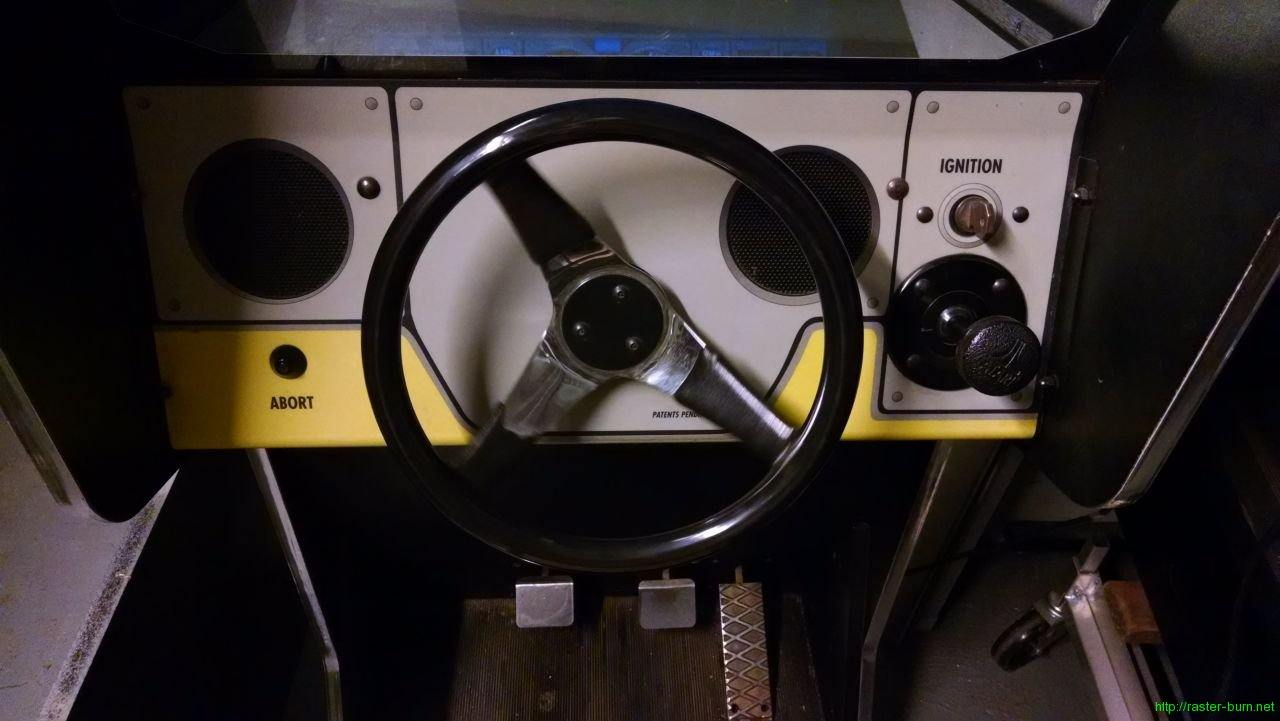
The allegedly ‘compact’ version of Atari’s 1990 sequel to Hard Drivin’, Race Drivin’. I nearly passed this one on to another collector by virtue of its size alone… Moving it is awful! But a couple rounds at the wheel convinced me otherwise and I conned some friends into helping me drag the beast home.

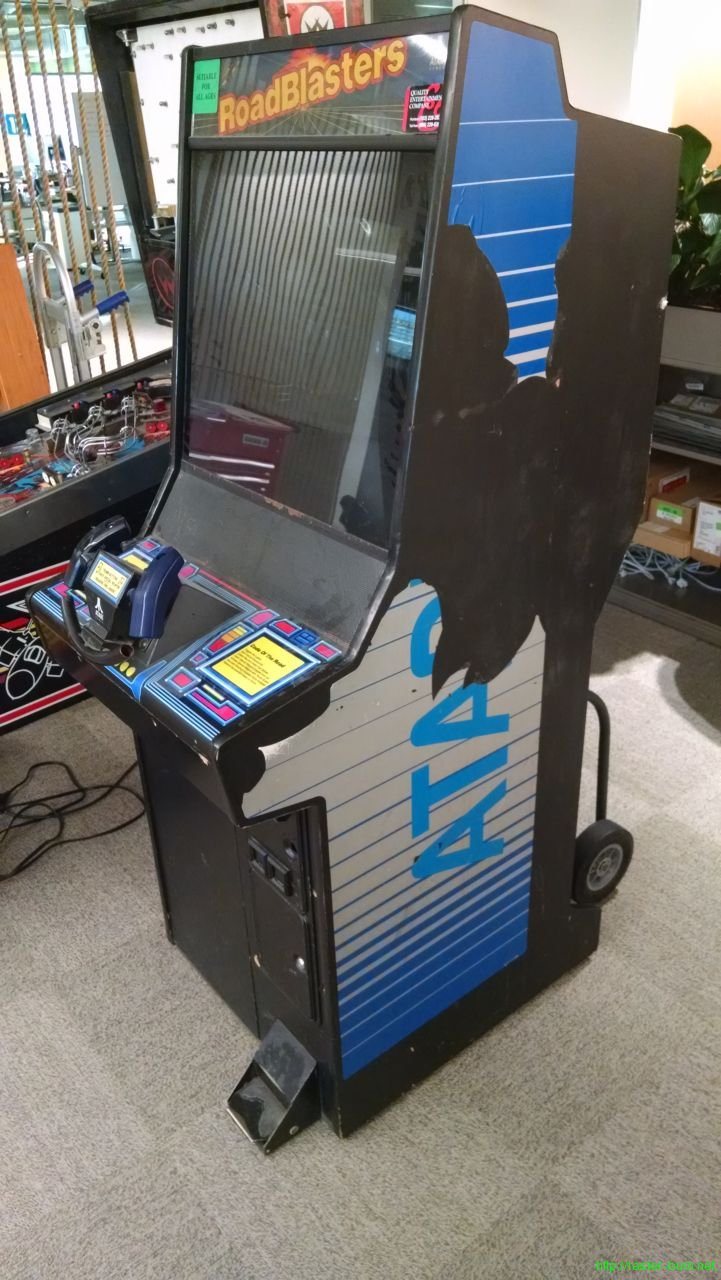
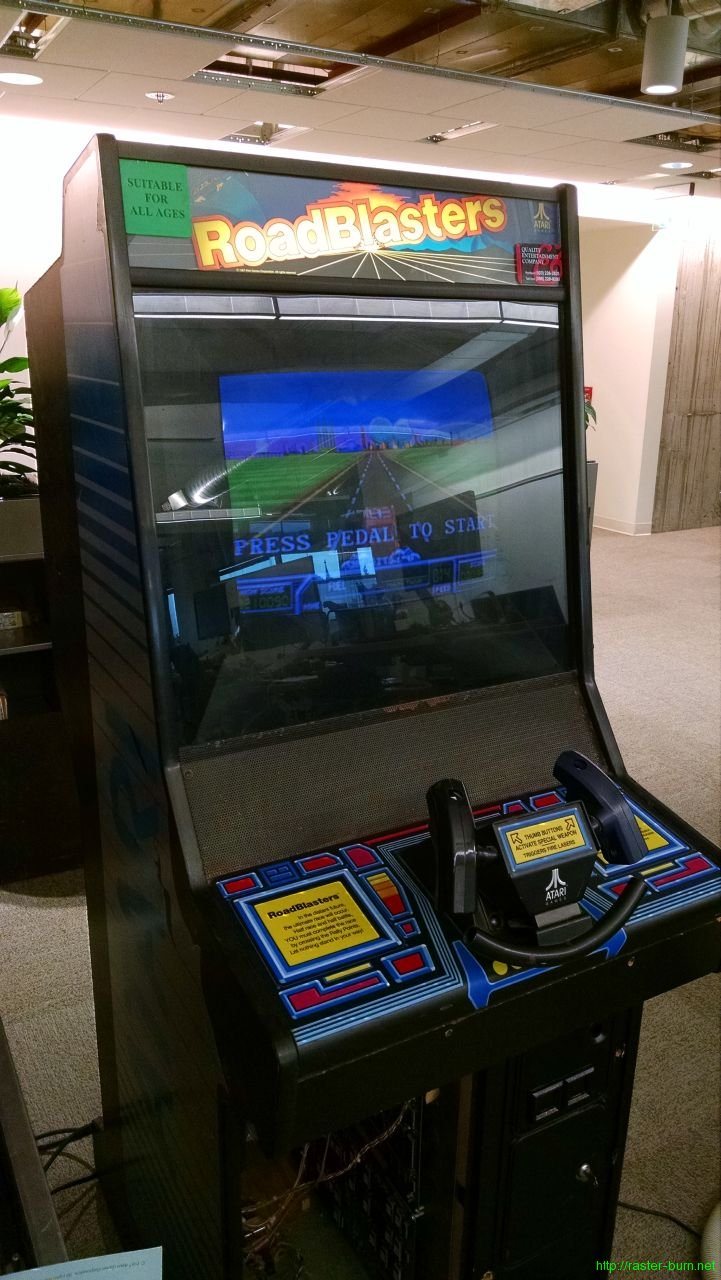
The second, much more diminutive addition is another Atari title, Roadblasters, circa 1987. This example is the kit version of Roadblasters, installed in a System 1 cabinet that originally came outfitted as a Road Runner.

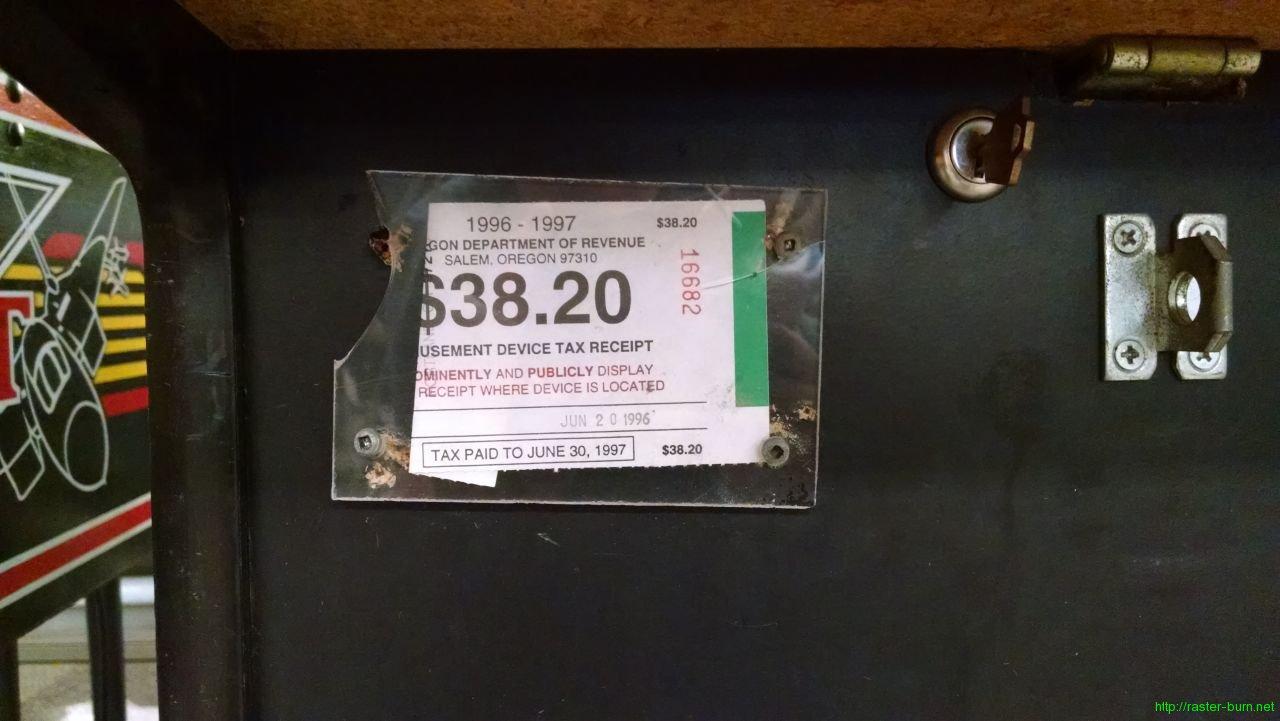
All of the games in the lot had signs of being taken off route at about the same time in the late 90s.

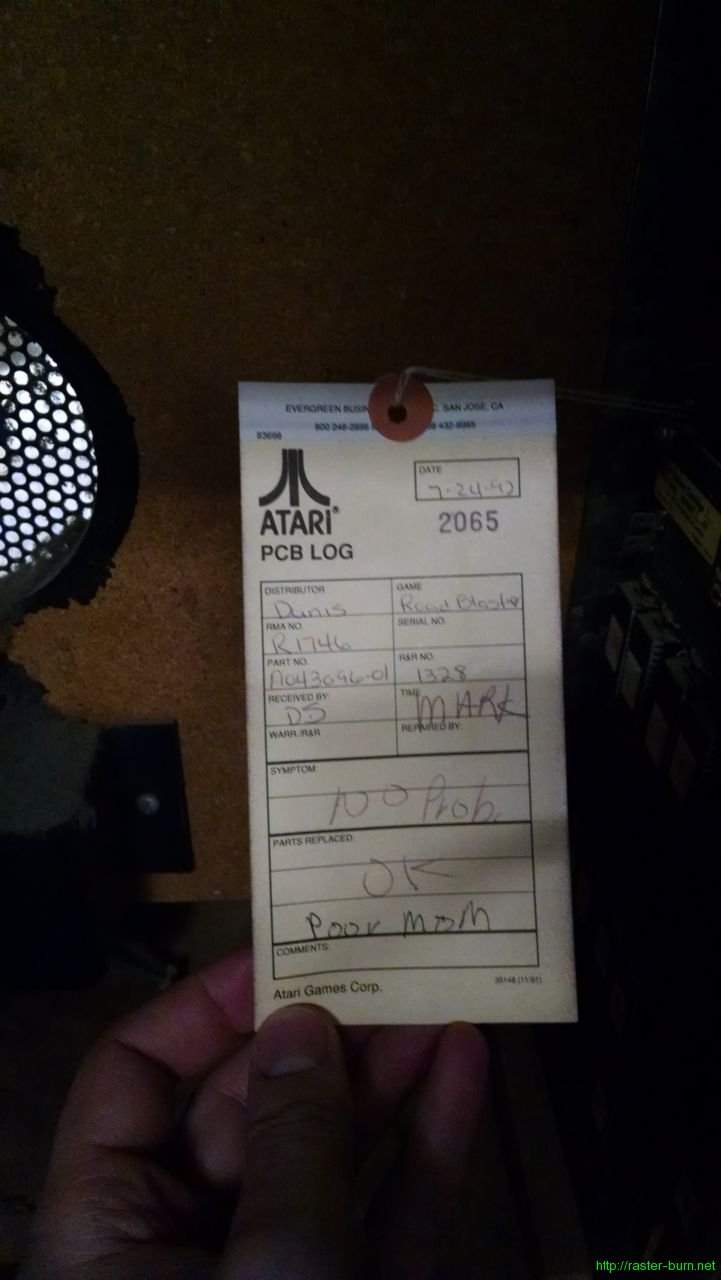
Roadblasters had something I’d never run into before attached to its main board. An Atari repair tag from 1992. The distributor noted, Dunis, is one I’ve found property tags for in several places, not surprised they were the go between for repair work on a local machine.

Roadblasters needs a little bit of attention to its controls, but is otherwise in good condition. The accelerator pedal needs a new potentiometer and the yoke has some missing parts and a failed repair to the trigger buttons on one side. I’ve got the parts I need on the way and as soon as its fixed it’ll be replacing one of the machines in the row of games at the office.

Race Drivin’ needs a little more in the way of repairs. It has no sound right now, despite the sound board passing its self test routines. The first gear shifter position and brake pedal are also non-functional. The shifter is a simple microswitch replacement, but the brake pedal uses a strain gauge rather than the typical potentiometer or microswitch common in other games. As far as I know, a proper replacement is unobtainable short of finding old stock or used parts, and neither really grows on trees… So I may have to figure out an alternative.