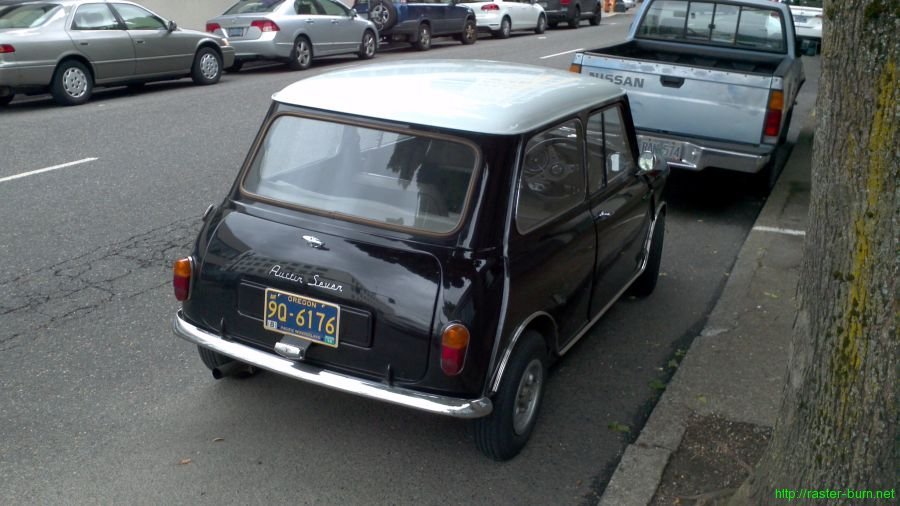
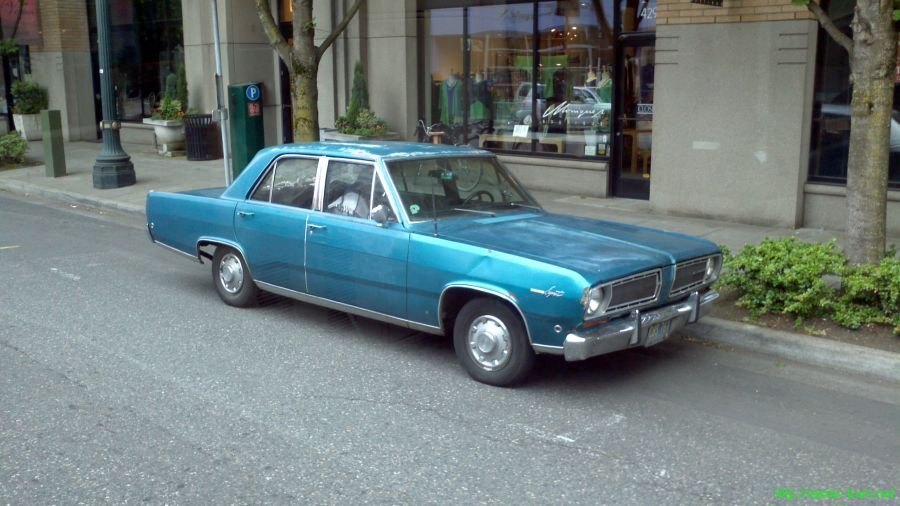
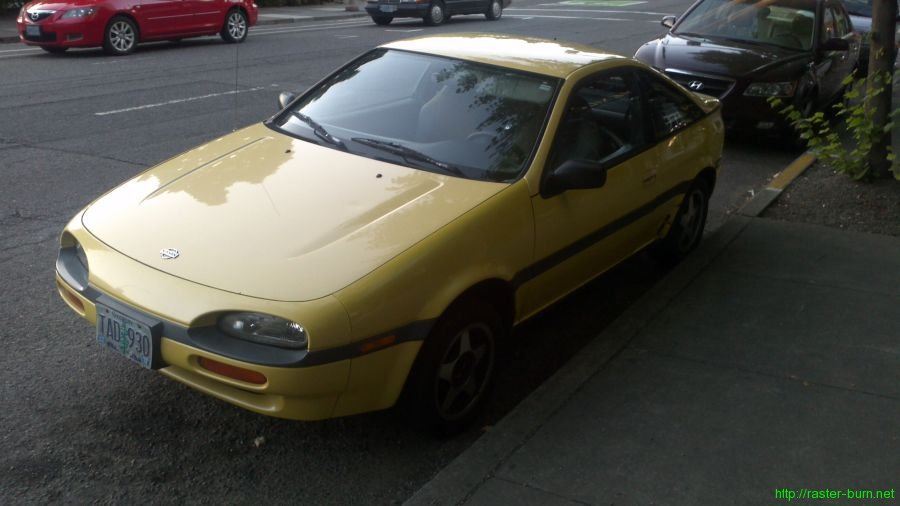
On the Street – 196x Austin Seven, 1968 Plymouth Valiant, 199x Nissan NX

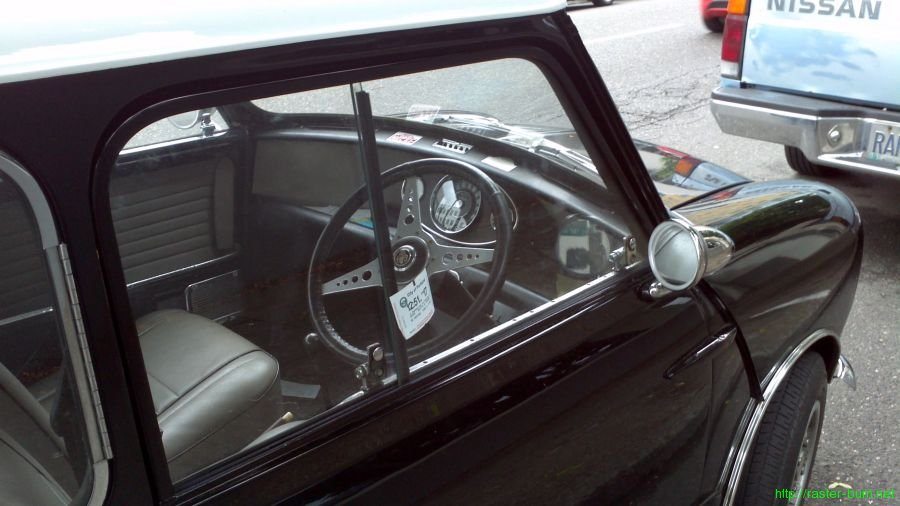
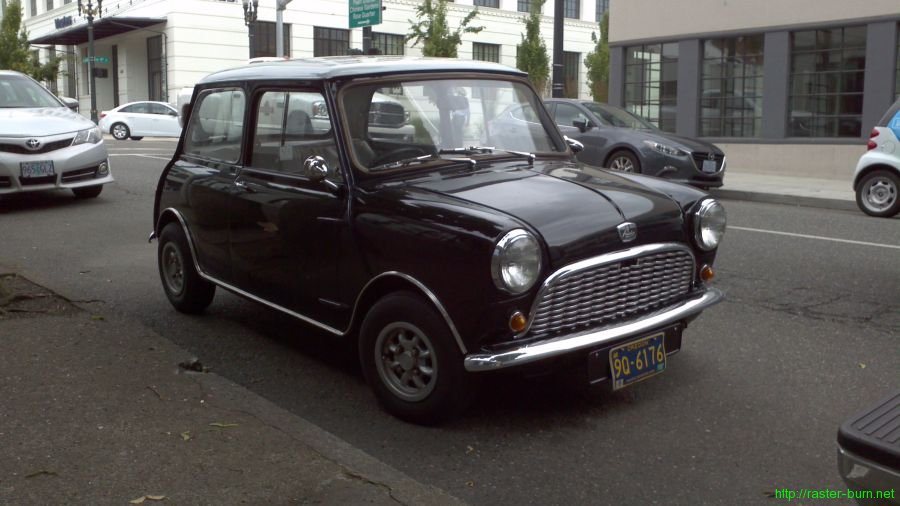
I’m not quite sure what year this lovely right hand drive Austin Seven (better known as the Morris Mini) is. Given its branding it predates 1962 since that year is when the Seven brand was dropped. The interior switch panel visible inside through the rear window places it as a 1960 or later model since the 1959 had a flat stamped panel rather than the later recessed one.

The 1959 Mini Registry site was very helpful in narrowing the year range, but unfortunately there’s not such an exhaustive reference for 1960-1961 models so I couldn’t peg it exactly.

It took me a while to identify this one, I placed it as mid-60s initially but it’s actually a 1968 model. A 1968 Plymouth Valiant Signet, to be exact. Neat to see something like this still on the road today, given the lack of collectibility such a mundane people mover has compared to its sportier contemporaries.

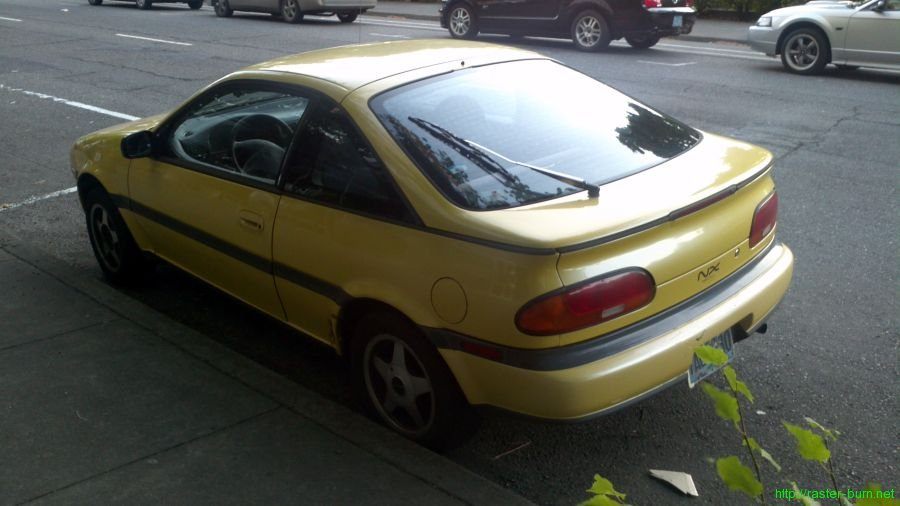
The strange looking Nissan NX was a flash in the pan for the North American market, only being sold between 1991 and 1993. I’d never seen one before and figured it must have been a grey market import at first. No idea what the exact year is since there’s precious little information available about this model’s variations over the years online.

Fabrication Friday

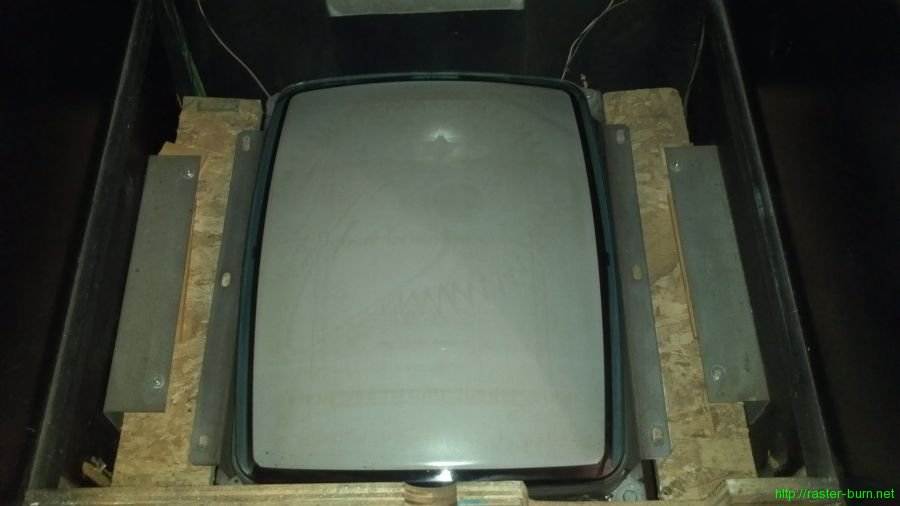
So I’ve had a Midway Bosconian cabinet for a while that I acquired converted to Krazy Bowl, and then swapped in Capcom Bowling myself. Part of that initial conversion, performed long ago by an operator, was to switch the game from Bosconian’s horizontal monitor orientation to the vertical orientation required for Krazy Bowl. This was done using very questionable materials, with results that looked like this…

Scraps of OSB, a stack of shims, and drywall screws isn’t how *I* would have done it… So I replaced all that with something sturdier. While structurally sound that still left one staring at the guts of the machine while playing it. And, because this was never a configuration supported by the cabinet originally, no premade bezels would fit the thing since the monitor was now mounted several inches higher than usual to allow for the tube neck to clear the back of the cabinet.

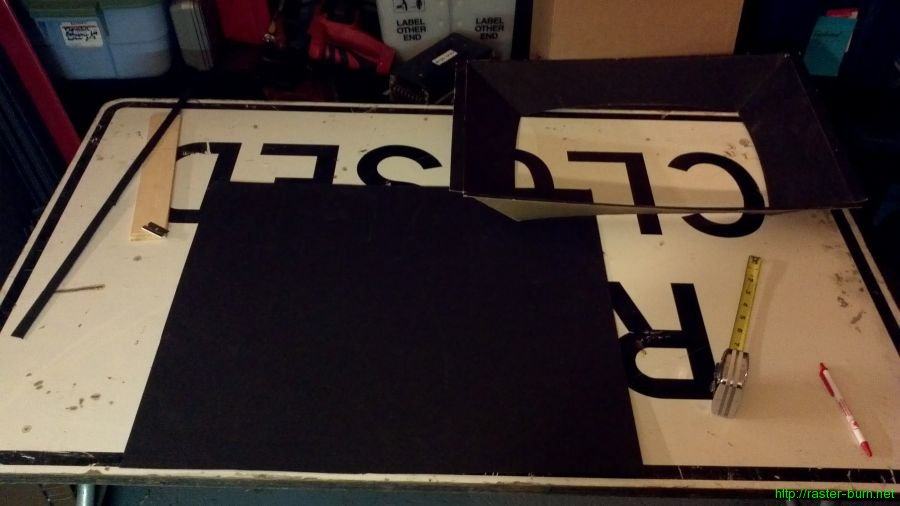
So I got a sheet of mat board and a used cardboard bezel from my parts stash and got to work…

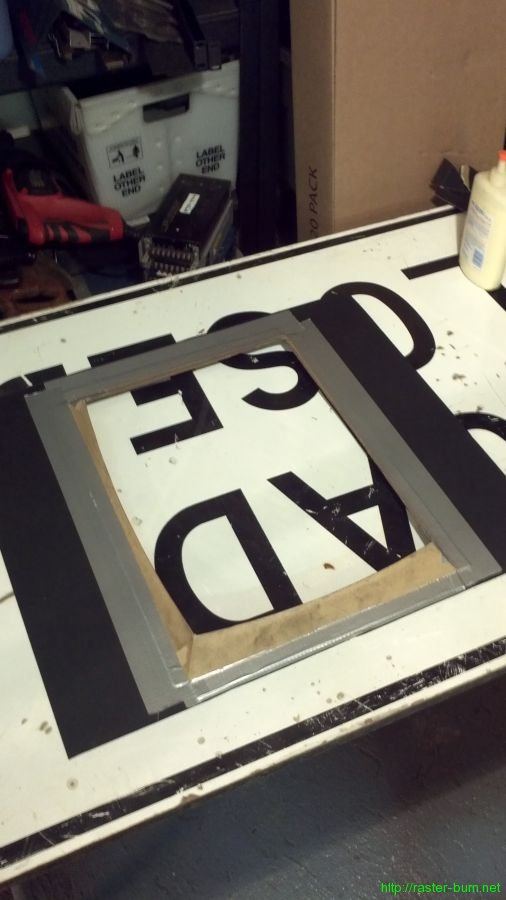
First step was straightforward: Cut the mat board down and make a hole for the monitor.

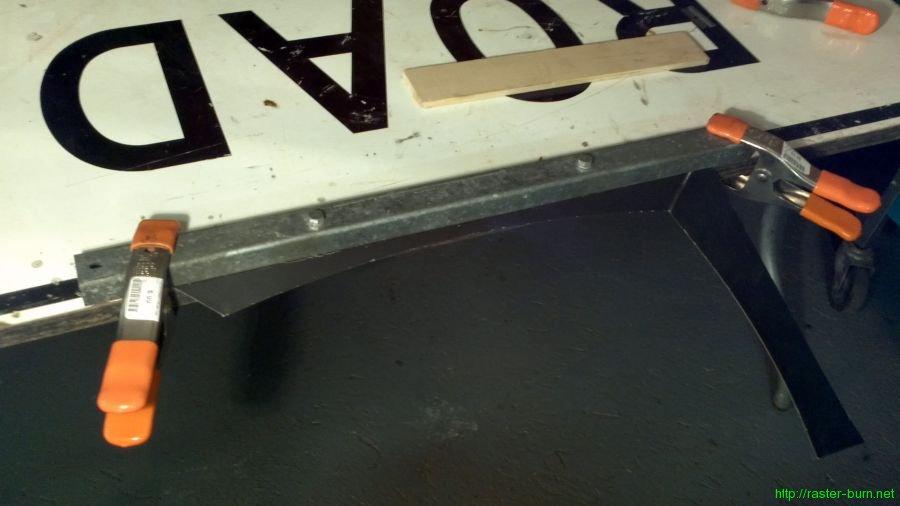
The next part took a little more craftiness. I measured the distance between the tube surface and the bottom of the mat board to determine how much clearance I had. It ended up being about a half inch at the middle of the tube’s curve along the long side. Then I measured from the new crease point in the bezel to the edge of the material to figure out how much excess I had, and trimmed it down allowing for about three quarters of an inch of material to glue to the mat board and hold the important part in place. Trimmed everything and then used a makeshift brake to make the new crease.

Test fit the one half of the bezel to make sure everything looked good, then cut down and creased the other half.

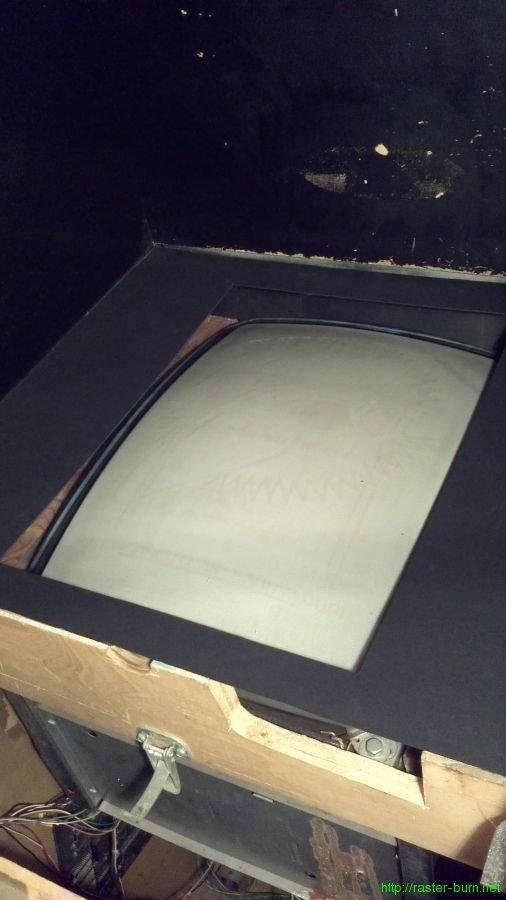
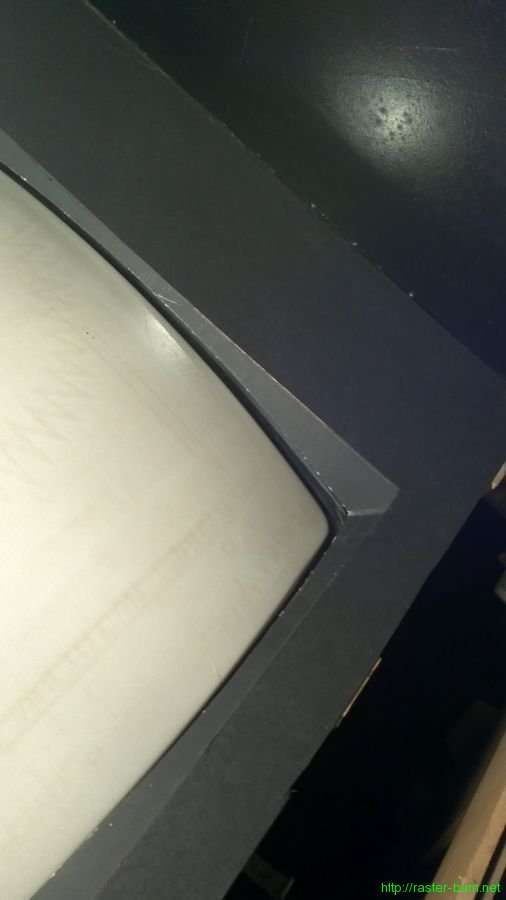
Then spent some time with it loosely taped together to adjust and get the tube centered in the new bezel. After getting it looking decent I glued down and taped the flaps to the mat board, and at the corners where the two halves of the curved bezel part come together.

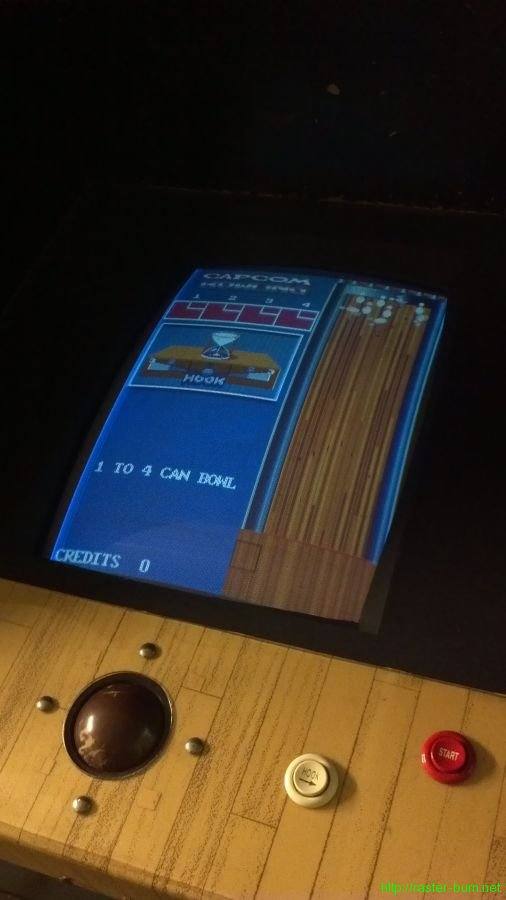
…And installed!