Between The Buttons

Caught a few interesting pieces this past weekend. Loading them out of a hundred degree warehouse wasn’t a treat, but it was worth the effort.

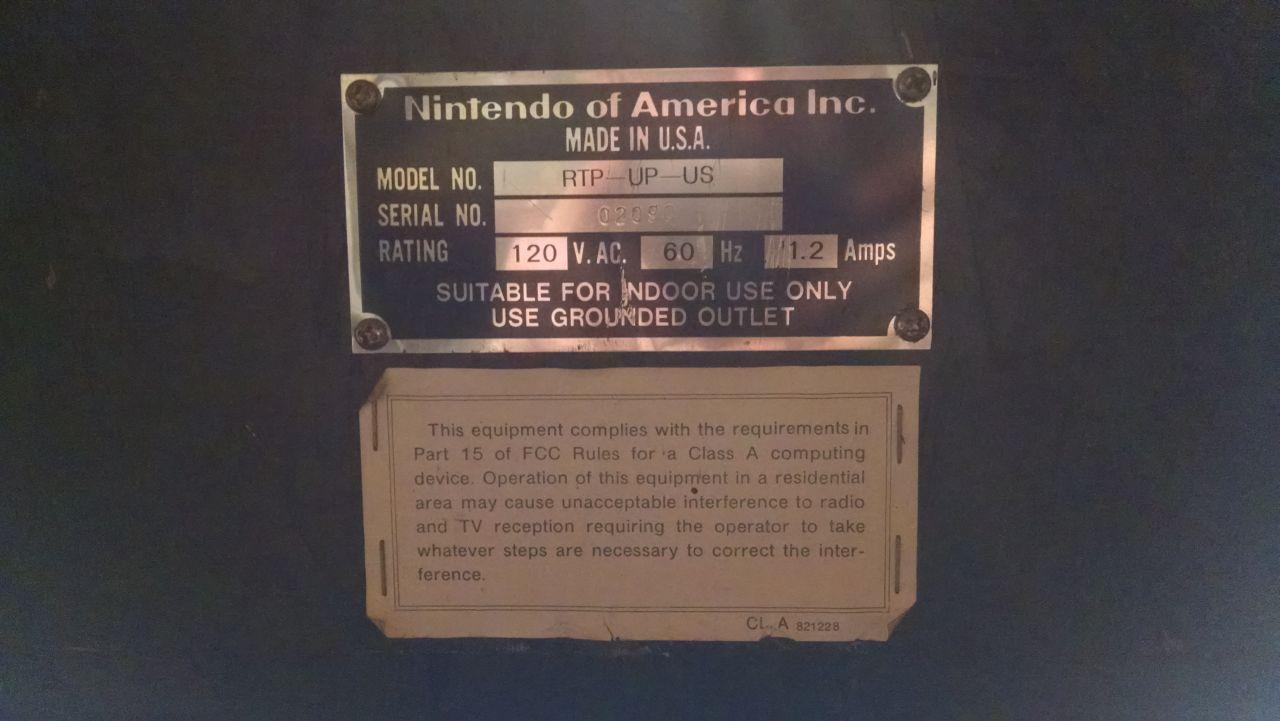
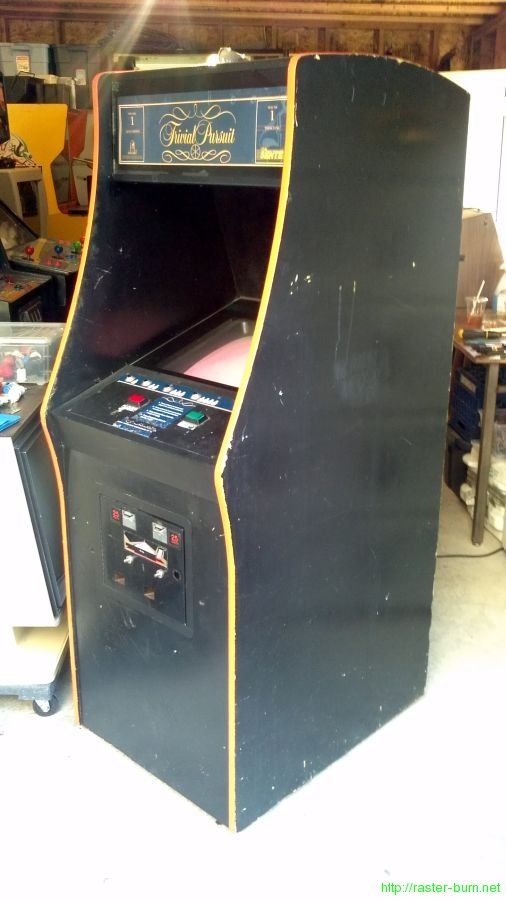
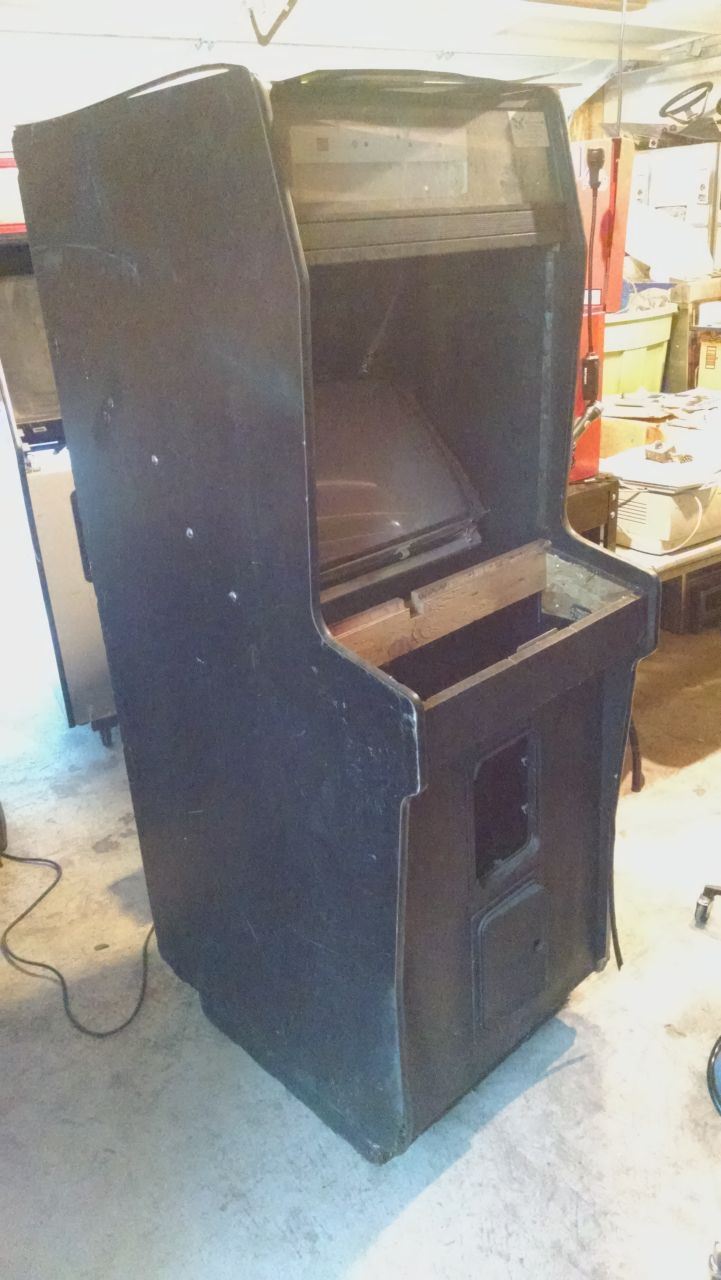
First is what started as a dedicated Nintendo R-Type upright. Serial number is quite low, but it wasn’t exactly a common game either.

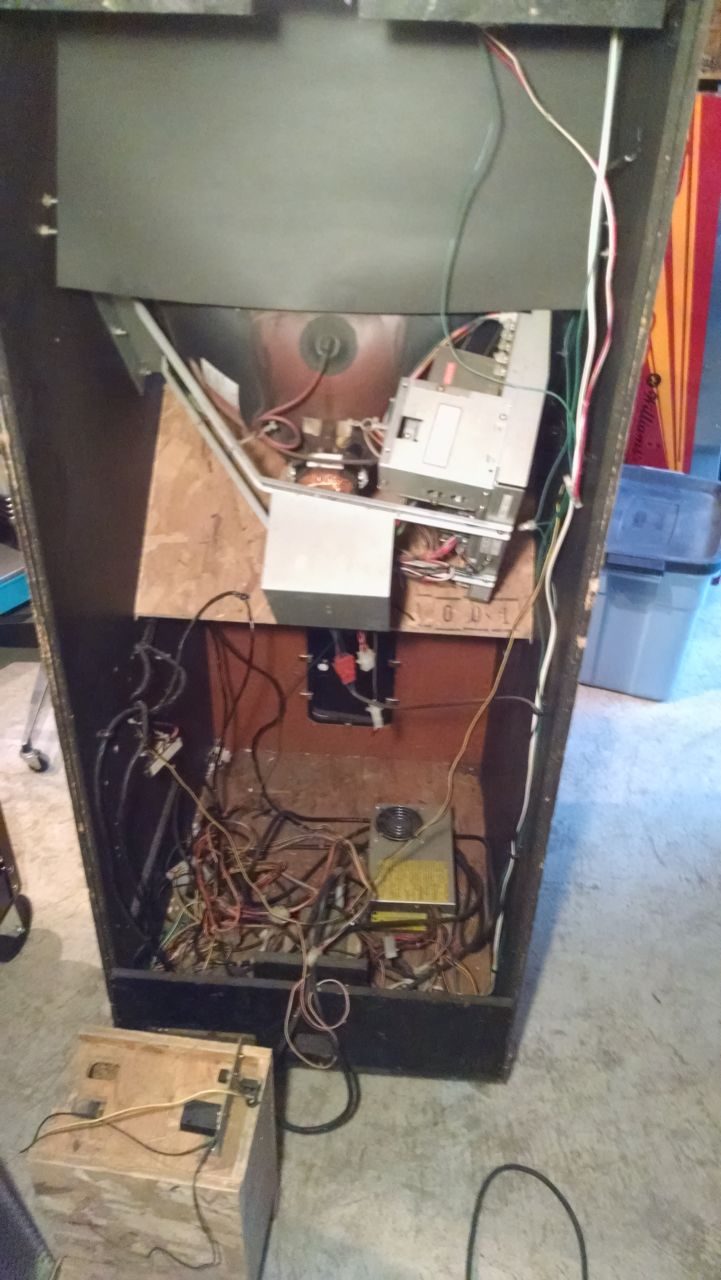
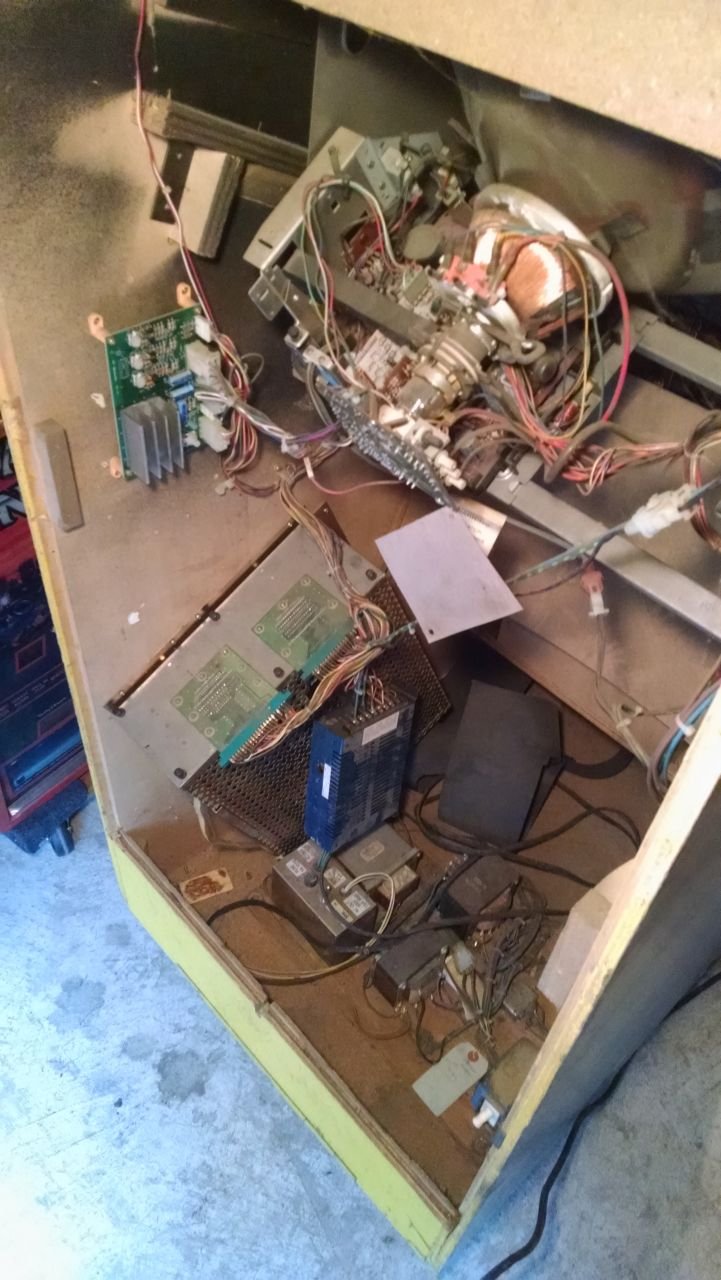
At some point it received a conversion to Golden Axe 2 that looks a lot messier than it is. The wiring was all terminated nicely so I can clip a Nintendo harness right back into place on the original connectors that were left intact. The coin door and vault were pretty messed up or absent but I’ve got spares I salvaged from some destroyed cabs at another warehouse years ago that will be a good match.

With some cleaning and the installation of a few parts it’s already looking most of the way there.


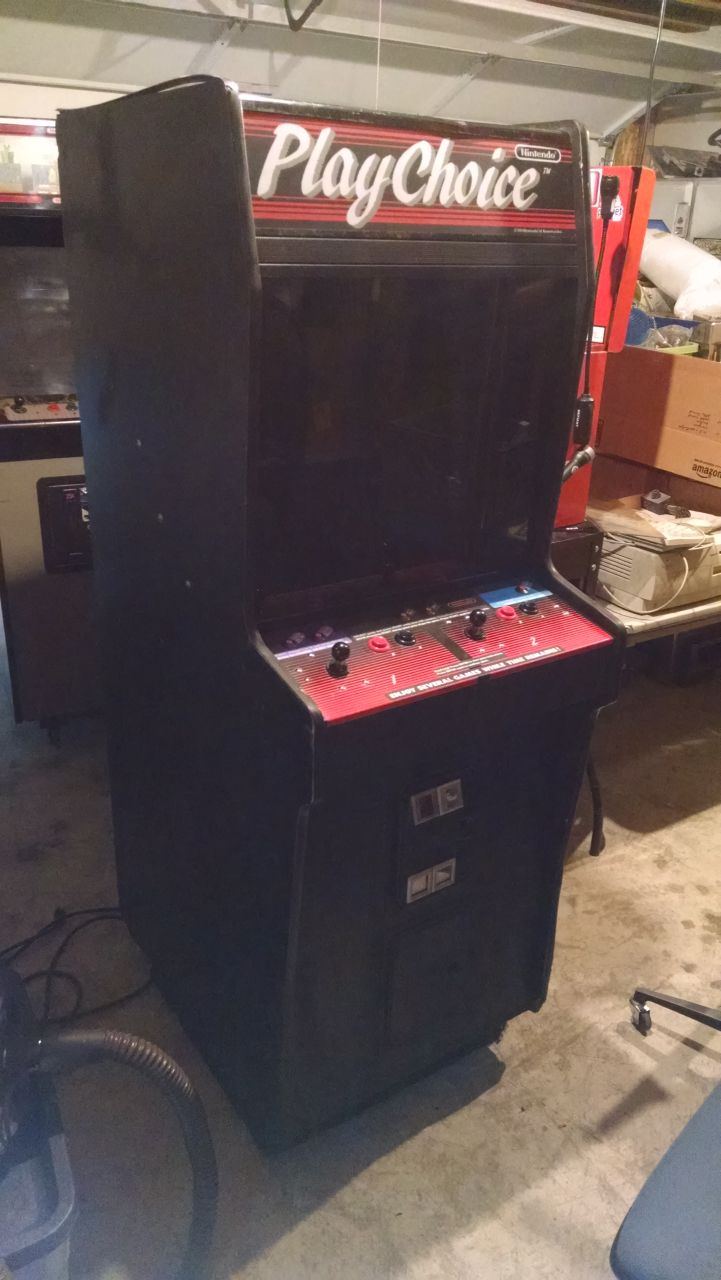
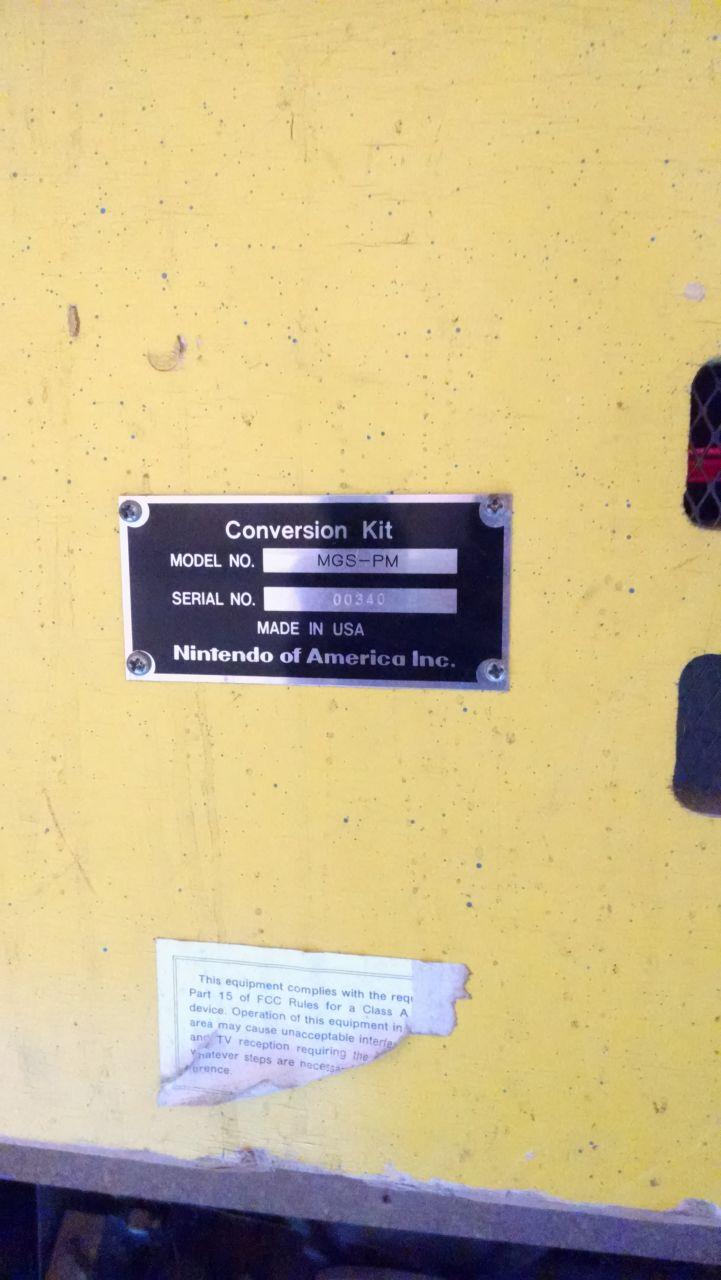
The second grab is another example of the purpose designed conversion kits that many manufacturers put out for the ubiquitous Pac Man and Ms Pac Man as they got on in years and stopped earning once the fever around those titles broke.

It’s a Nintendo conversion kit for the Vs. multi-game system. Similar in character to the Bally Sente conversion kit for these cabs, it takes a different approach to reconfiguring the monitor orientation and changing out the control panel.

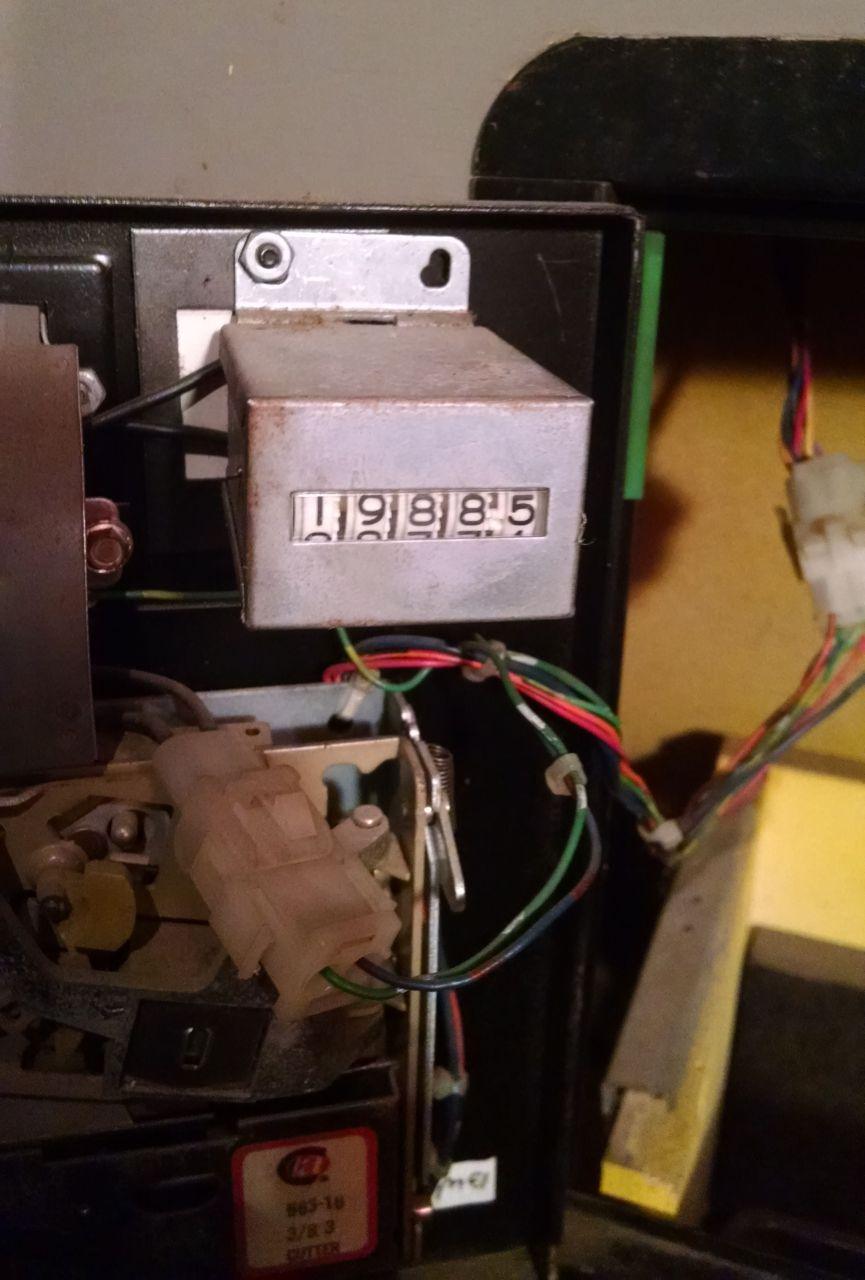
This one clearly earned its keep as Pac Man before the transformation with almost twenty thousand plays on the clock, likely paying for itself twice over in its original incarnation.

The conversion was quite cleanly executed, though the Nintendo switching power supply has at some point been swapped for a generic model which was left hanging against the PCB cage.

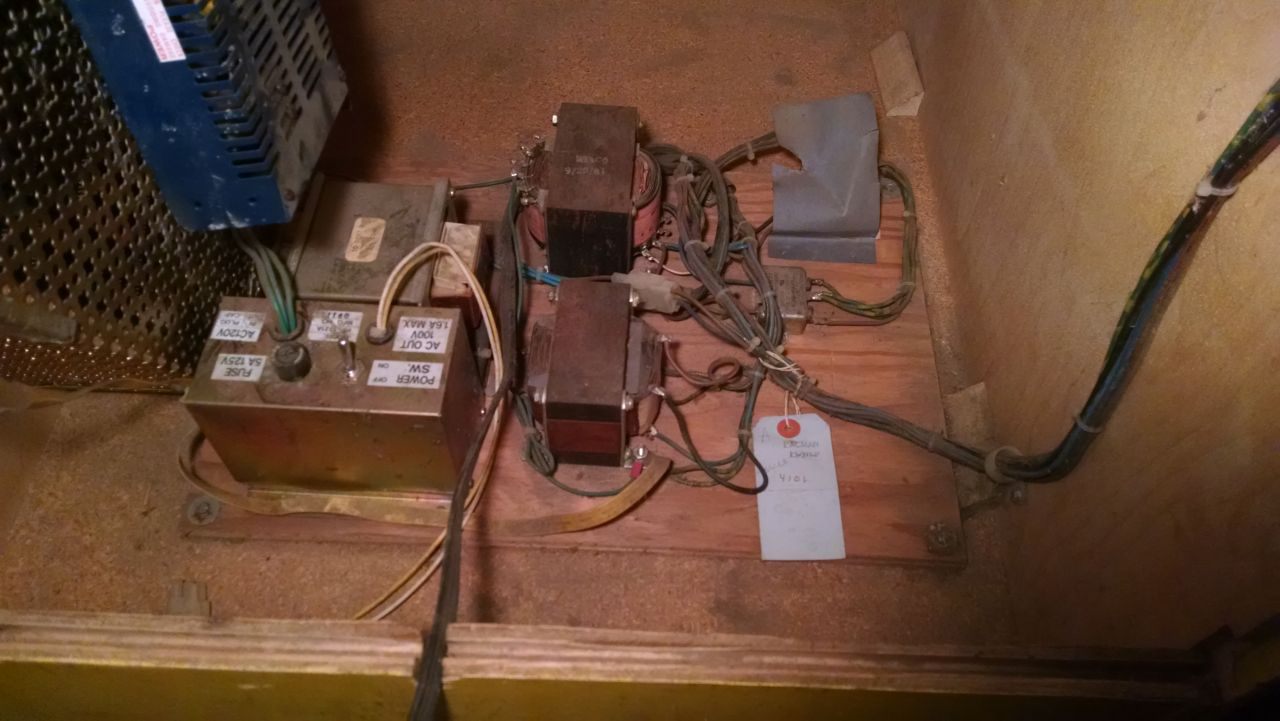
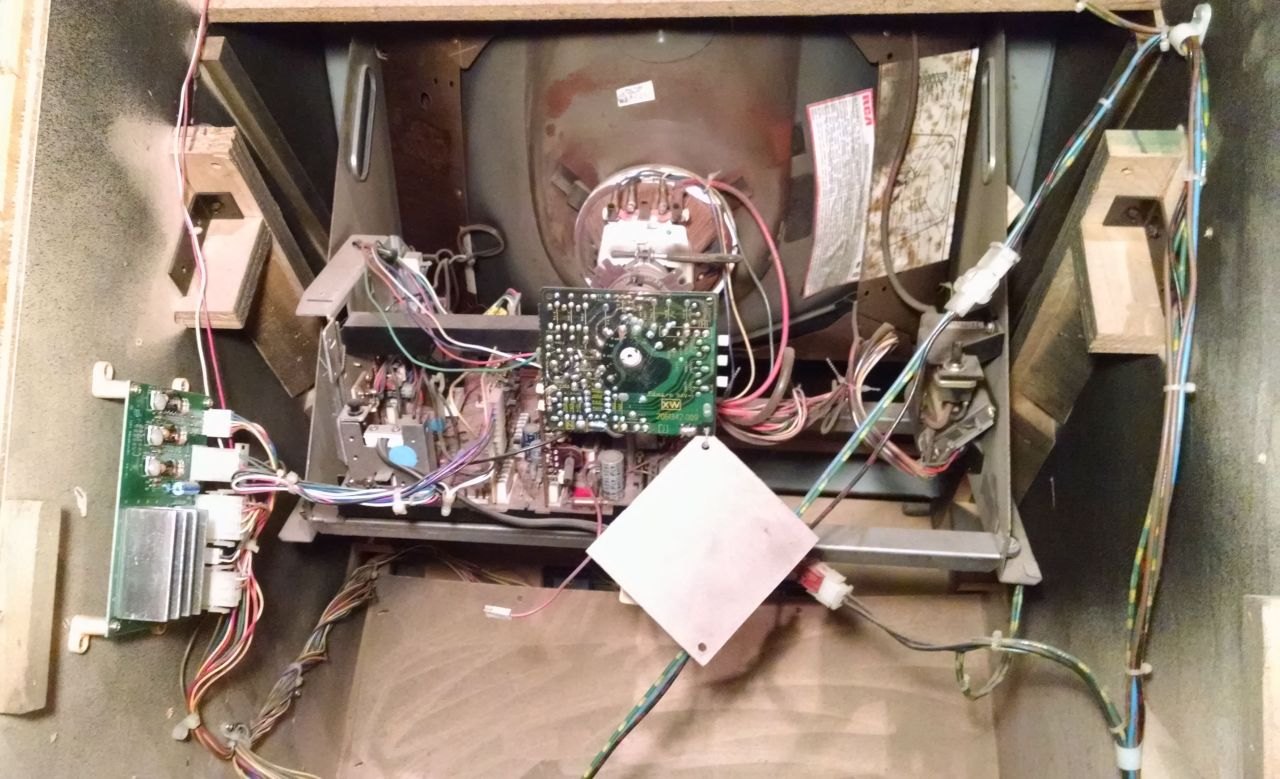
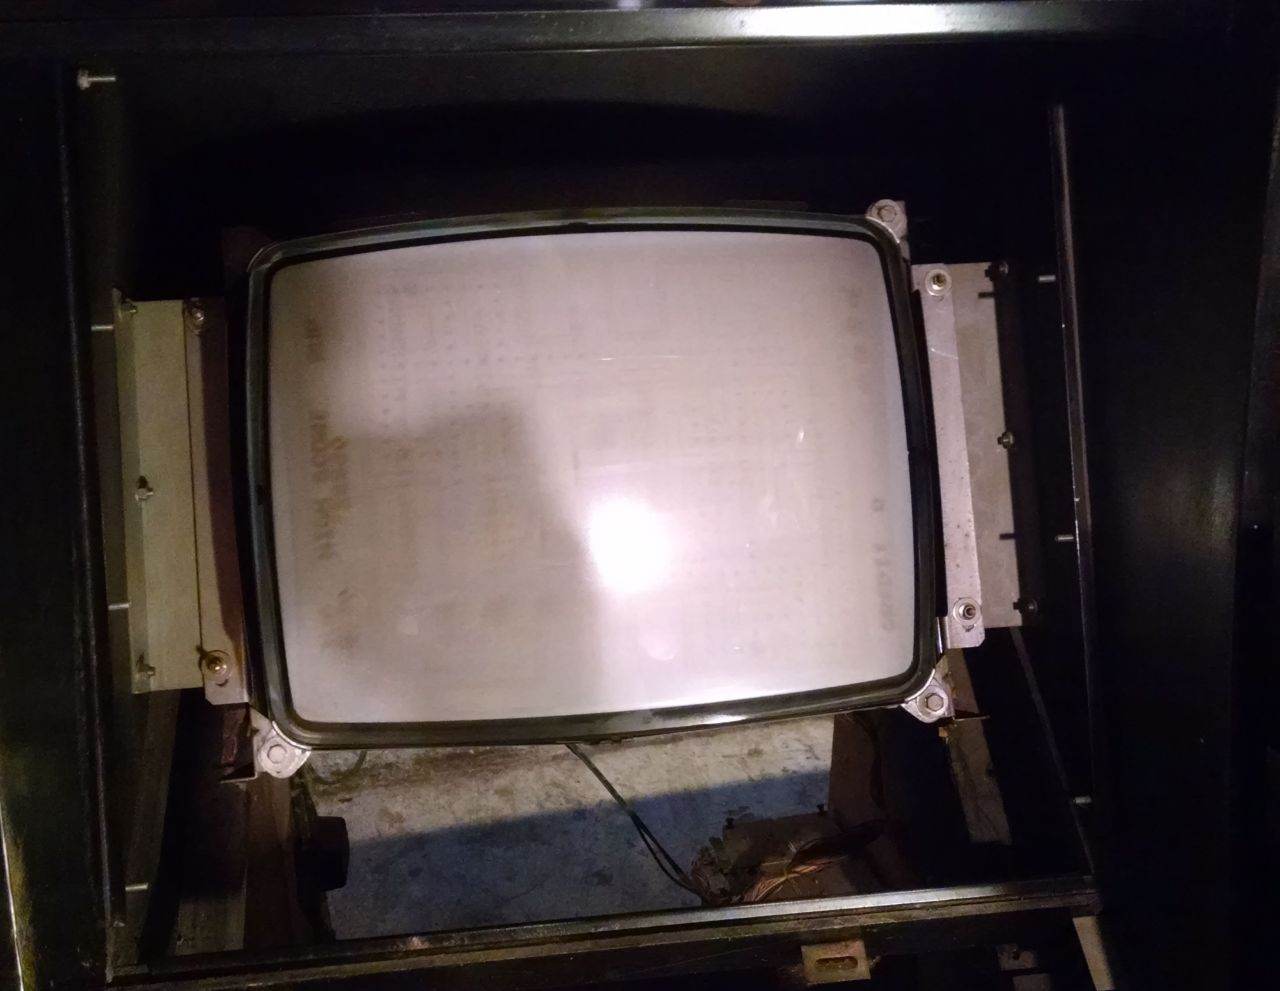
Not a lot is retained of the original Midway internals. Portions of the power panel, AC wiring, and the Wells Gardner K4600 monitor are all that came along for the ride. The monitor has the maze burn you’d expect from any Pac Man game but it’s hidden pretty well by the smoked plexiglass panel that goes in front. Interestingly a standard Nintendo isolation transformer was included with the kit, though its 100V output is left unused and the Midway transformer is used to isolate power to the monitor.

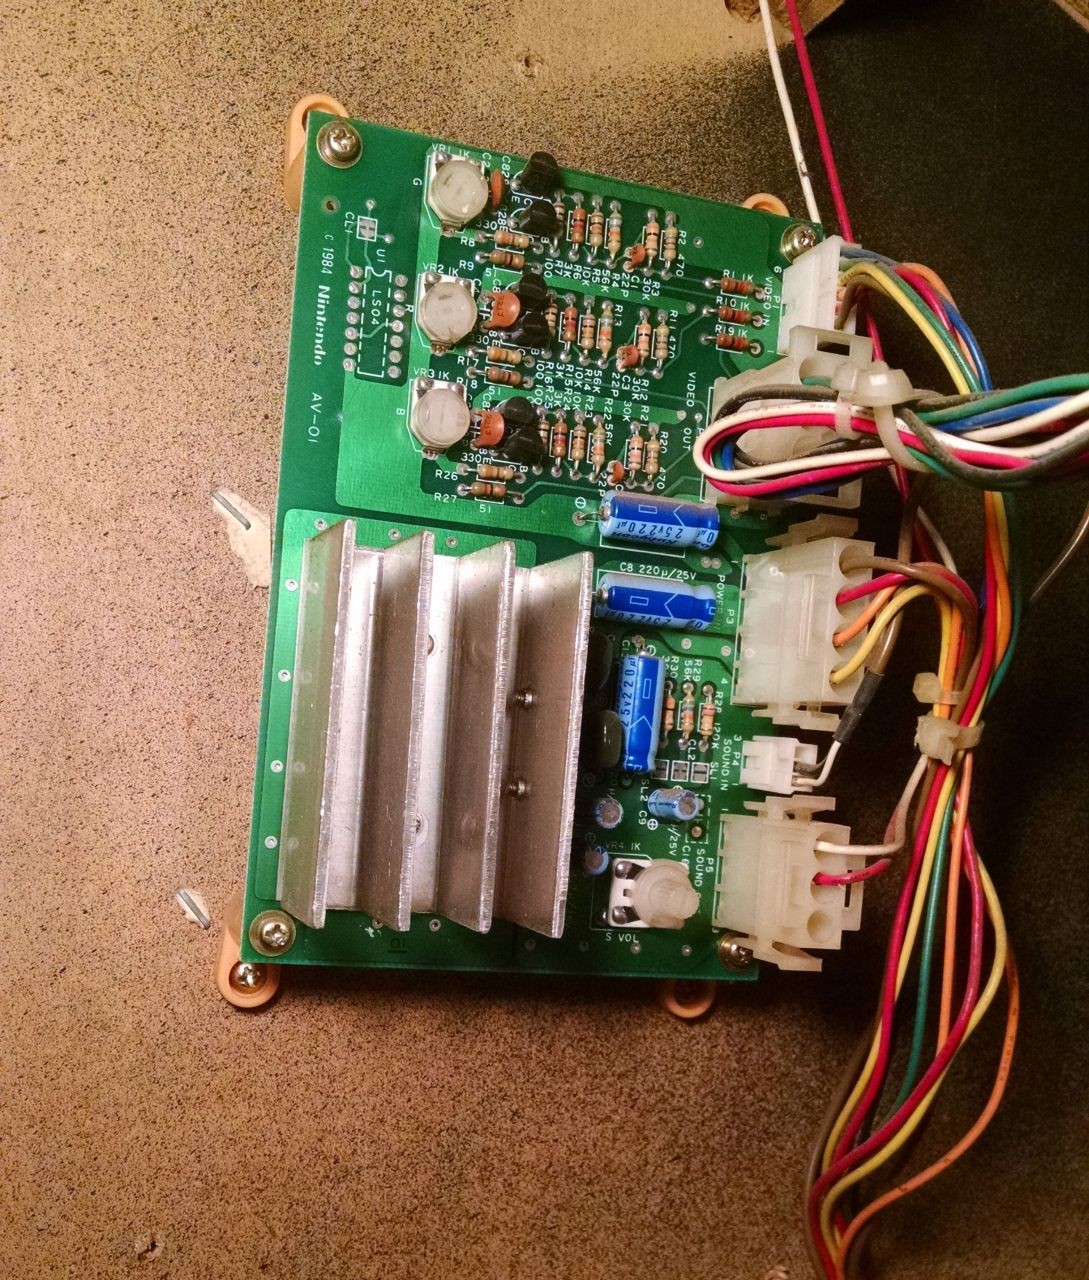
A Nintendo video inverter and sound amp board is used to adapt the signal from the Vs. PCB to the output hardware in the cabinet.

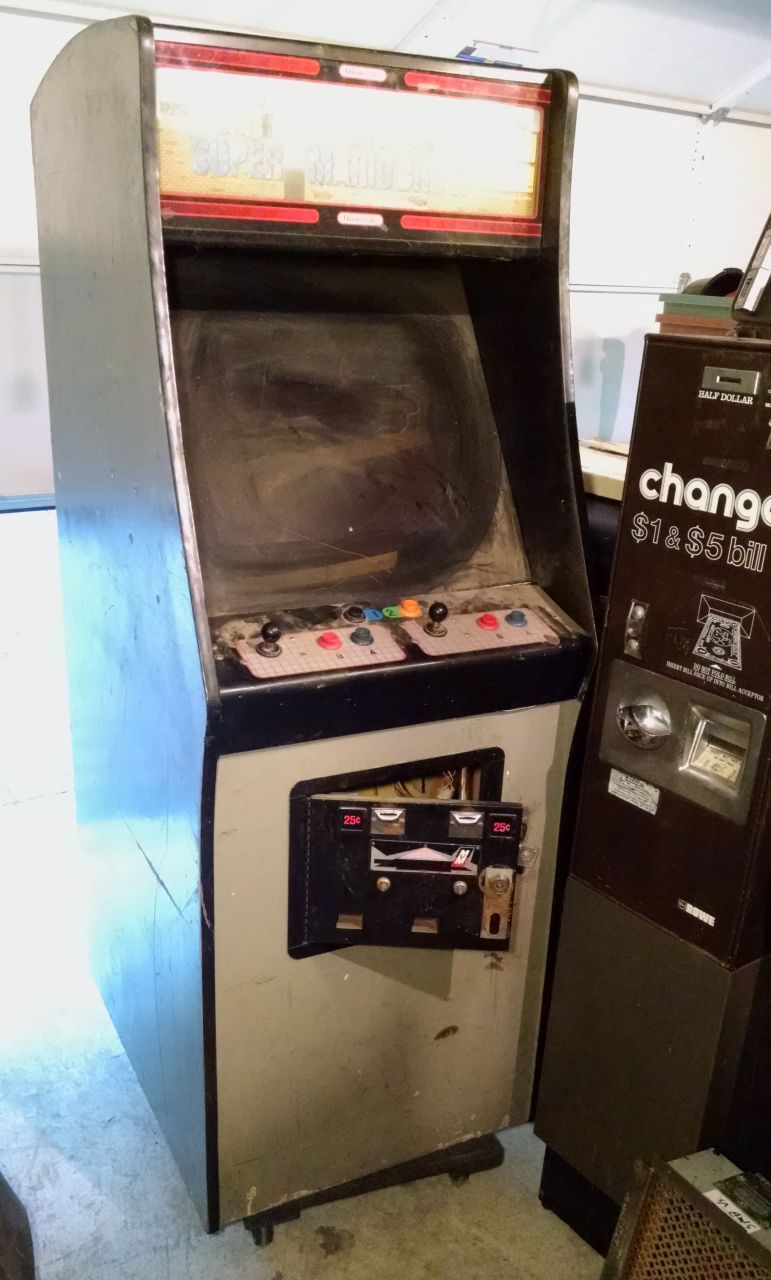
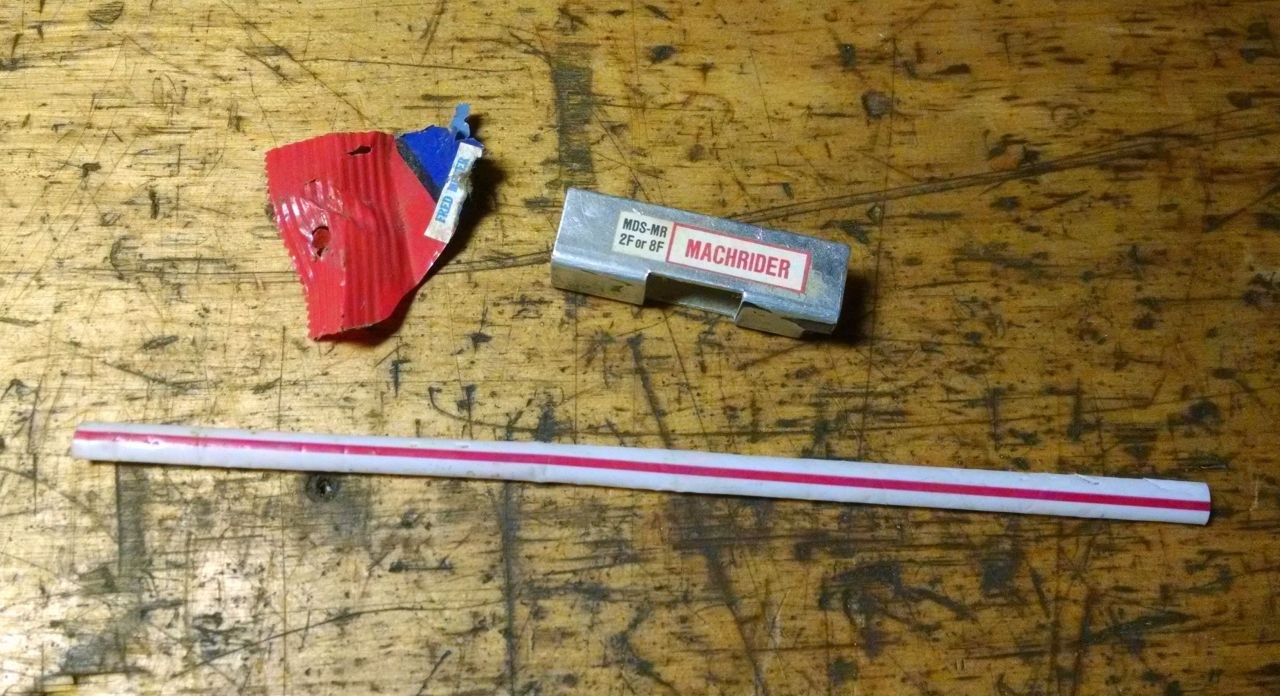
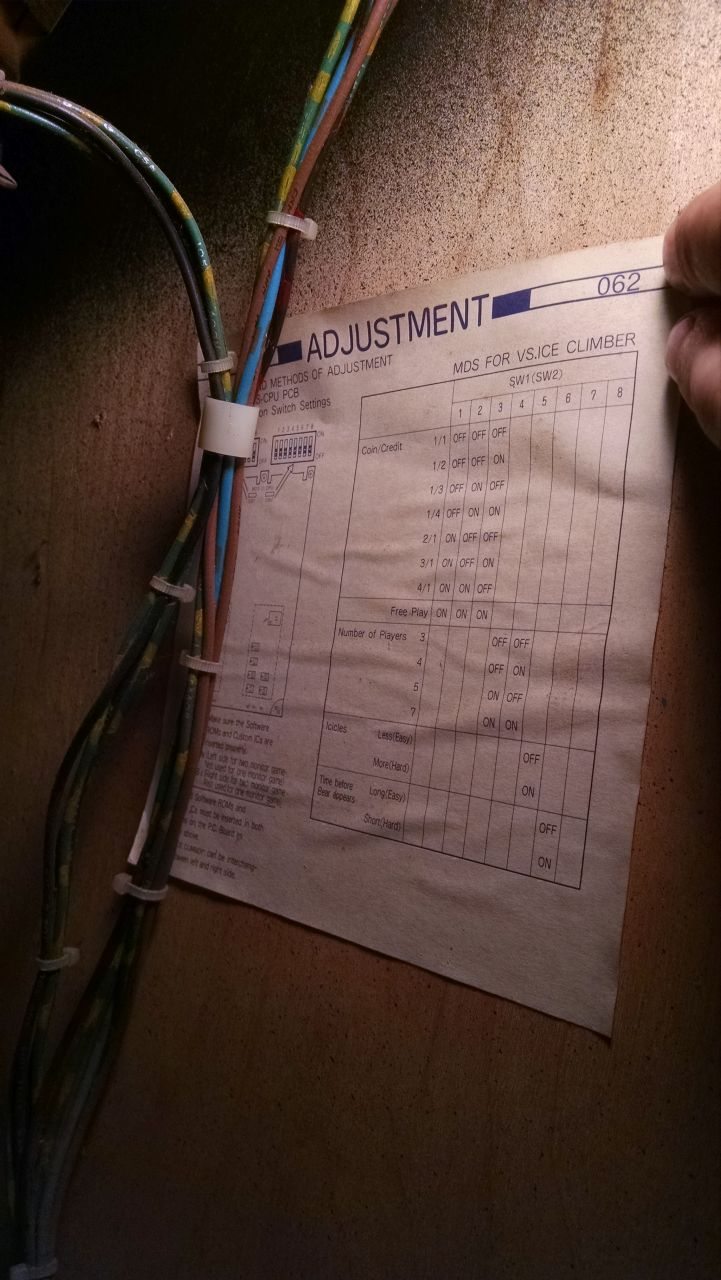
Detritus in the cab says this one hung around in the Pacific Northwest, nearby one of the outposts of the Fred Meyer chain. The straw trick (“It has been brought to our attention that a flattened straw or similar object can be passed through the center opening in the upper hinge. If the object makes contact with the coin switch, it can be used to run up multiple credits.”) to getting free credits on Nintendo games must have made the rounds too, though whoever applied it didn’t realize that it only works on original Nintendo coin doors. We can also see the Vs. boardset played host to a few different titles over time, with Ice Climbers and Mach Rider in evidence.

This one will stay converted, though I’ll swap in a Dr. Mario daughterboard for the Super Mario Bros. chipset.

Interstellar Safari

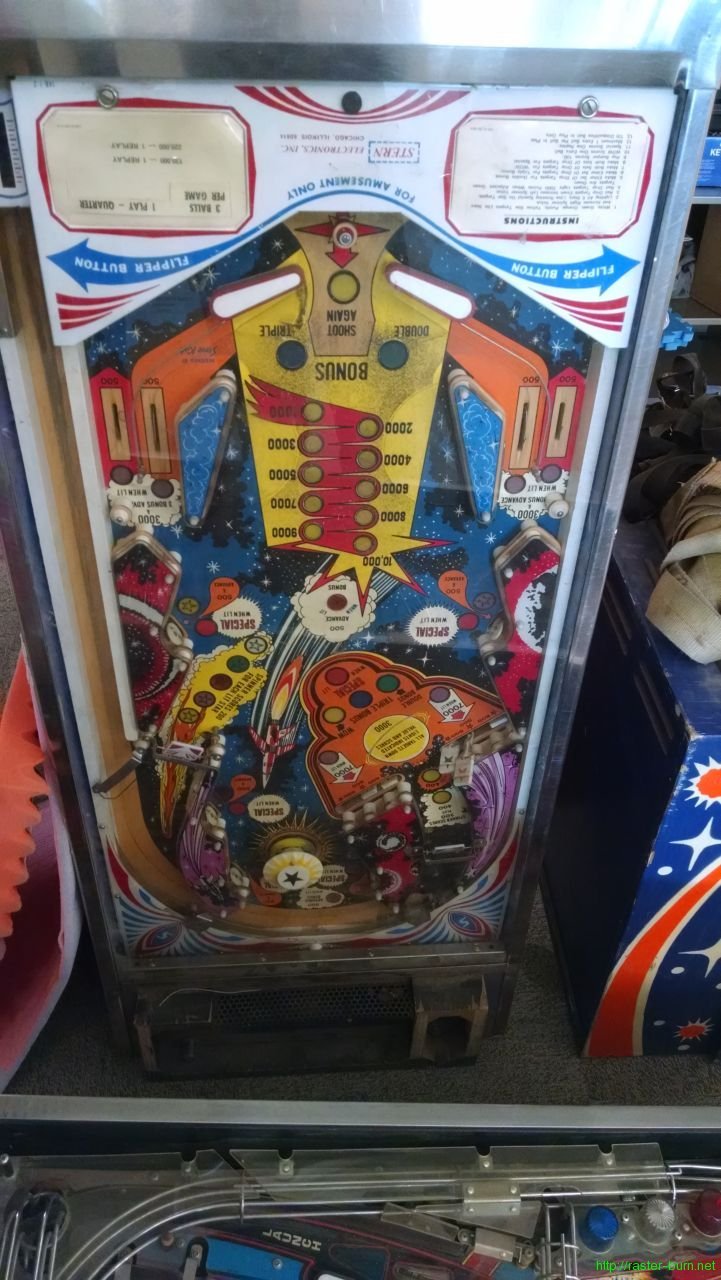
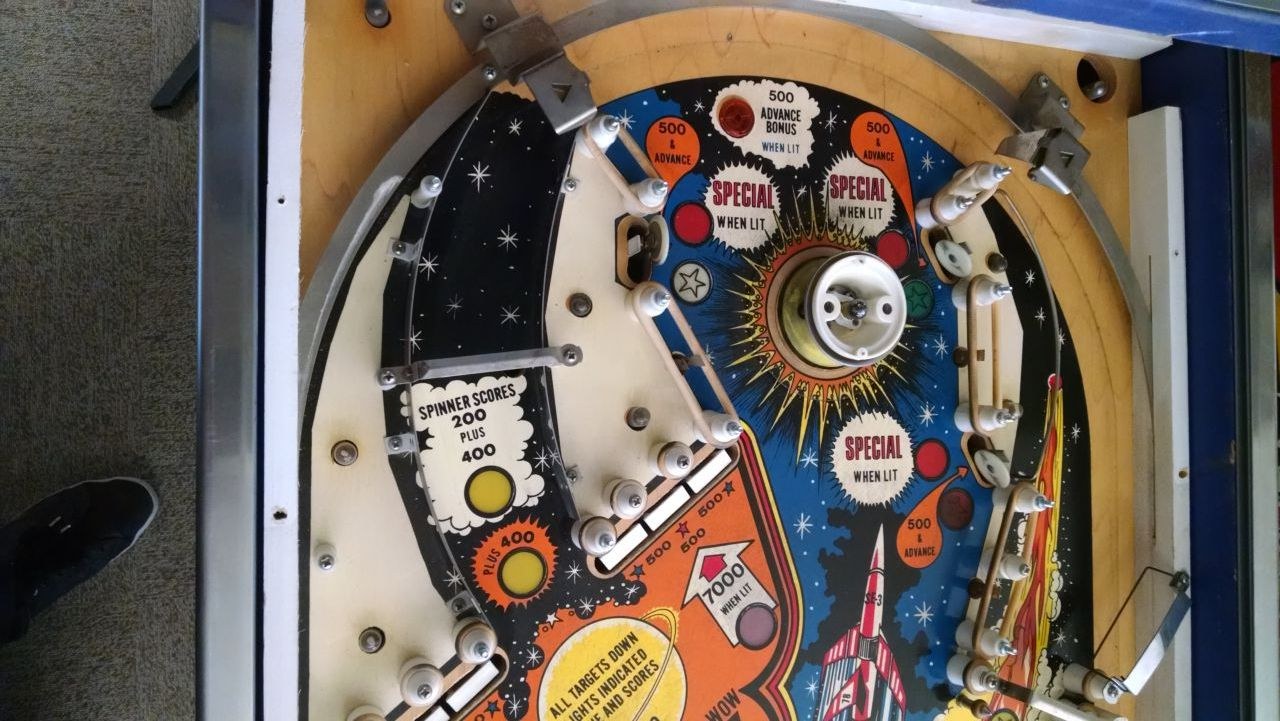
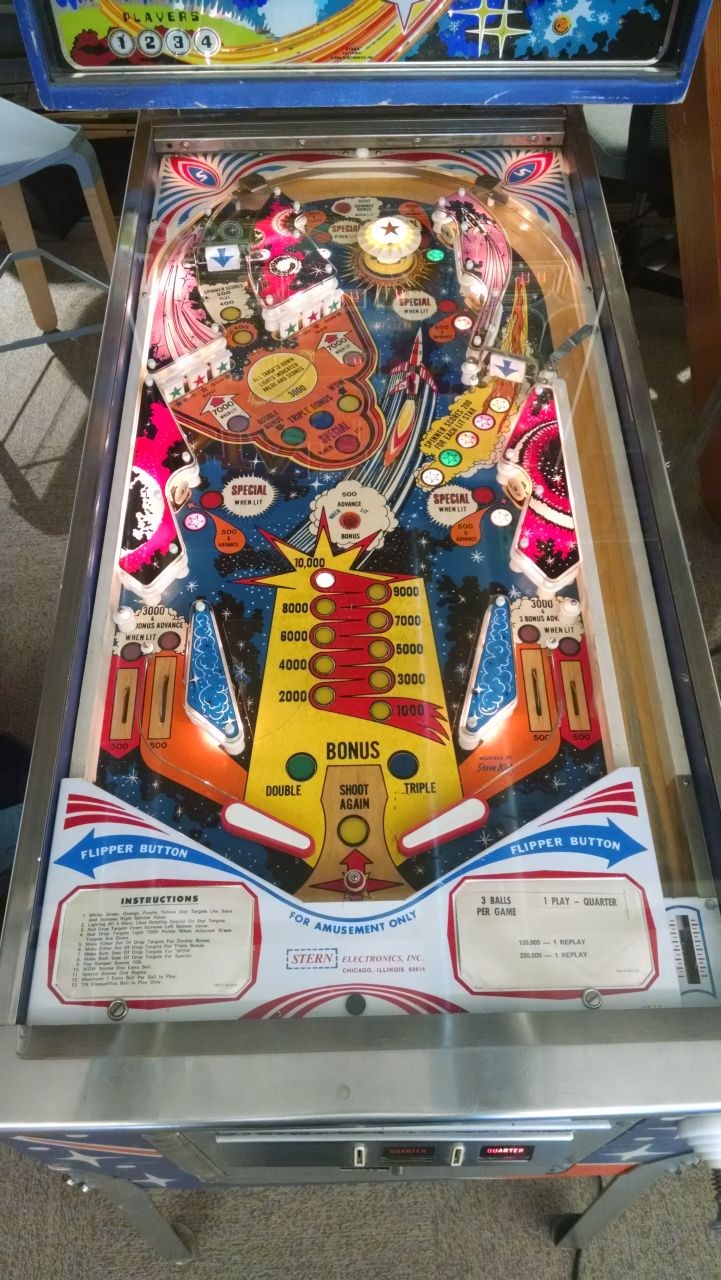
Took a little step back the timeline from prior projects with this last one. Designed in 1978, Stern Stars is part of the earliest wave of solid state machines, and bears many resemblances to its electromechanical predecessors. Most noticeably, it uses a chime box for its sound effects rather than a speaker.

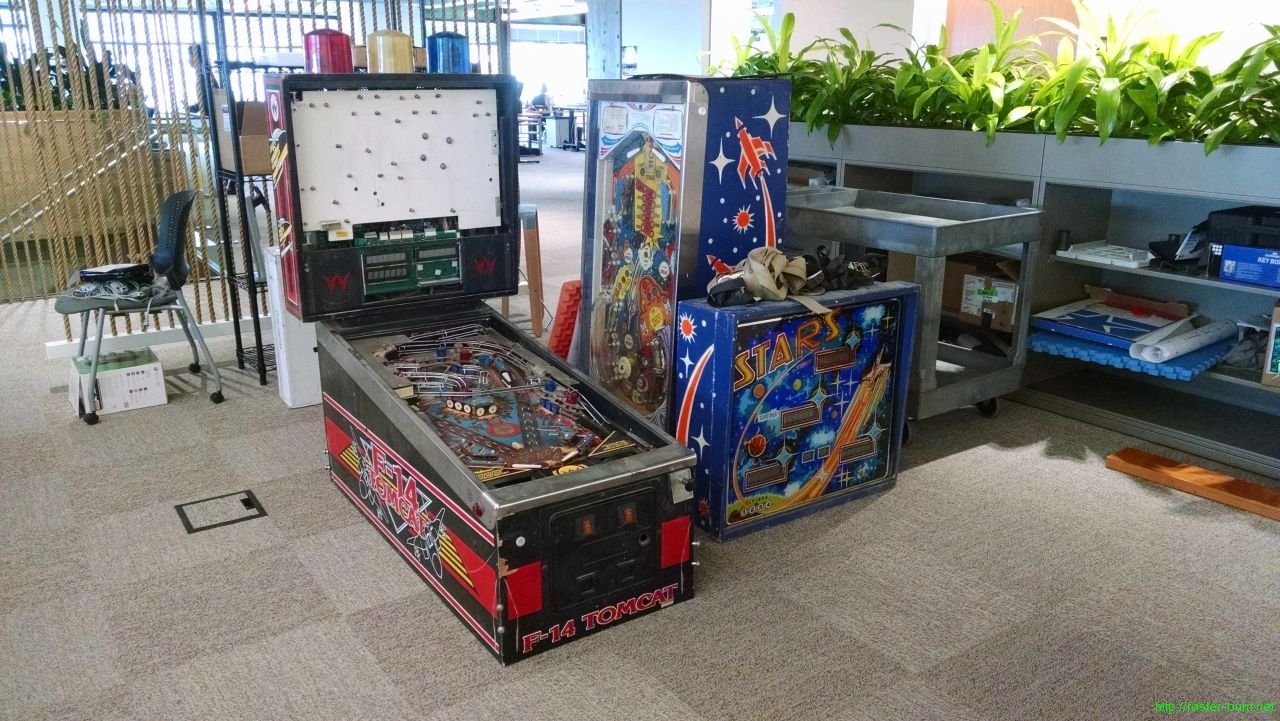
The example I have landed alongside F-14 Tomcat, both fresh out of very long hibernation.

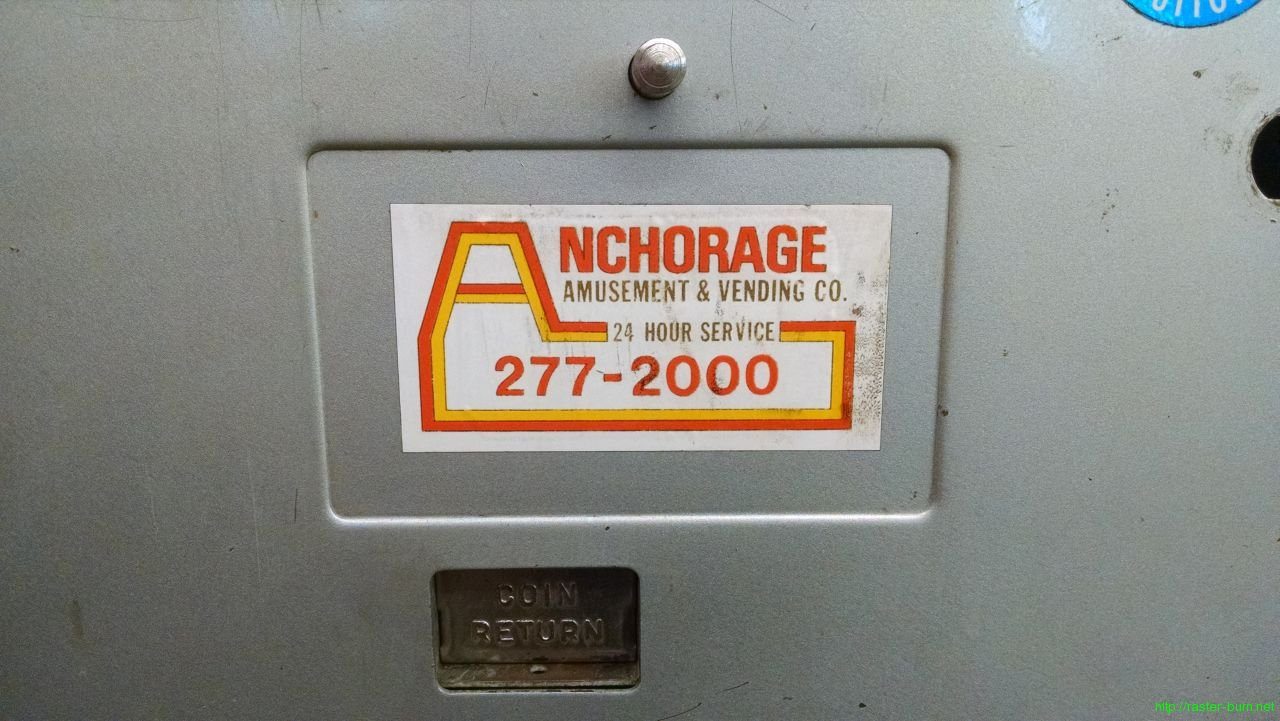
If the musty odor of long dead cigarettes didn’t give it away, the op tag confirms this machine spent some time on the bar circuit in Anchorage. While this machine survived its stint, the phone number for the Anchorage Amusement and Vending company now points to a physical therapist. Their last address of record is a still standing but one step above derelict warehouse with boxes and equipment piled high in front of the windows, and a high fence festooned with ‘No Trespassing’ signs.

While filthy, strung with rotten rubber, and malfunctioning, the bones of this Stars are quite good.

All that grodiness is probably the only thing that save the playfield from having a groove worn into it by the dragging right flipper, so I can’t complain too much about the mess.

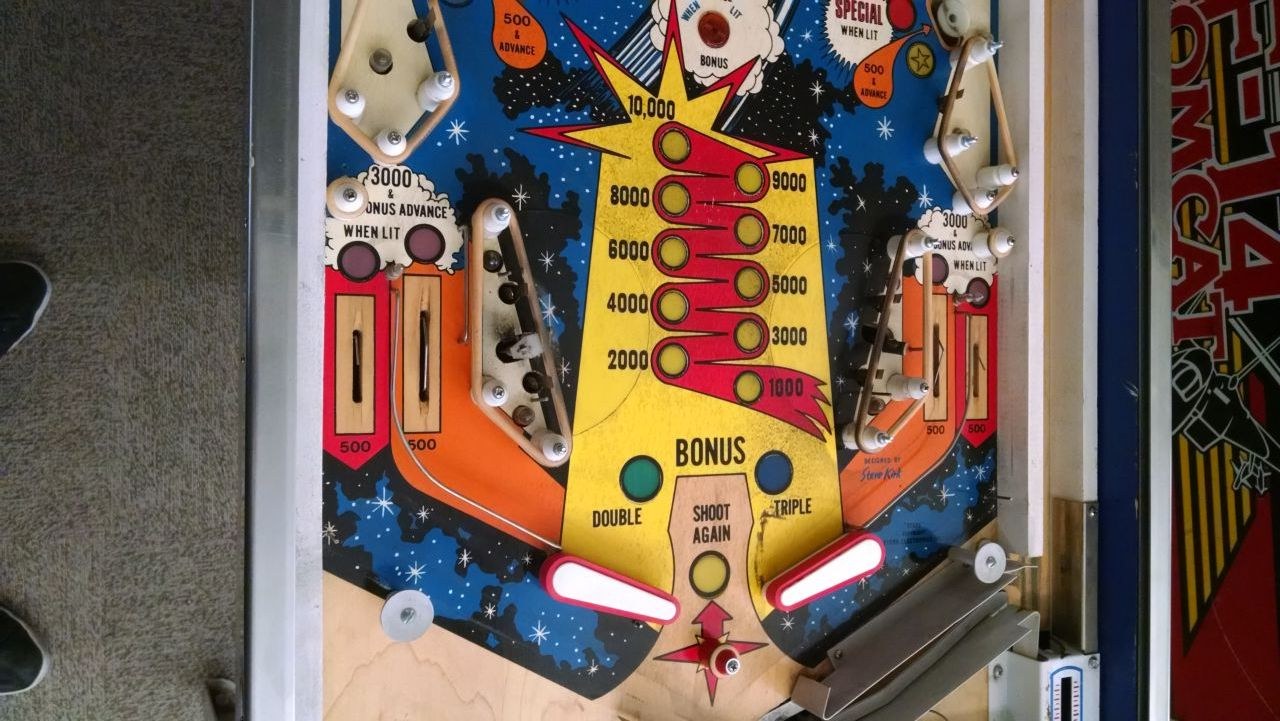
The flipper assemblies needed an almost complete rebuild, the only original parts left now are the frames underneath the playfield. For some reason Stern used aluminum for most of the metal parts on this machine, including the flipper shafts, and one was bent enough to cause the entire mechanism to bind.

I had to modify the bushings I received from Marco, despite them being labeled as appropriate for this machine, because they were too tall for the playfield. A few minutes with a saw fixed that right up though.

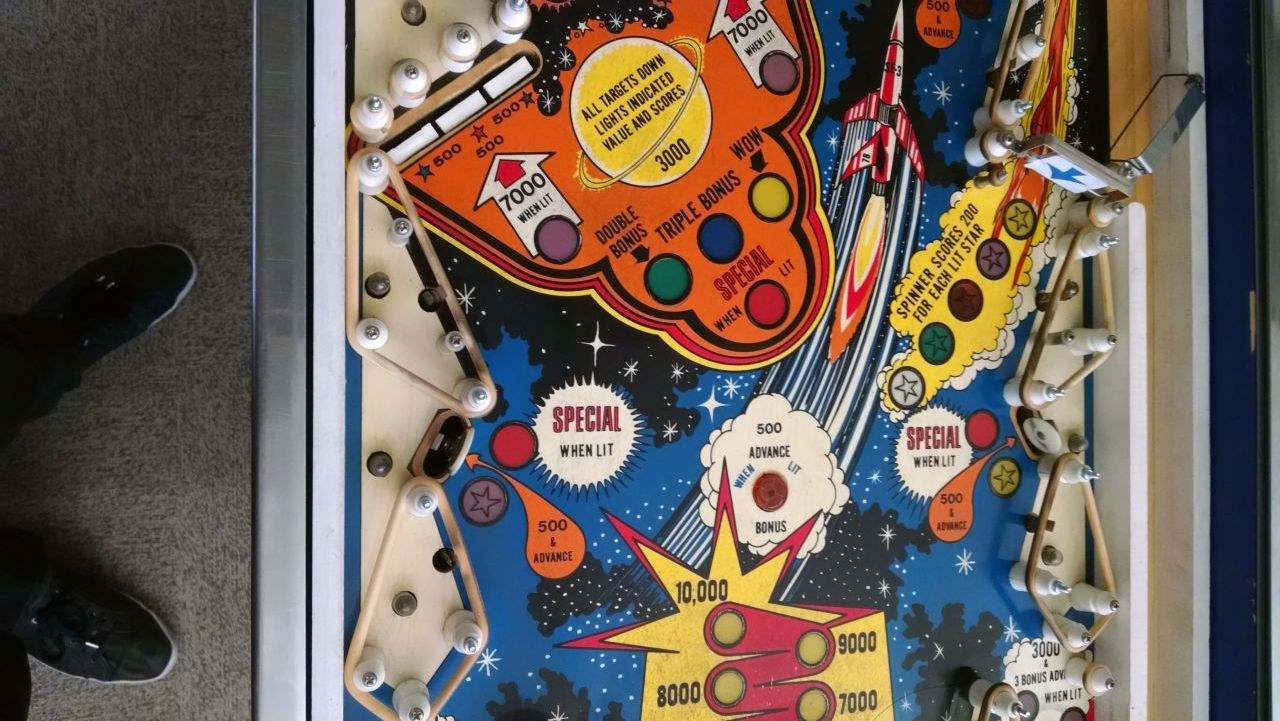
The drop targets were another area where the aluminum hardware caused problems. The arms the targets ride on had deformed around the pins that hold the mechanism together, causing them to mushroom out around the pin shafts and in the most extreme cases this would cause them to bind against other parts of the drop target assembly. I straightened everything as best I could and filed down the burrs caused by this wear. Now the mechanisms work, albeit a bit sloppier than from the factory since the holes are wallowed out and some material was lost in the process. The reproduction drop targets from Marco are slightly different in design from the broken originals, but the changes didn’t cause any fitment issues.

The relatively simple layout only took a few hours to relamp and refresh the rubber on, and some light cleaning made short work of the built up grime on the artwork.

All of the playfield plastics cleaned up nicely, looks sharp reassembled and lit up. I’d originally intended to make a quick flip of this machine, but it’s grown on me since I took possession. The simple, colorful layout and straightforward rule set give it a character much like its EM ancestors, and the art is a great example of how a generic theme can pop when illustrated by a talented artist.

Together Again To Tear It Apart

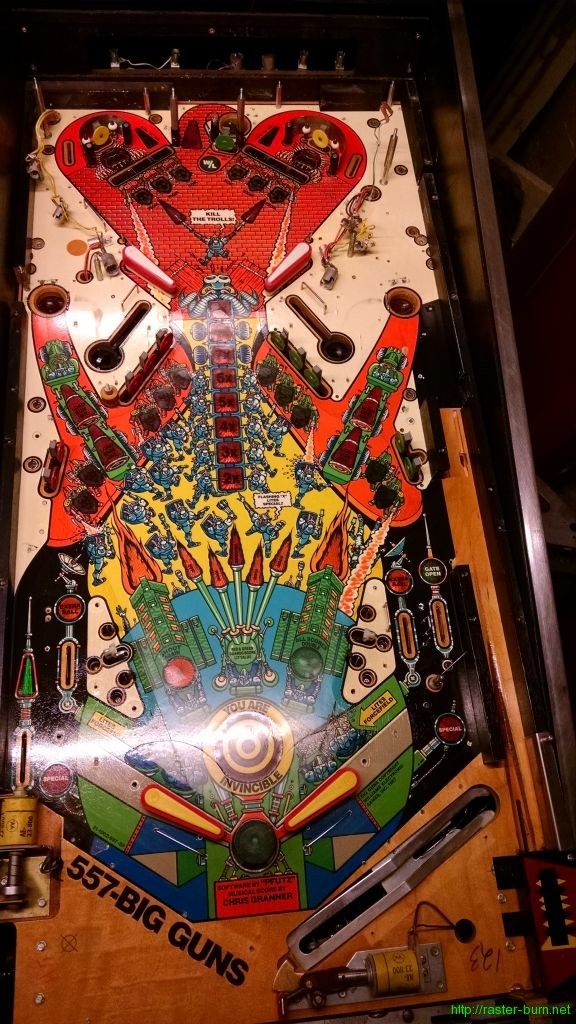
From this…

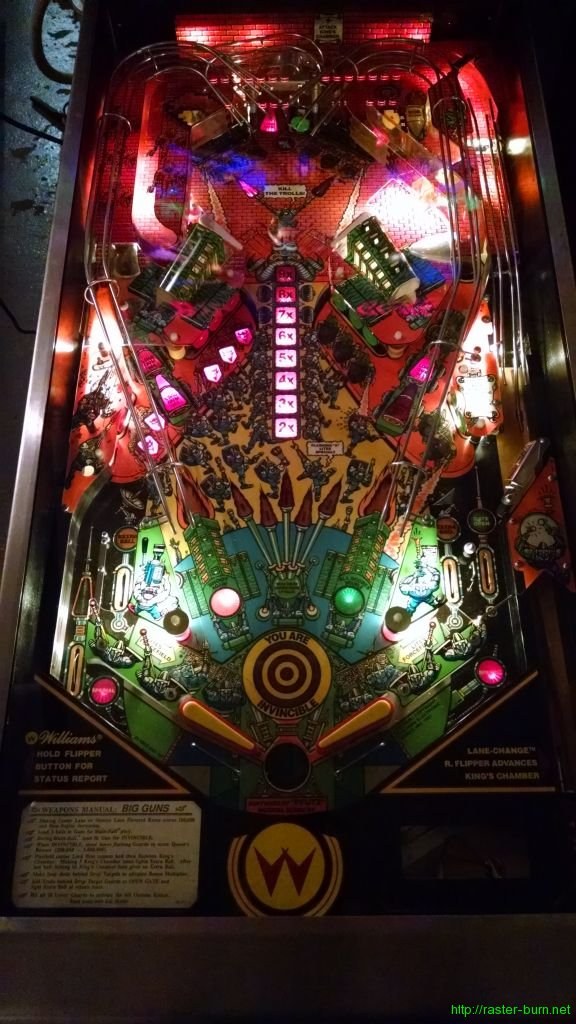
…to this…

…took about 3.5 hours over two sessions. Or, to put it in relative terms, about a third of the time I put into Sorcerer, and even more favorable compared to Comet… Though I can’t say exactly how much better since I didn’t keep time for that one. I’m very pleased with how streamlined my workflow is becoming. During disassembly I basically break the playfield into a 2×8 grid and work my way through each section, photograph it, remove parts in logical (to me, at least) groupings, and bag and label each subassembly.

I found that the most time consuming part of reassembly on the previous two tables was filling in the blanks where I hadn’t done enough documentation during teardown. Being extra methodical with breaking this one down saved me a ton of time in recomposing it, despite the significant increase in complexity from System 9 pins like Comet and Sorcerer to the more feature laden System 11 based Big Guns.

Given there are 2-4 layers of parts to remove to get to any given bulb, I wasn’t thrilled at the prospect of having to tear things down to get to short-lived incandescents, so I decided to go the LED route. I used Pinballbulbs.com non-ghosting LEDs in warm white for the #44 general illumination and cool white for the #89 flasher bulbs on the top of the playfield and in the area behind the ‘wall’ at the back.

I think the results look pretty nice. The photo makes it look like a lot of the plastics are blown out by the brightness of the LED bulbs but in person they have a nice bright, even light behind them that shows off the art and lights up the playfield nicely without being overpowering. After seeing how the top of the playfield looks I’m going to go forward with replacing the lamps under the inserts on the bottom of the playfield, and replace the lamps in the backbox as well. The previous owner installed a color ‘coordinated’ LED kit in the backbox and it makes the art look really bad, since the color of the LEDs completely overpowers the translite’s coloration.

Now that Big Guns is back together I’m going to swap it in for Sorcerer at the office and bring that one into the shop for some MPU diagnosis… After having several hundred balls played through it without a hiccup during a party the company hosted I turned it on the day after and it was resetting randomly during gameplay. Poking around (very literally) narrowed the issue down to a bad connection or flaky component in the lower right corner of the MPU board, but tracing it further than that is more than I want to do with the limited tools I have at the office.

If you’re interested in seeing what the disassembly process looks like (or have one of these things you’re trying to piece together yourself), see the gallery below for all of the reference photos I took while tearing this thing down: