Sorcerer! Part 1

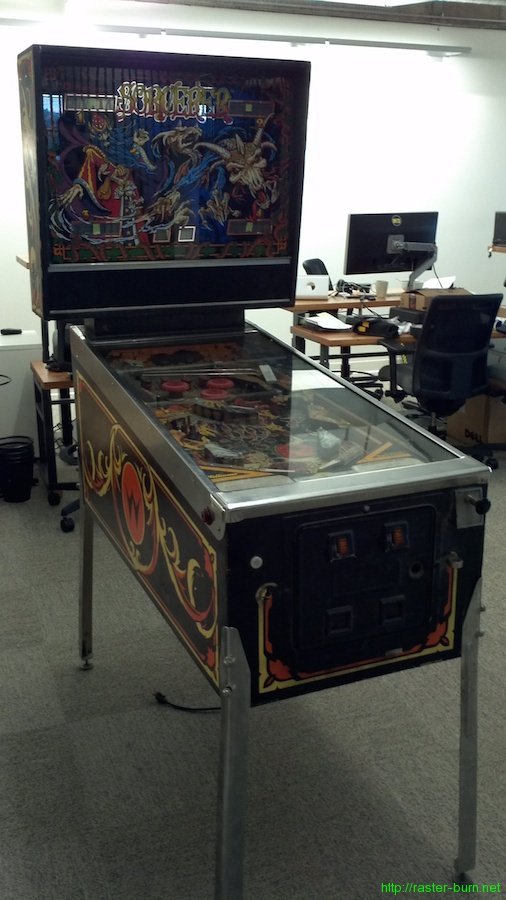
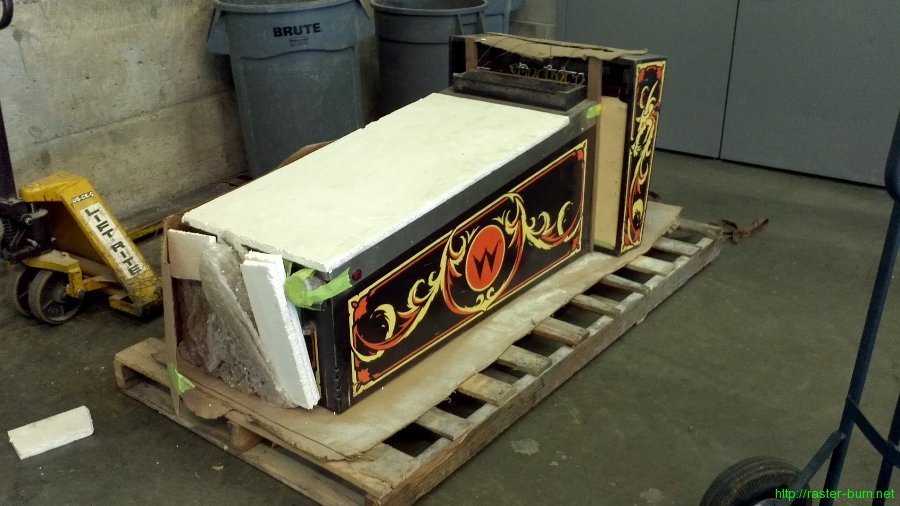
This post has been awhile in coming. Years for sure, maybe over a decade depending on how one cares to count. The machine it’s about, a Williams Sorcerer pinball, had been sitting in one of the back rooms of my parents’ shop in Anchorage for long enough that I can’t quite remember exactly when it showed up.

A couple years ago, when I first started repairing arcade games again, I went up to the room Sorcerer and some other pins were in and dusted them off to appraise how tough they’d be to fix. That Christmas my dad gave me two of them to ship down to Portland and repair for myself. It took some time to figure out the logistics but the first of them finally made it down to the Lower 48 last December.

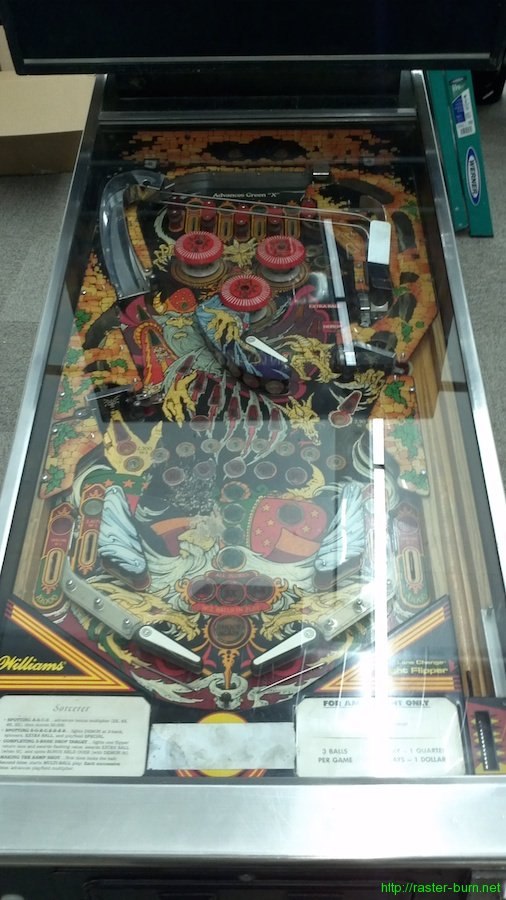
It’s definitely a player’s quality machine, with signs of having been on route for a long time and then put away without much attention paid to it afterwards.

Still one of the coolest looking tables I’ve run into. I haven’t actually gotten to play one yet though. This Sorcerer is only the second I’ve seen in person, and the only one I’ve actually gotten to lay hands on.

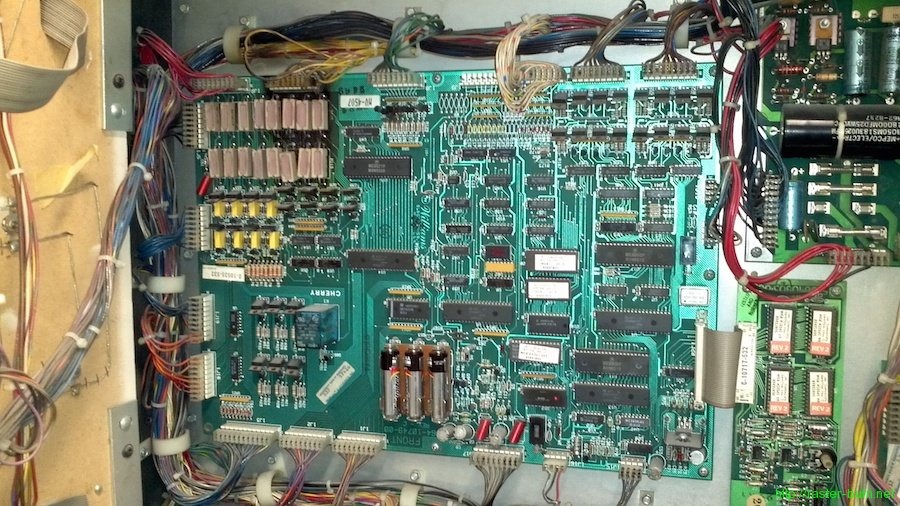
This machine promises to be an involved project, given the extent of the damage, but I’m pleased to be its steward.

Battle stations!

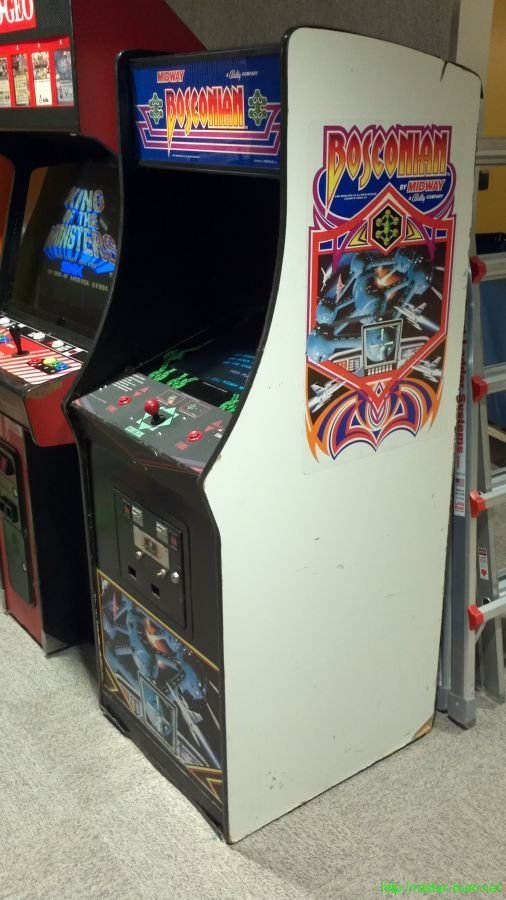
Grabbed a machine I’ve been keeping an eye on for a while this weekend. It’s been advertised for several weeks and just hit the magic $300 mark so I gave the seller a call and picked it up this past Sunday.

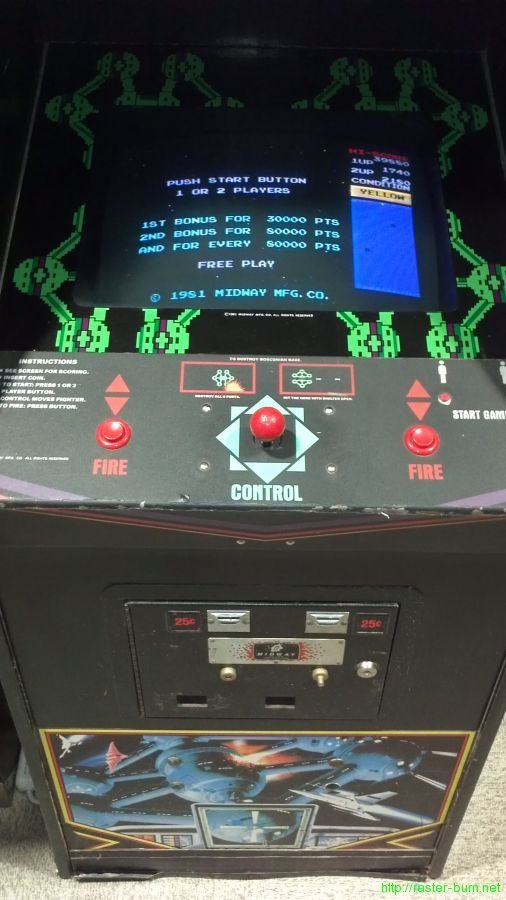
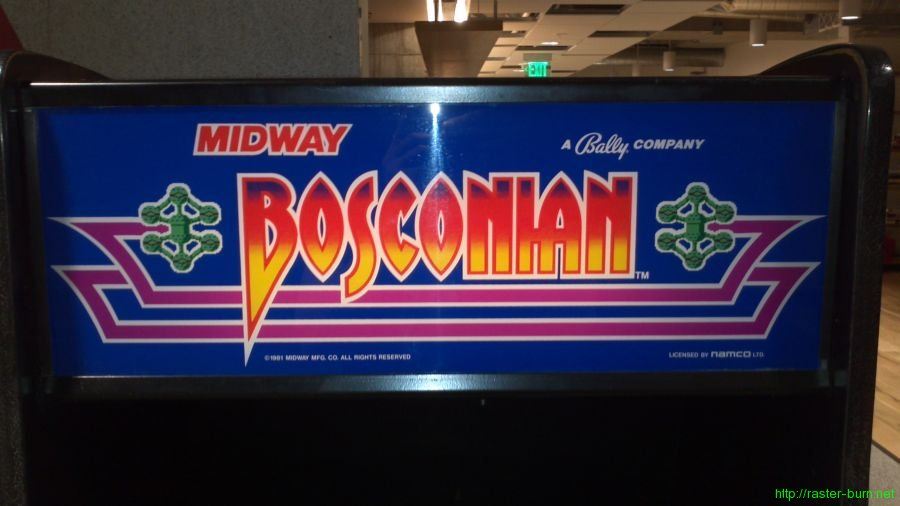
Bosconian, released under license from Namco by Midway in 1981, is pretty rare to find in its dedicated form anymore. Lots and lots of them were converted, and the cabinets are made out of some particle board that doesn’t hold up well at all compared to the plywood cabinets used for other Midway games.

This one is only the second or third I’ve ever seen in person. It’s in decent original condition, with plenty of signs of having been on route but no gratuitous damage for the most part. Only things I might repair cosmetically are the plastic strip at the bottom of the front panel that has come loose, and perhaps replace the control panel overlay that has worn badly on the front edge.

It definitely needs a bit of electronics attention. The audio doesn’t work currently, which hopefully is just a common issue with the amplifier. I’ve also noticed the mini map dot for the player’s ship will often end up drawn on the opposite side of the screen from where it belongs, which makes the game a little harder. Going to leave it as is for a while before I dive into troubleshooting though.

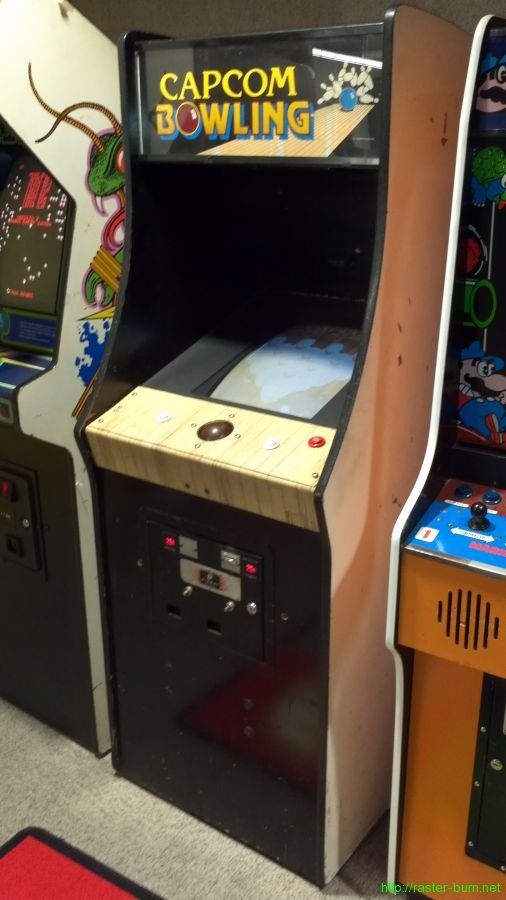
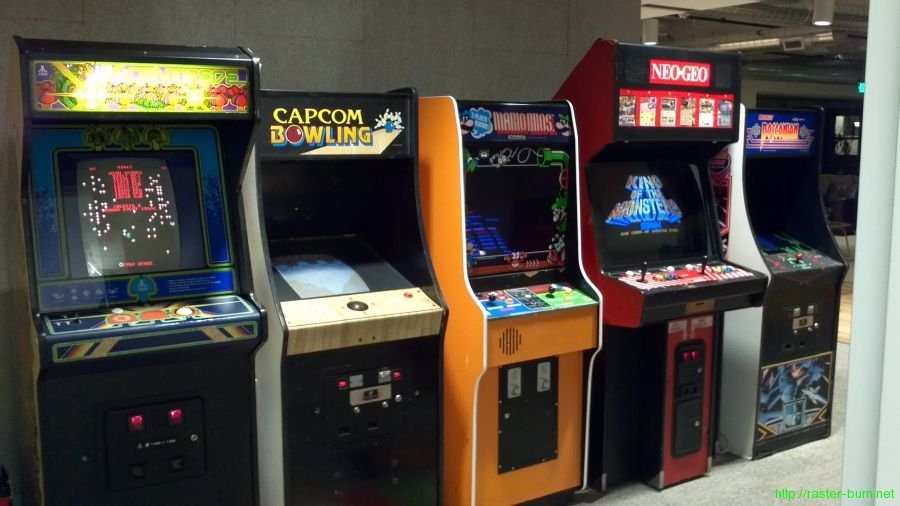
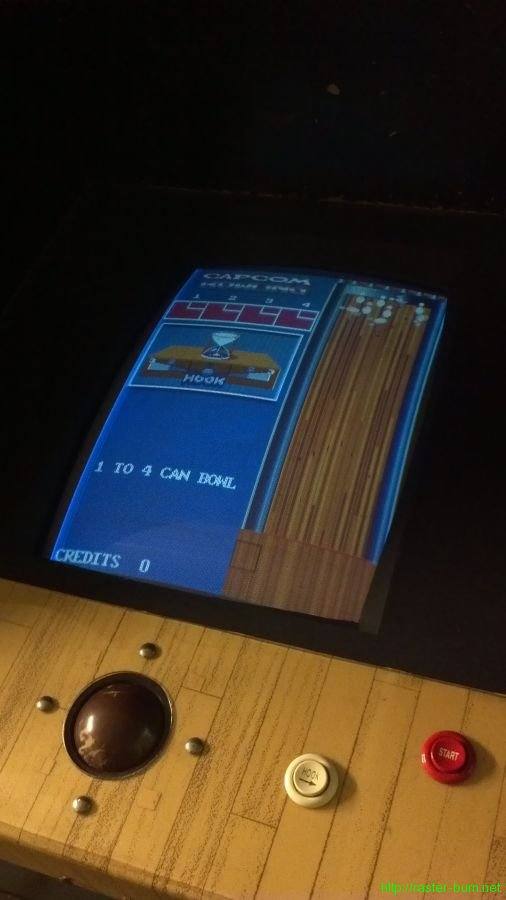
The Bosconian went straight to my workplace’s new offices in downtown Portland, joining the rest of the lineup that was moved over the week prior. I also hauled over the former-Bosconian I have, a Capcom Bowling conversion.

There’s still room for more on the opposite wall, but I haven’t totally decided what else to bring in. Will give things a few more weeks to settle out before I add on further.

Fabrication Friday

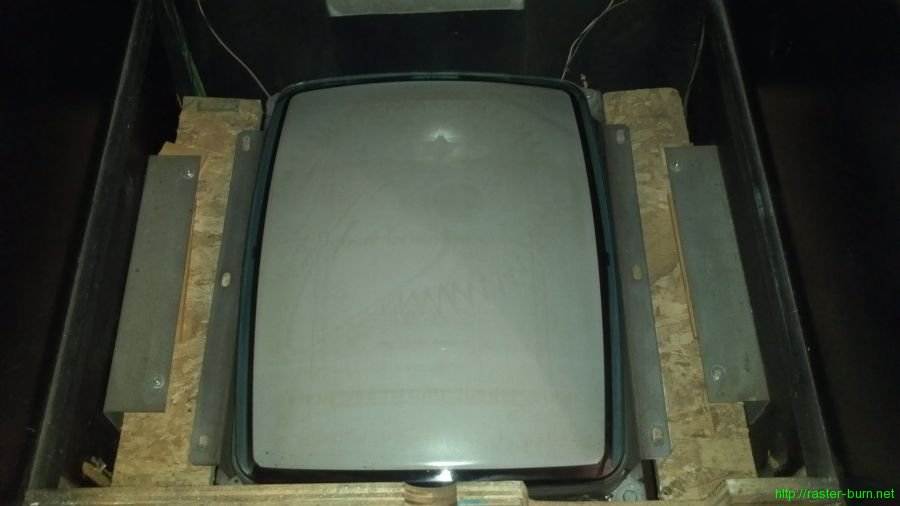
So I’ve had a Midway Bosconian cabinet for a while that I acquired converted to Krazy Bowl, and then swapped in Capcom Bowling myself. Part of that initial conversion, performed long ago by an operator, was to switch the game from Bosconian’s horizontal monitor orientation to the vertical orientation required for Krazy Bowl. This was done using very questionable materials, with results that looked like this…

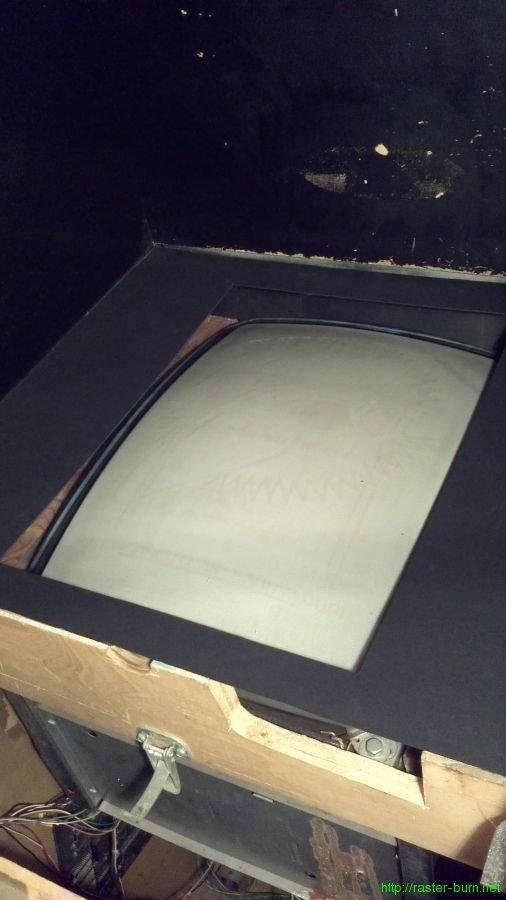
Scraps of OSB, a stack of shims, and drywall screws isn’t how *I* would have done it… So I replaced all that with something sturdier. While structurally sound that still left one staring at the guts of the machine while playing it. And, because this was never a configuration supported by the cabinet originally, no premade bezels would fit the thing since the monitor was now mounted several inches higher than usual to allow for the tube neck to clear the back of the cabinet.

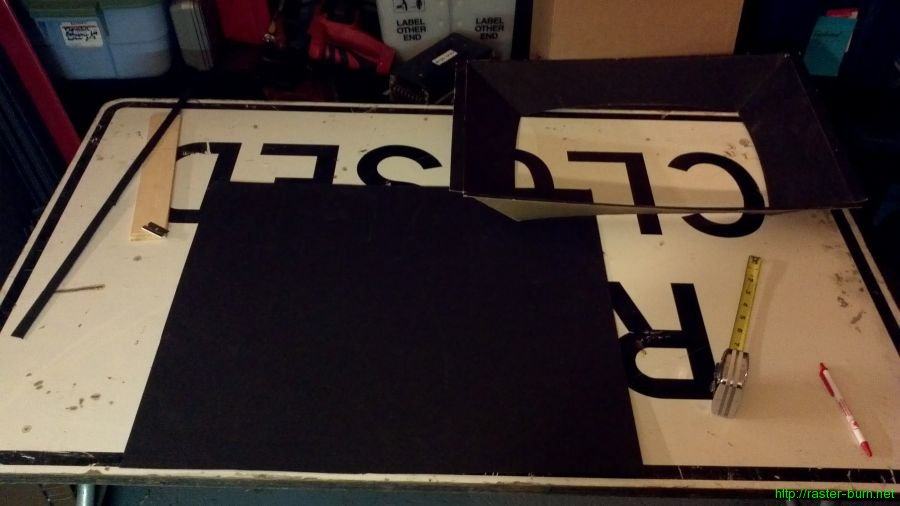
So I got a sheet of mat board and a used cardboard bezel from my parts stash and got to work…

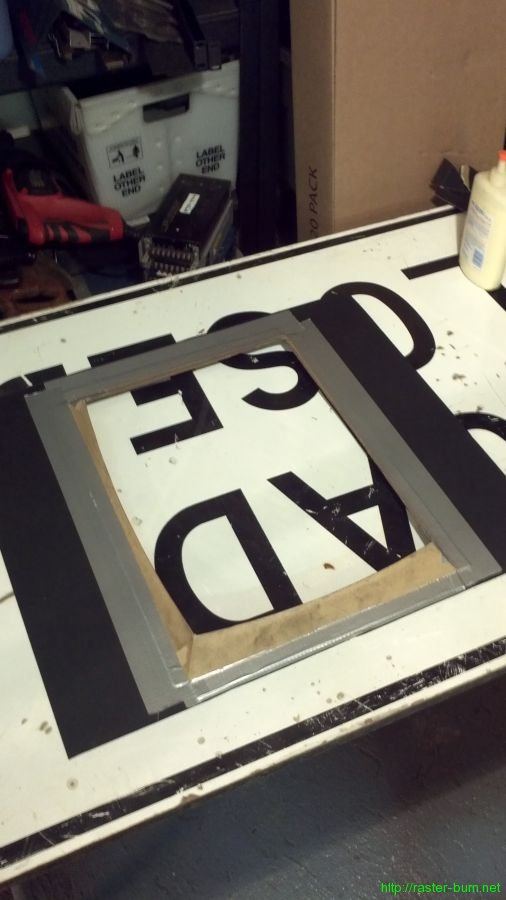
First step was straightforward: Cut the mat board down and make a hole for the monitor.

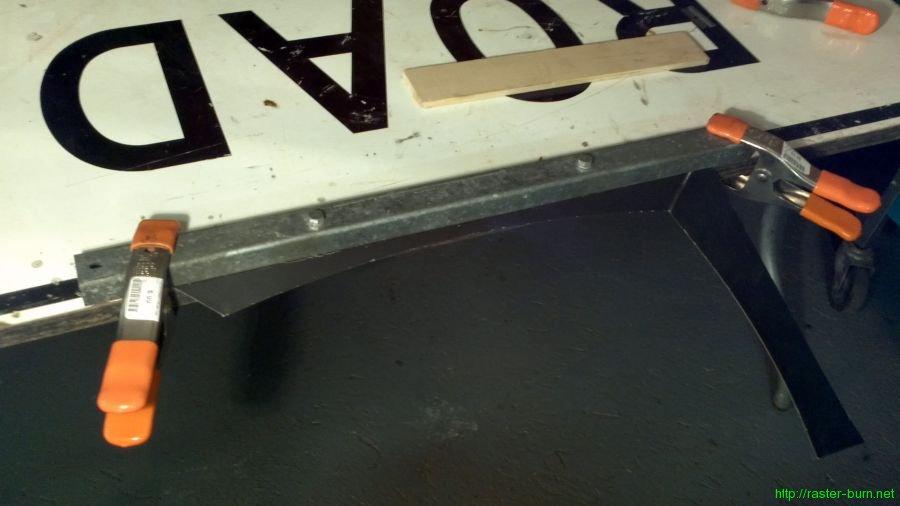
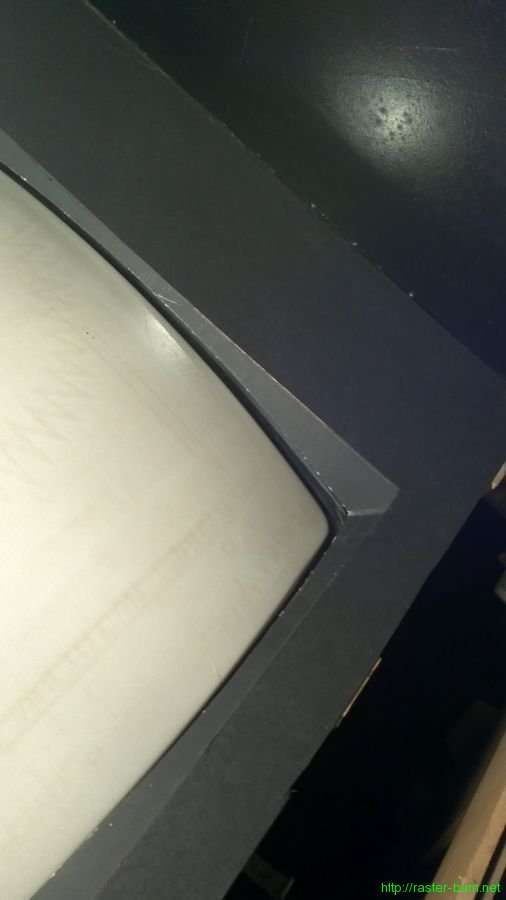
The next part took a little more craftiness. I measured the distance between the tube surface and the bottom of the mat board to determine how much clearance I had. It ended up being about a half inch at the middle of the tube’s curve along the long side. Then I measured from the new crease point in the bezel to the edge of the material to figure out how much excess I had, and trimmed it down allowing for about three quarters of an inch of material to glue to the mat board and hold the important part in place. Trimmed everything and then used a makeshift brake to make the new crease.

Test fit the one half of the bezel to make sure everything looked good, then cut down and creased the other half.

Then spent some time with it loosely taped together to adjust and get the tube centered in the new bezel. After getting it looking decent I glued down and taped the flaps to the mat board, and at the corners where the two halves of the curved bezel part come together.

…And installed!