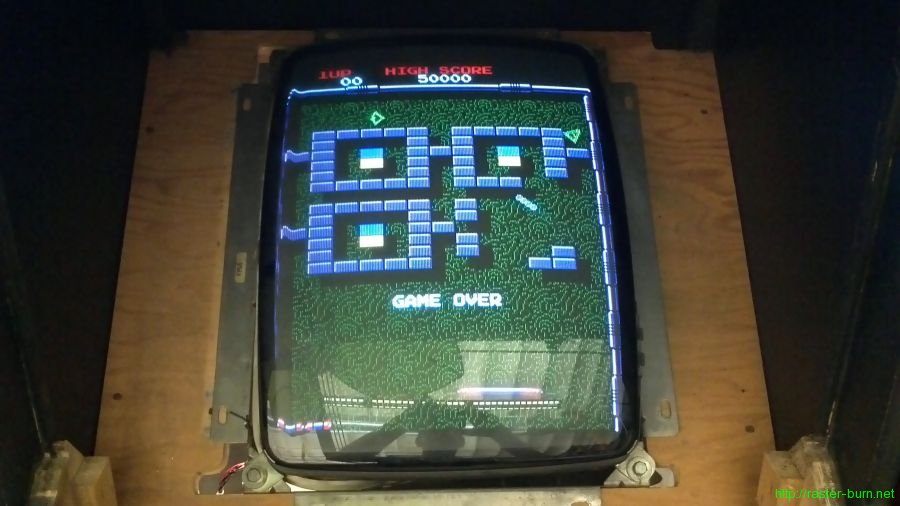
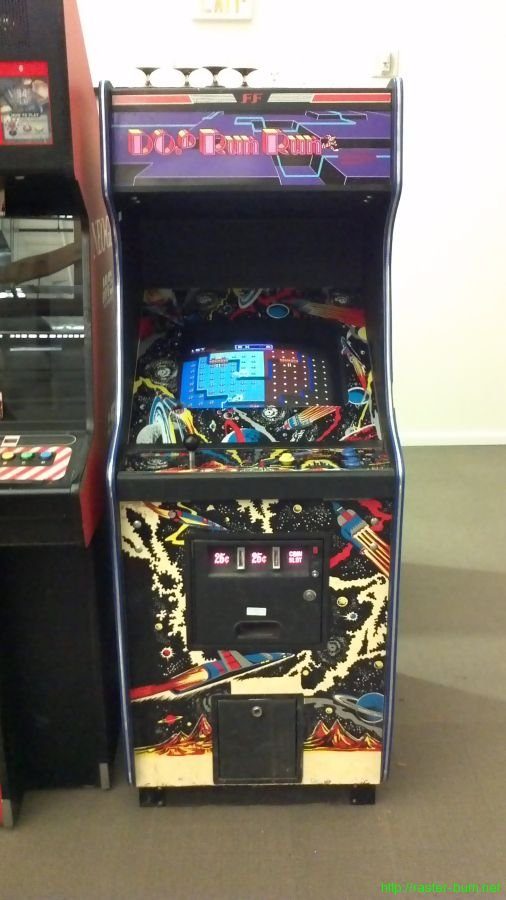
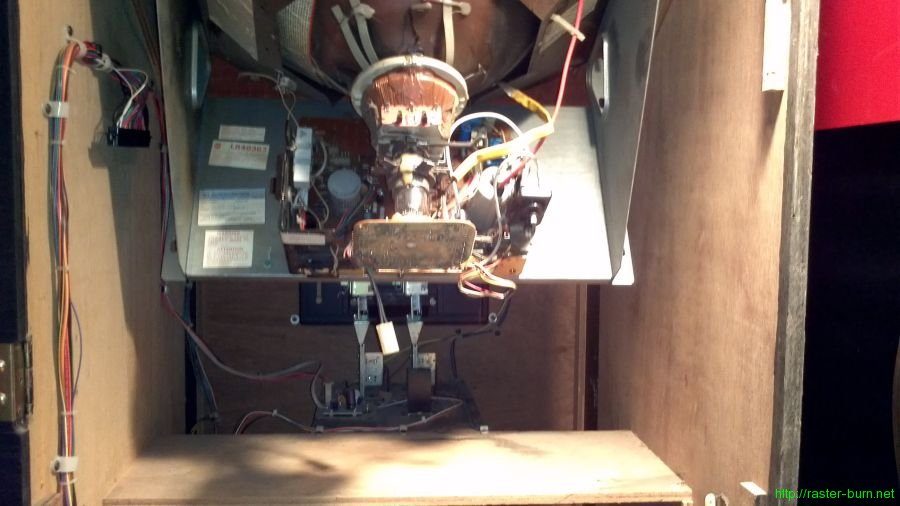
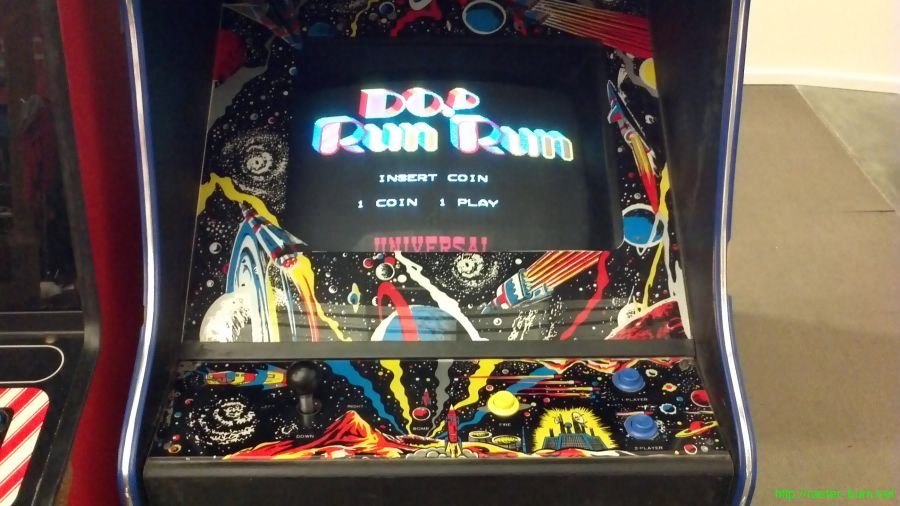
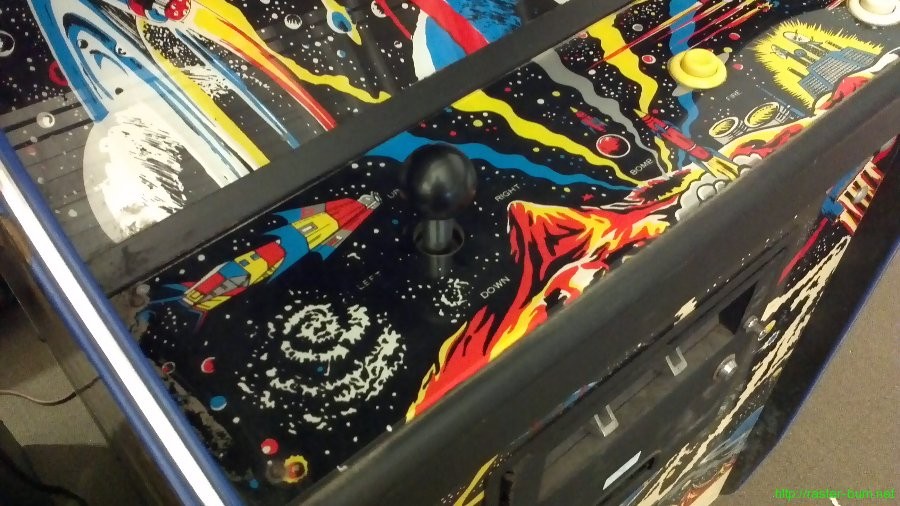
This is a relatively minor repair but I thought I’d put a post up about it because of the parts involved. The Do Run Run I got this weekend came fitted with really cruddy quality components. One piece buttons that aren’t serviceable and a joystick set up with some really crummy switches. I also found it suffered from disintegrating microswitch syndrome, as the Frogger player 1 stick did.
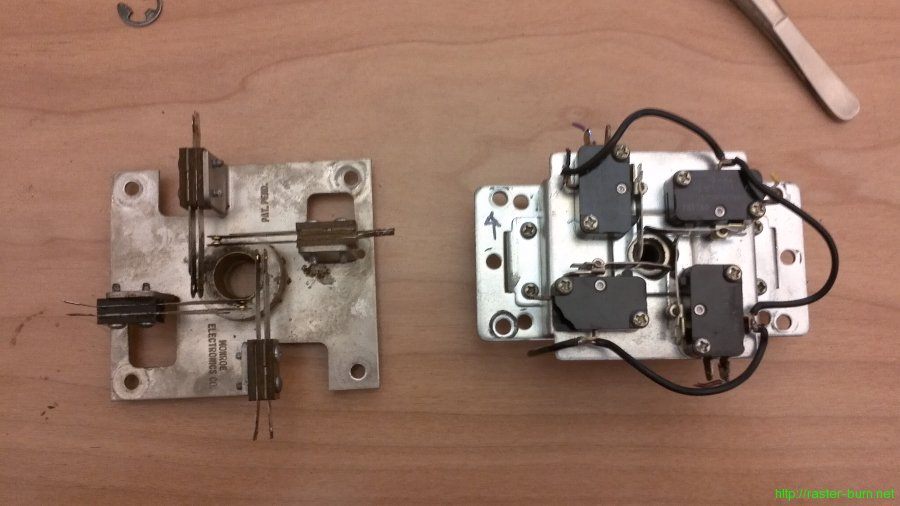
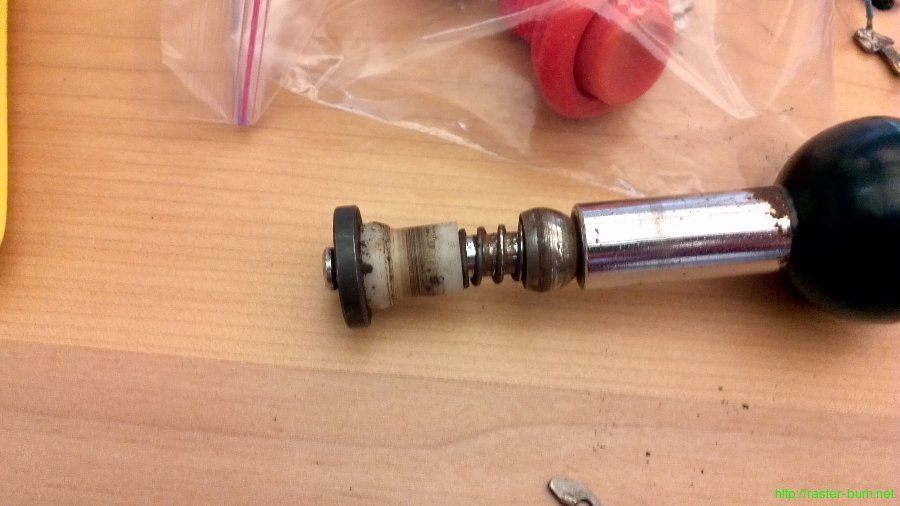
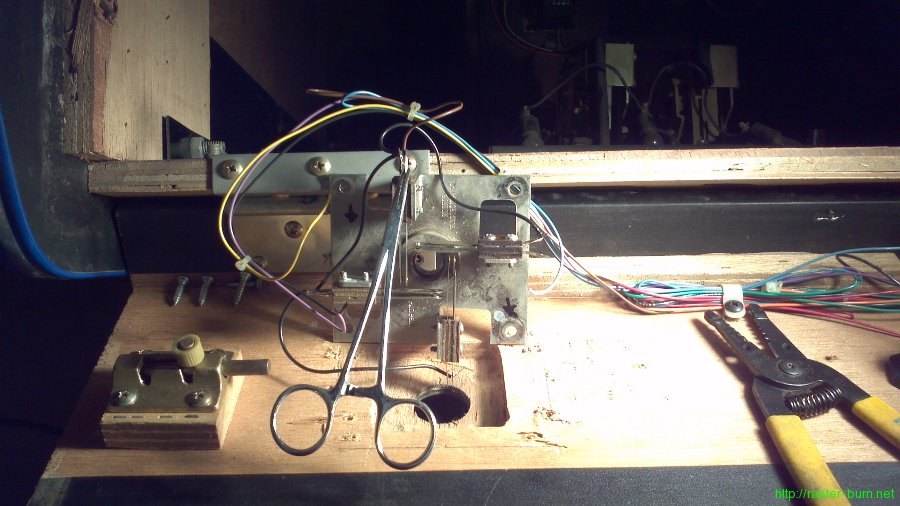
The Mr. Do on the other hand had relatively nice hardware, if a bit weathered. All leaf switch stuff, which is preferable for many older games. I spent a couple hours today carefully desoldering the joystick and buttons from the Mr. Do harness and transferring them over. The joystick ended up being a bit of a rare bird. Here it is disassembled:
It’s a Monroe Electronics model (they’re still in business, but no longer apparently making anything video game related). Has some interesting characteristics, most notably that it uses an all metal ball joint instead of the usual rubber bushing thing. Once I polished off the built up rust and oiled it it actually took on a very smooth movement.
It also happens to be the correct model for games such as Gyruss, Rampage, and Time Pilot. Used prices seem to be in the neighborhood of $20-50 depending on condition, and the NOS examples that pop up from time to time go for $50-100. I was a little surprised to find it was worth more than the entire cabinet it came in.
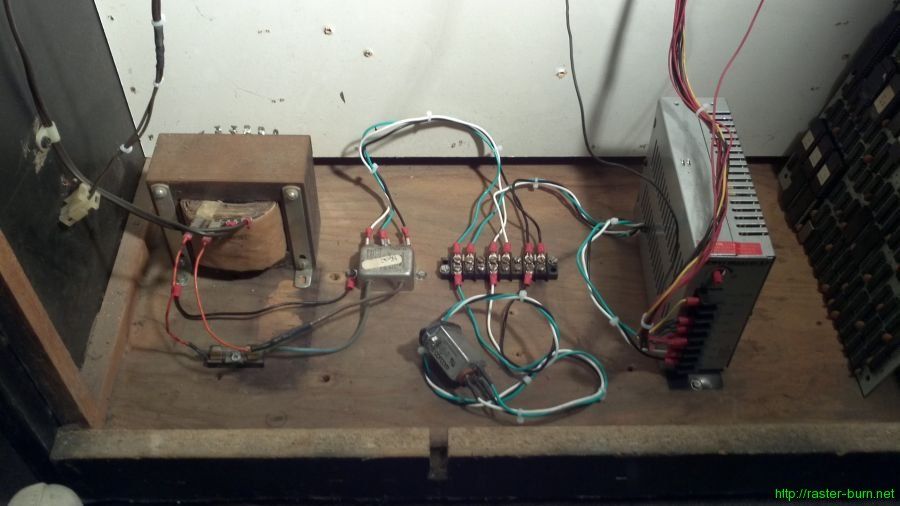
It helped out Do Run Run a lot, no longer sticks left and kills you at random :P Unfortunately the power supply gave up the ghost while I was testing and my spare seems to have issues too. I’m picking up a new one tomorrow but the sudden failure put a damper on things.
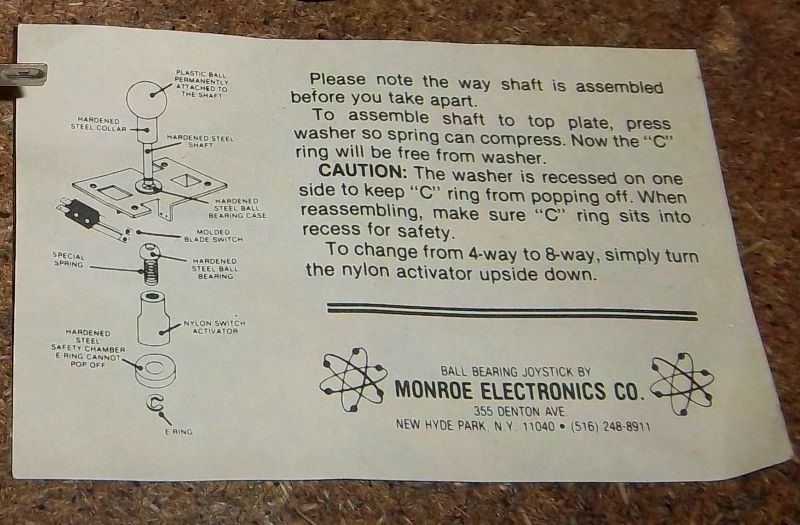
Also managed to find this (cropped from an ebay listing for a NOS stick: http://www.ebay.com/itm/Monroe-Joystick-NOS-for-Video-Arcade-Game-New-Old-Stock-Gyruss-Rampage-/310565134161) original instruction insert for the stick in question.
Might be useful for anyone looking for the correct way to put one of these things back together.

