How we Do!

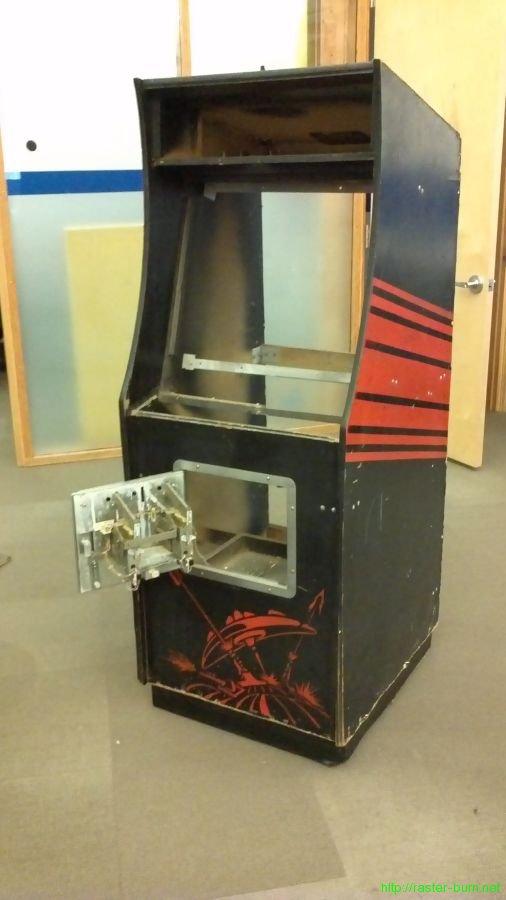
Spent today giving the mysterious ‘FF’ cab some love. I was initially working towards converting it to use the Mr Do! board I have but I found out the cabinet actually can’t fit a vertically mounted monitor without the back door smacking into the frame. Horizontal mount worked out, so the Do! Run Run board gets to stay.

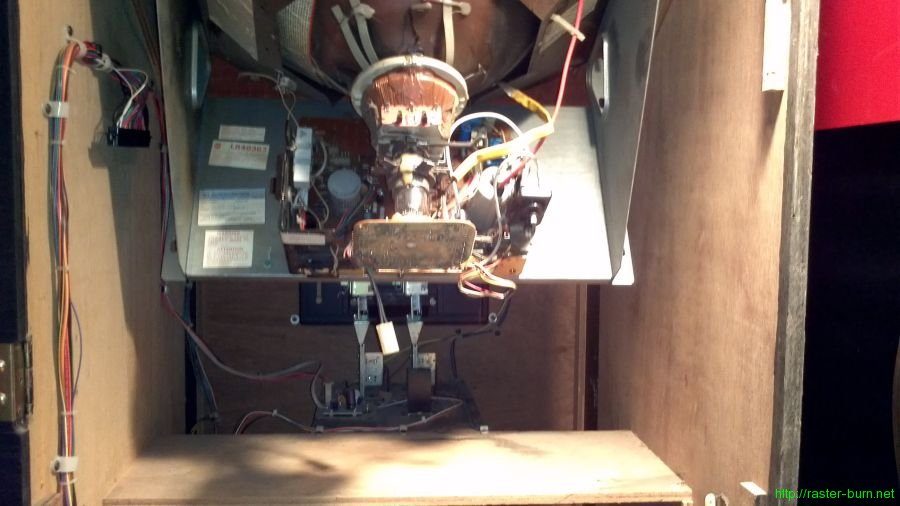
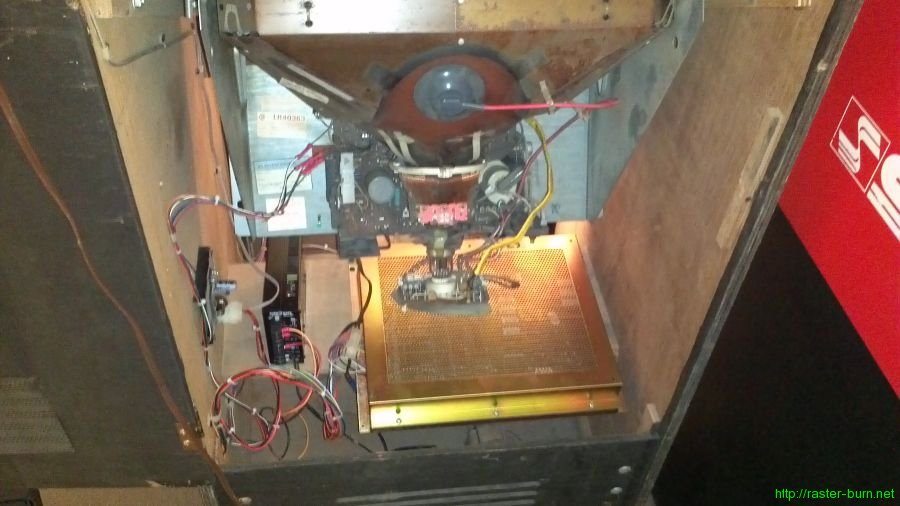
I had to pretty heavily modify the monitor shelf even to fit it horizontally. Looking at the mounting setup again I think the original monitor was mounted in there without a frame, and the chassis was just screwed to the little shelf below where the monitor sits.

I wanted to keep the Electrohome G07 I was putting in fully intact, so I did a bit of rearranging. The PCB and cage had to come down since with the monitor frame in place there was no longer enough clearance on the side. I’m going to redo the butt splices in the video wiring later, didn’t have any heat shrink tubing on hand to do them properly today.

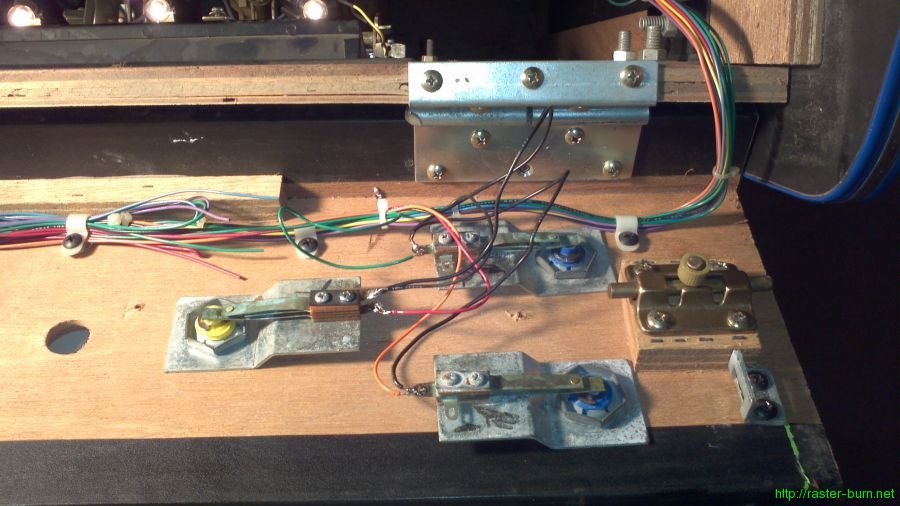
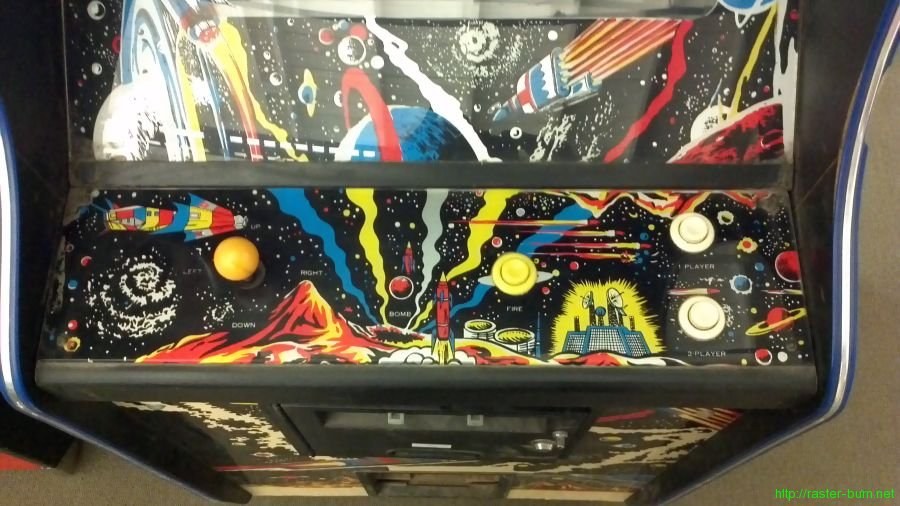
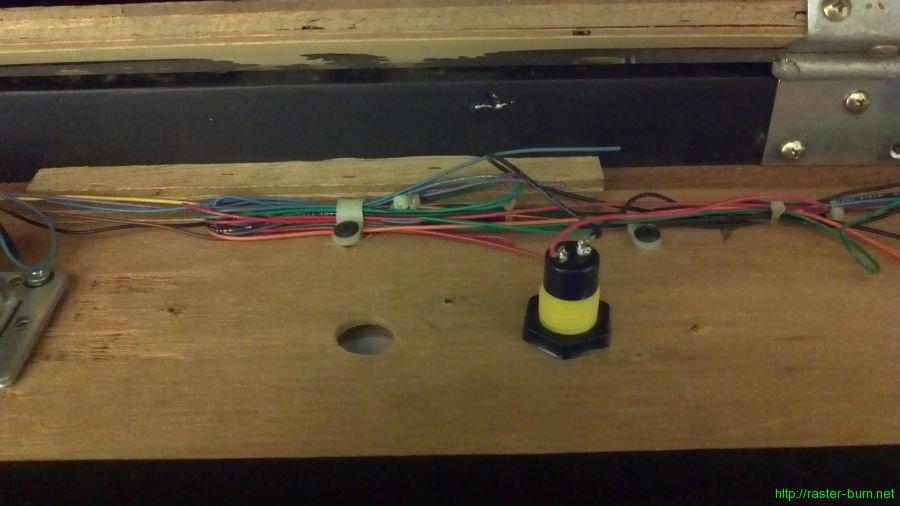
Also replaced the crappy one piece sealed buttons that came with the cab with the leaf switches that came in the converted Megatack cab and some less weathered buttons from a parts control panel. Installed some real control panel hold downs too since the holes for the slide latches were all messed up, feels much more solid now.

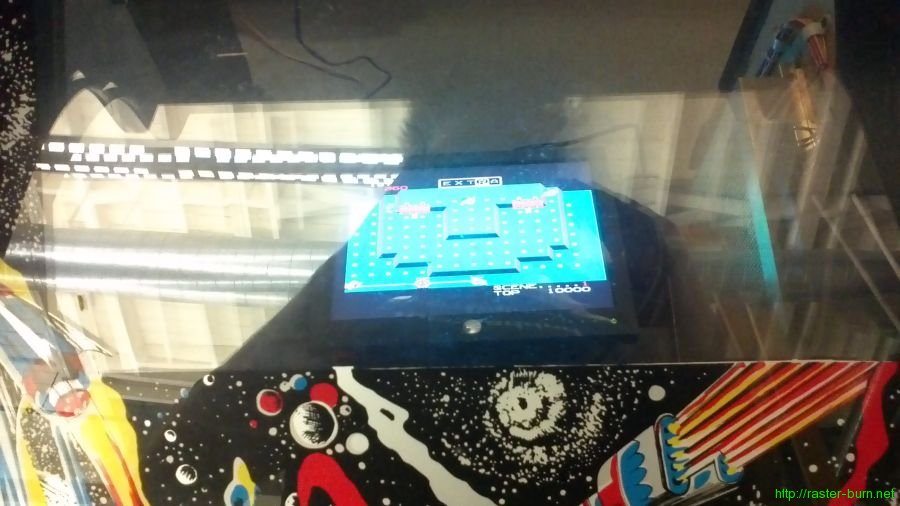
The game looks much nicer on a CRT. I’ve got it mostly dialed in but the width coil is broken on the chassis I am using so that adjustment will have to stay where it is.

Changing the lineup

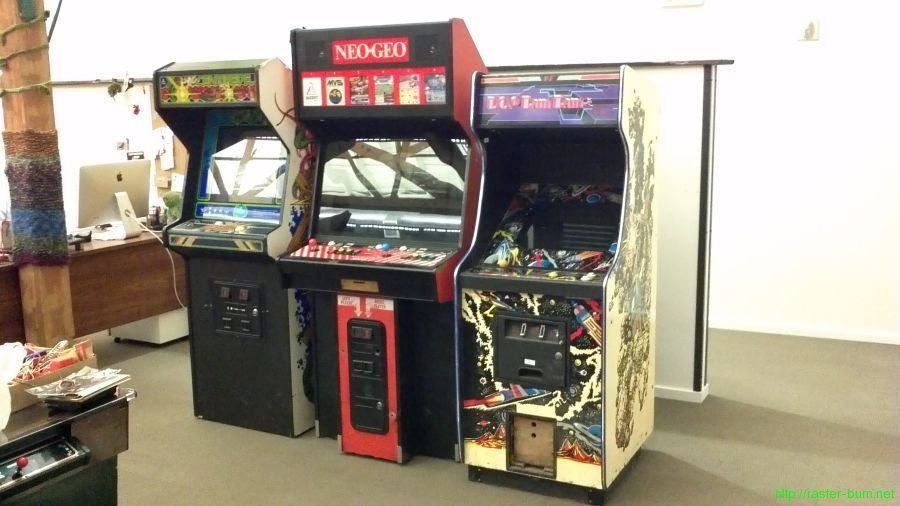
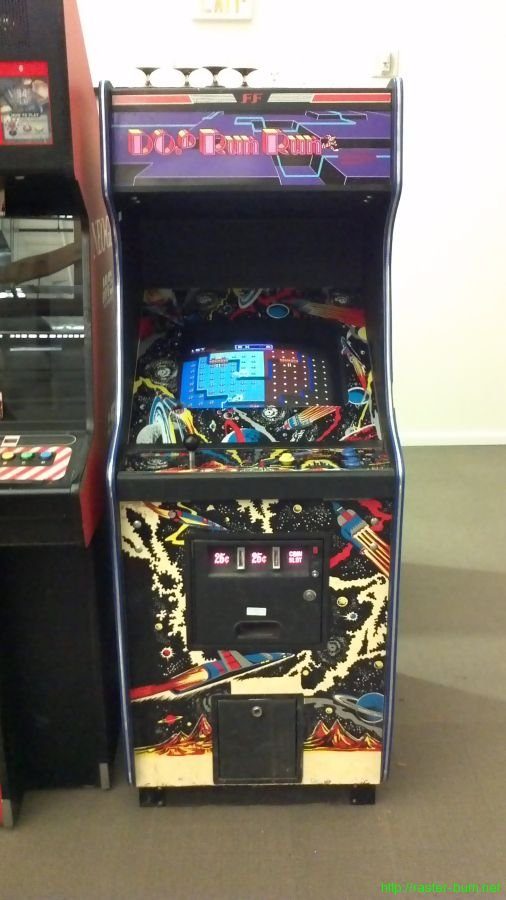
Today I traded my way into an unidentified but very nice cabinet that is set up with Do Run Run sans monitor.

It’s covered top to bottom in neat but generic space themed art. The only identifying mark on the entire thing is ‘FF’ in the middle of the top marquee hold down bar.

Control panel is kinda interesting, with another possible clue as to what game originally occupied it. It’s got markings and a cut out on the back for one more button, though the control panel overlay is uncut.

Oddly, the wiring harness is also provisioned for a second button, even though it seems to have been made for Do Run Run from the start.

I dropped in my highly specialized test display and played a few rounds. Pretty fun game, but the controls need some attention. The buttons and joystick are some of the cheesiest components I’ve seen in a while and stuck with enough frequency to kill me about once every other round.

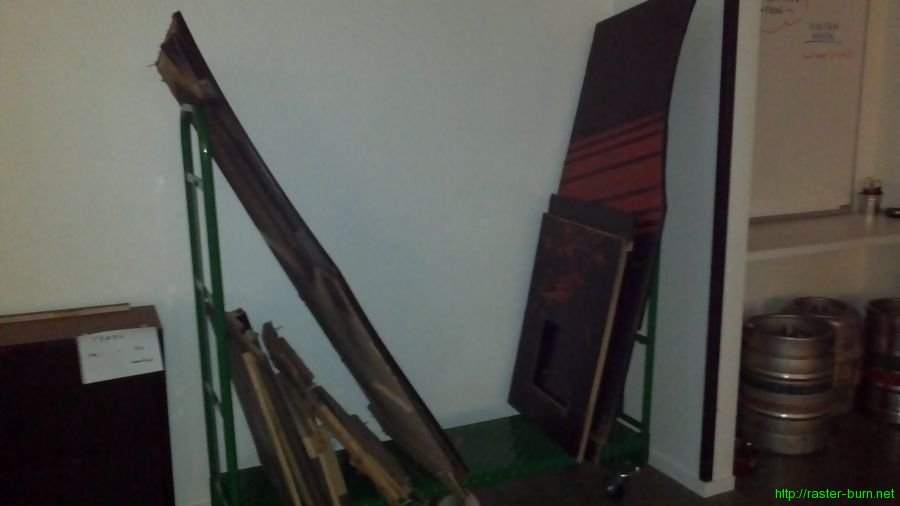
The cabinet itself seems designed for multiple possible games, and includes provisions for switching between horizontal and vertical monitor orientation. That means I can put the original Mr. Do in it too, and I took it as an excuse to rid myself of the rotten Megatack cab the Mr. Do hardware I have came in.

I won’t miss moving that waterlogged heap of MDF.

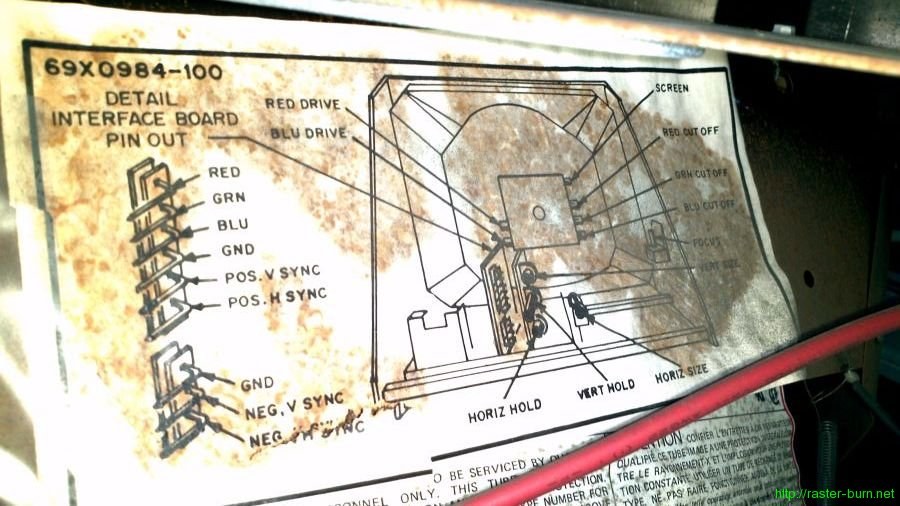
Bonus pic of the interface board pinout sticker on one of the monitors I traded for the cab, a Wells Gardner K4600 series. Label on the sticker is 69X0984-100, not sure if that relates to what type of interface card it corresponds to. The card itself was missing its identifying sticker when I got it. Figured I’d post it up regardless, since there seems to be precious little information about the different boards for these monitors available on the net.

Mr. Do’s Failing Capacitors

The board set from the $25 Mr. Do works in spite of the deplorable condition of everything around it. I pulled out the guts of the cabinet to test it in friendlier and less spider infested conditions. Ended up being able to run through diagnostics once and get a game to start before the Videomaster 13 I had the board attached to started to go dim, droop on one side, and start making some awful noise from the flyback transformer. It looked nice while it lasted!

I tried to hook the board up to a VGA adapter but can’t get the thing to sync for more than a second or two before it goes back to claiming no signal.

Next step is rebuilding some monitors I guess…