Great Guns!

Posting mostly just to get these pictures up before I forget… This is a piece I picked up several weeks ago and haven’t really had a chance to go through yet.

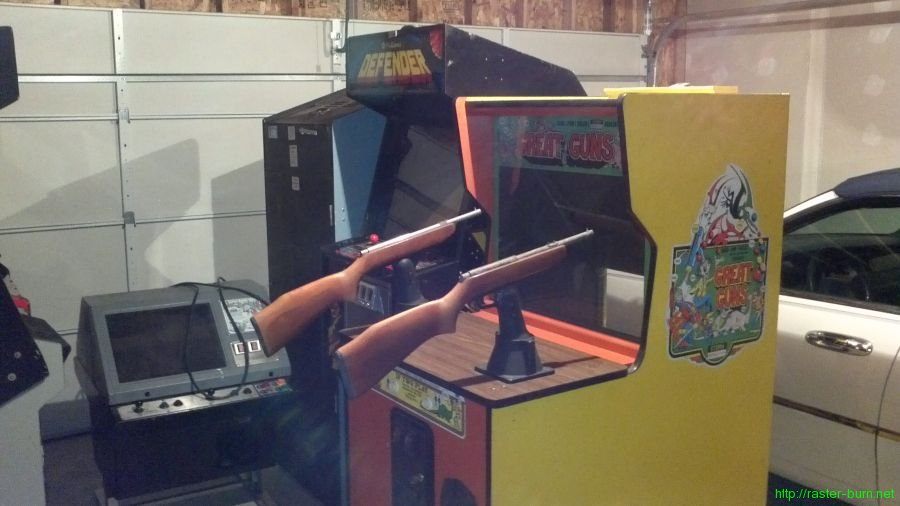
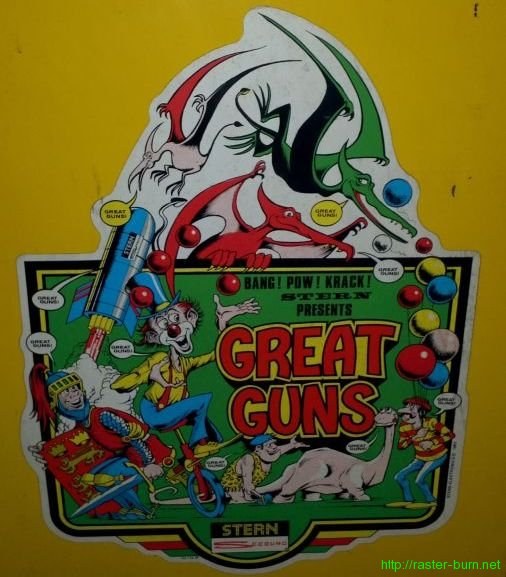
It’s a 1983 Stern Seeburg Great Guns. I hadn’t heard of it either, but figured I’d check it out when I saw it offered up free for the first taker.

It’s a carnival style shooter with a variety of themed levels to blast through. From warlocks, to dinosaurs, to creepy, creepy clowns, you can shoot it all.

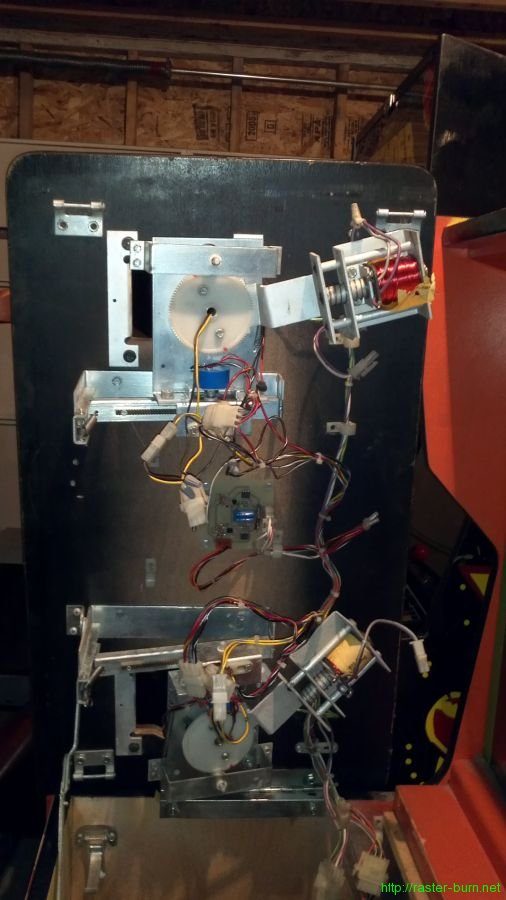
The hefty rifles are fixed to cast iron ball joint bases. Underneath, a set of attached gears turn large potentiometers to determine where the player is aiming. A kicker solenoid mounted under each rifle provides ‘recoil’.

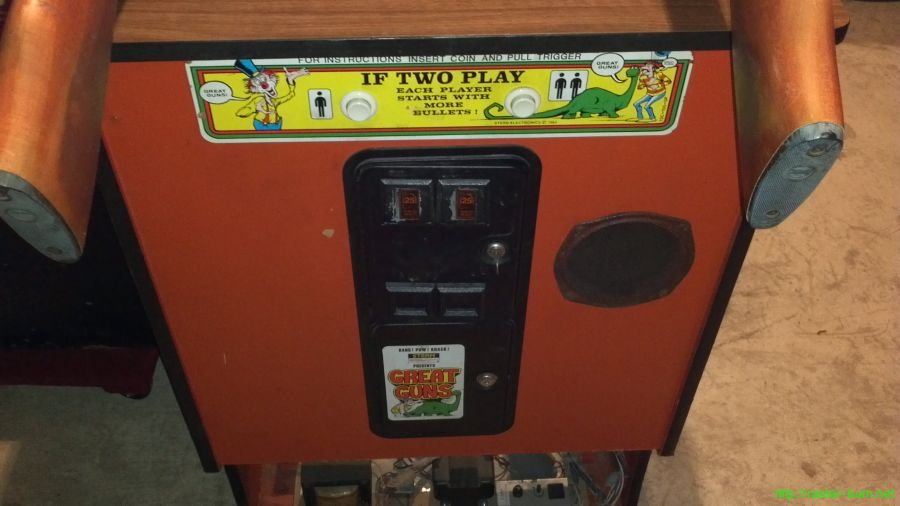
Originally the game also had a feature to return the player’s quarter if they performed well enough. This was unpopular enough with operators that most games had the mechanism removed, including mine.

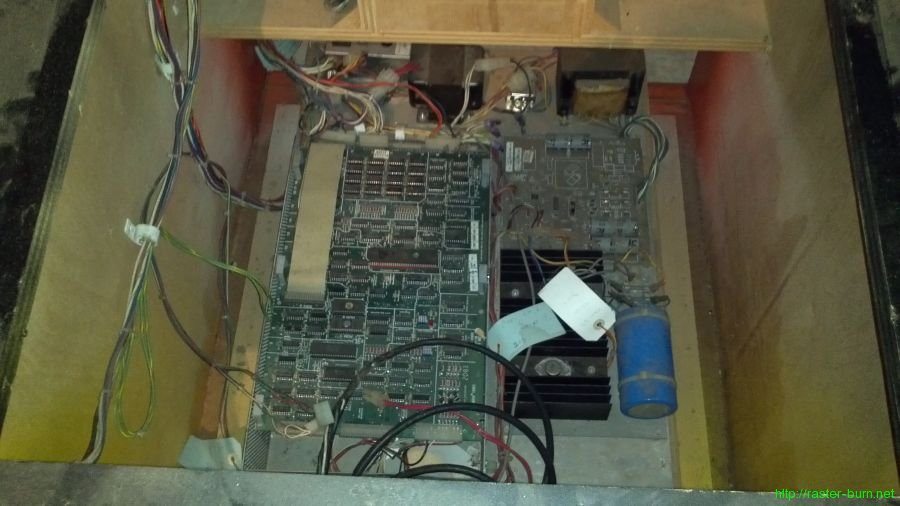
The formidable rack of PCBs is intact, but I don’t have any idea if it’s working or not. I’m told it was when it was initially put into storage years ago, but time is rarely kind.

Victory in the battle against the Grey Menace

Back in December I removed the paint on one side of my converted Bosconian cabinet using a bottle of Motsenbocker’s Instant Latex Paint Remover. The experience was so traumatizing that it took me until now to work up the nerve to do side two. While it did work, the Motsenbocker’s product took several applications with a lot waiting in between and extra measures to help the stuff keep from drying out while it did its thing. I also burned through a stack of Scotch Brite pads encouraging the softened paint along, eventually resorting to a palm sander for some extra oomph.

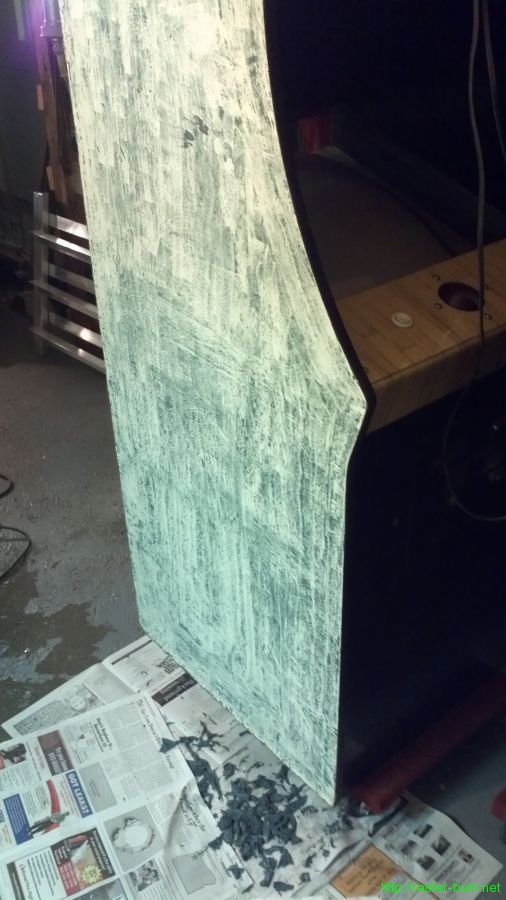
For the second go around, I picked up a jug of something different, 3M Safest Stripper Paint & Varnish Remover. Unlike Motsenbocker’s spray on liquid, the 3M stuff is a gloopy semi-paste substance that readily clings to surfaces. I laid down a single layer of it on the cab side, and went to grab dinner.

After letting it sit for around an hour as recommended for the latex-based grey scourge I sought to eradicate, I returned to the scene. There wasn’t much of a visible difference, but I gave the paint an experimental poke with a metal scraper and a section sloughed off in a wrinkly sheet. Already better than the other stuff.

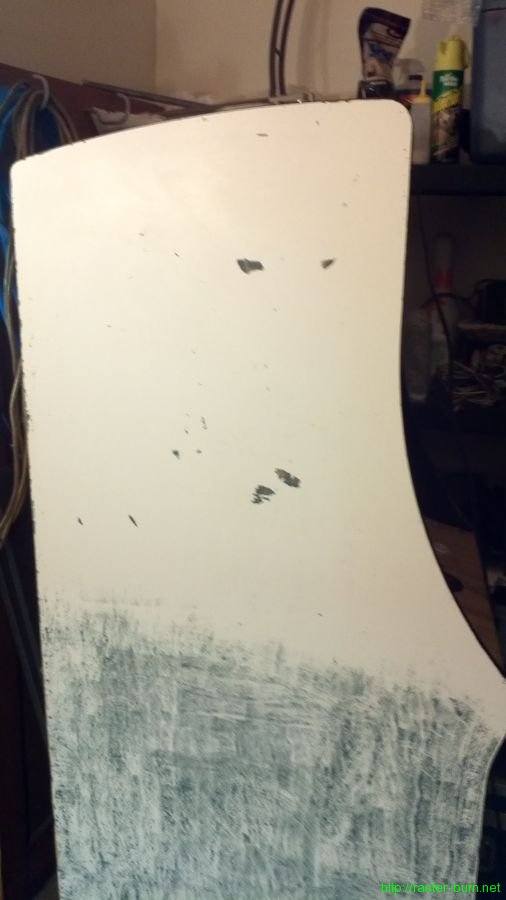
Went to town on the paint with a scraper and had it all off without too much trouble. There were a few spots where I’d applied the paste too thin and it had dried; this left the paint still softened but with a bit better adhesion to the wood. If I’d applied a thicker coat I think that would not have been an issue.

Second pass was with a sprayer of water and a Scotch Brite pad. The remaining residue came off quite easily when dampened and everything wiped clean with a damp towel.

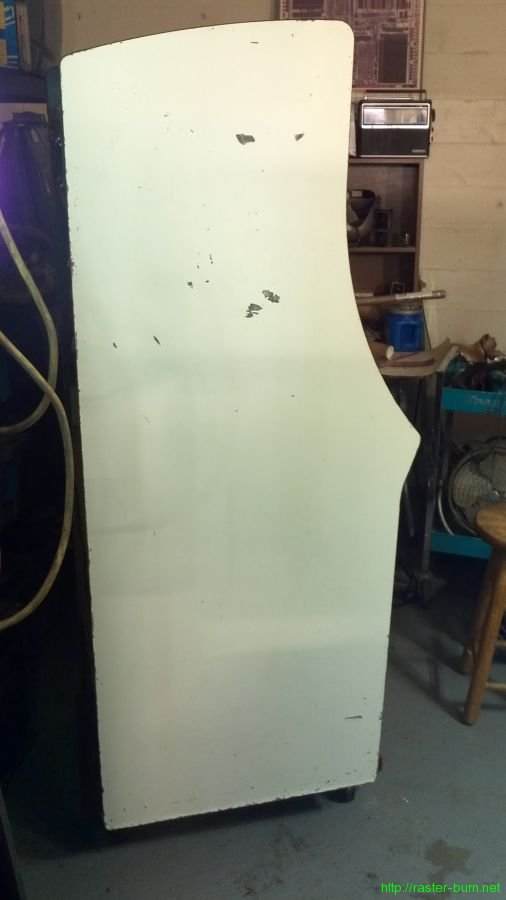
And done! Side two took about a third of the jug of Safest Stripper, one and a half Scotch Brite pads, and a handful of hours. Clearly, the 3M stuff is the way to go for a large job like this. I’ll keep the Motsenbocker’s around for spot work or cleaning up fresh spills, but that’s about it. The 3M goop is way more efficient materials-wise for large projects, and saved a ton of labor as well.

Nintendo Power

A few months back I had to pass on a pretty rare NOS Playchoice 10 kit for the Nintendo ‘Red Tent’ style Vs Dualsystem table units. Just recently what I’m pretty sure is the same kit resurfaced, without the common but expensive motherboard. Sniping that auction allowed me to acquire some very rare parts for the very reasonable sum of ~$72.

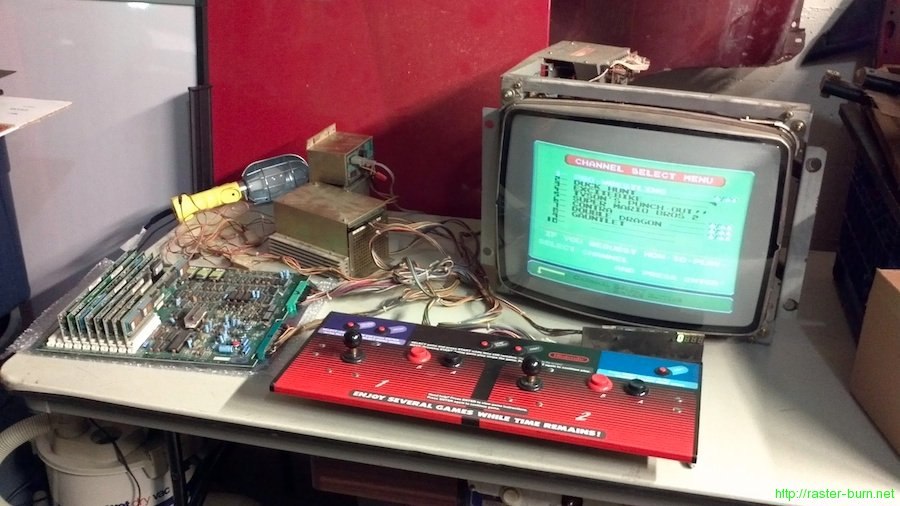
That grab prompted me to drag one of my storage bins out from the depths of the garage and re-test something I’d set aside for quite a while. It’s a complete single-monitor Playchoice 10 kit for a cabaret cabinet that I acquired something like a decade ago when Arctic Music & Vending in Anchorage closed and had its assets auctioned off.

I’d given it a try fairly recently, but thought it was a dud since I didn’t get any video. This time around I took a closer look at the monitor I was using to test it and realized one of the cables between boards on the chassis was disconnected. I reconnected it and the game came right up. Miiiiiight have felt a little dumb after that discovery.

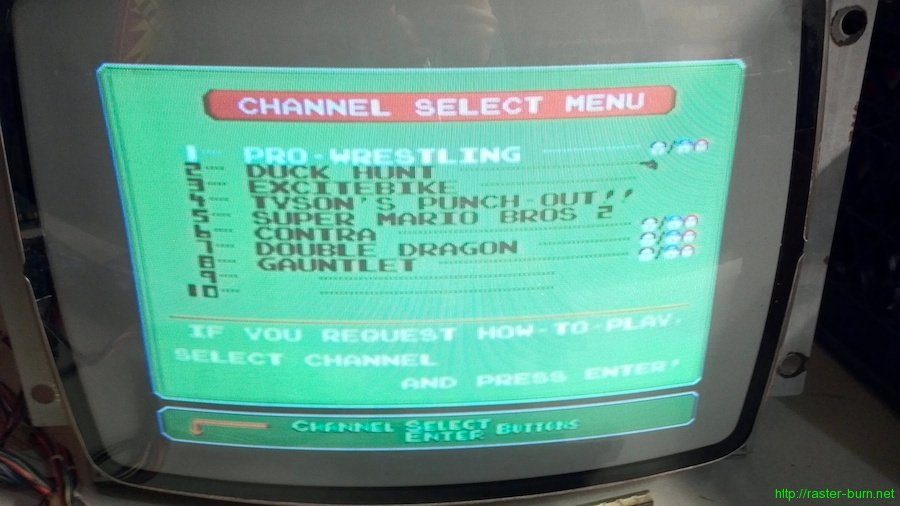
Went through and tested the cartridges I have, and found them all in fine shape. I came to figure out I have an older production motherboard, which means the Reset button on the control panel doesn’t function with the board set to free play mode. A little research revealed that you can hold the Channel Select and Enter buttons together for a few seconds and it’ll pop you back to the channel menu like the Reset button is supposed to. Not pictured on the menu are two more copies of Punch Out, and The Goonies.

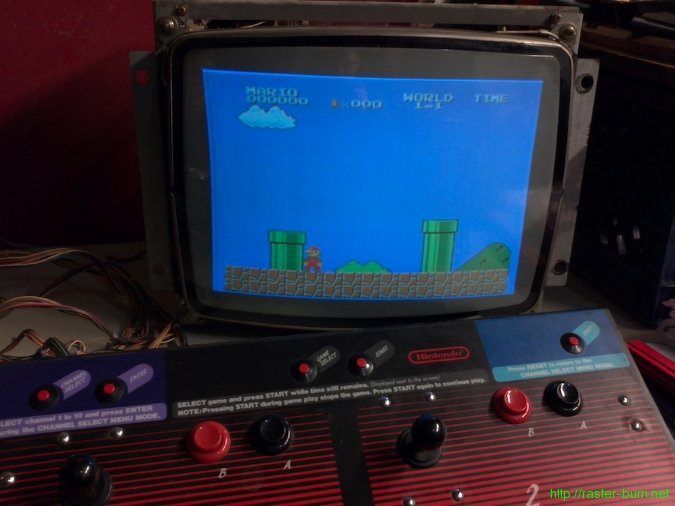
I also took the opportunity to test the Vs system board that came in my Red Tent, since the Playchoice 10 harness is close enough to the Vs one to at least boot a board on. Super Mario Bros came right up and played fine, but I wasn’t quite sure how to get to the other ‘side’ of the board with Dr. Mario.

Unfortunately testing the monitors in the Red Tent didn’t go as well. One of them is blowing a fuse at F701 on power up, and the other seems to be working except for the light show that comes out of the flyback cage when you turn it on and the flyback transformer starts arcing. So, some repairs needed there.

Also still need to dig into the R-Type upright cabinet I’ve got. It’s been sitting in a corner since I got it, supposedly it plays but I haven’t had the time to drag it out and see what’s going on with it.