Sorcerer! Part 3

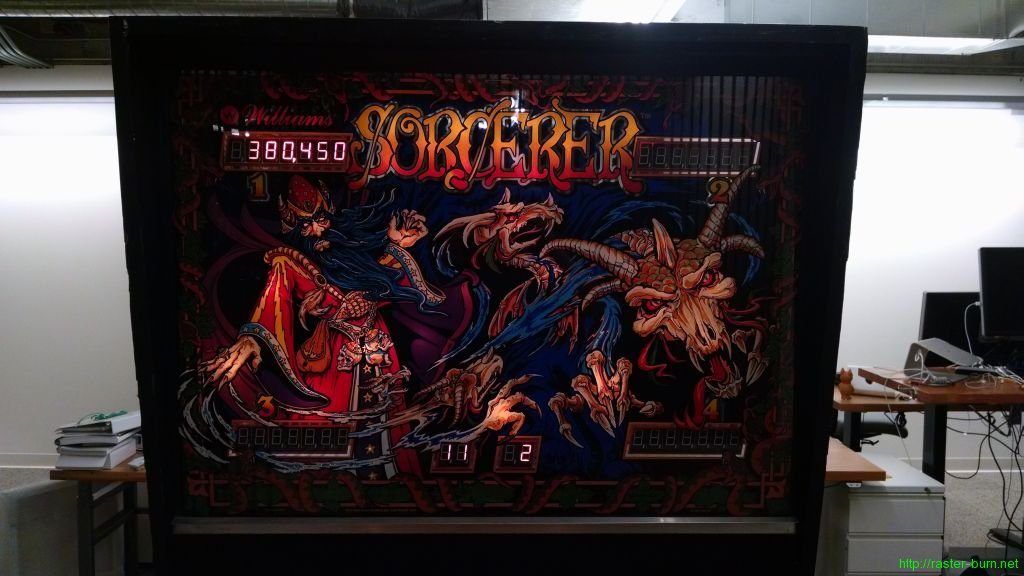
I got to play my first game of Sorcerer ever this past Friday. Found an allegedly clean and working System 9 MPU on eBay and snapped it up. The low resolution pictures hid a lot of shoddy repair work that I wouldn’t have described as kindly as the seller did, but after some reflow and fixing a few traces it does mostly work. Still no sound, but the game will play.

The outhole solenoid locked on when I powered the table up at first, and I went to the common culprit, the solenoid drive transistors. They were fine, so I crept up circuit from there and replaced the 7408 IC next in line. It’d already been socketed, which made me a little suspicious. The outhole kicker worked as expected next time I brought the table up, and I got a half dozen games in with no problems, but after another power cycle it was back to locking that solenoid on. So, something seems to be killing the 7408 in that transistor drive circuit. Lame, but I have some idea of what might be going on to do that.

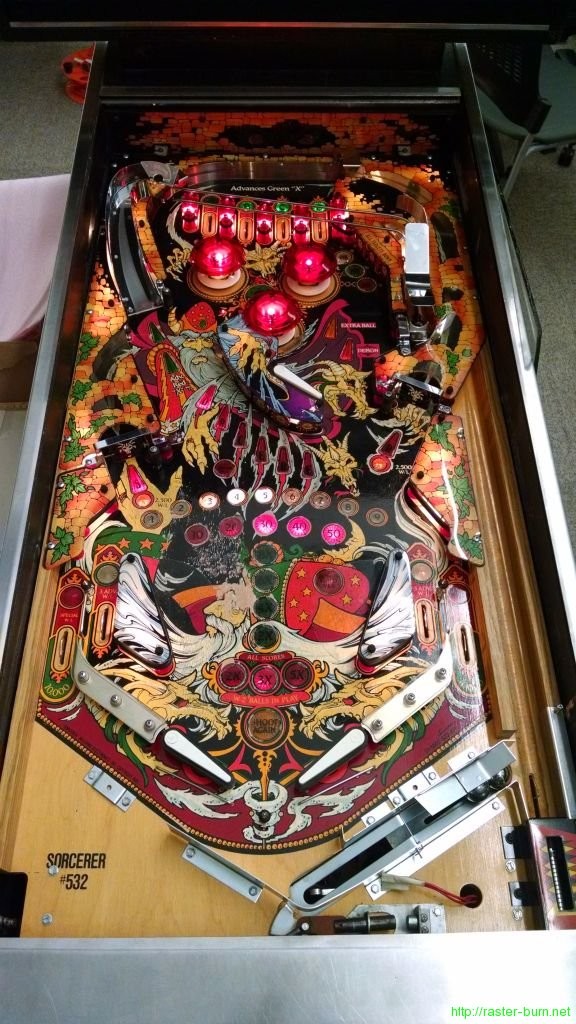
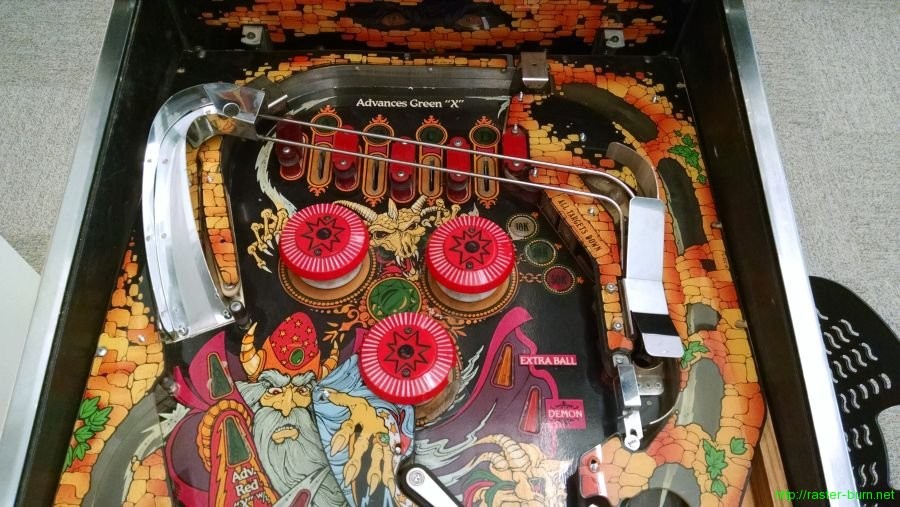
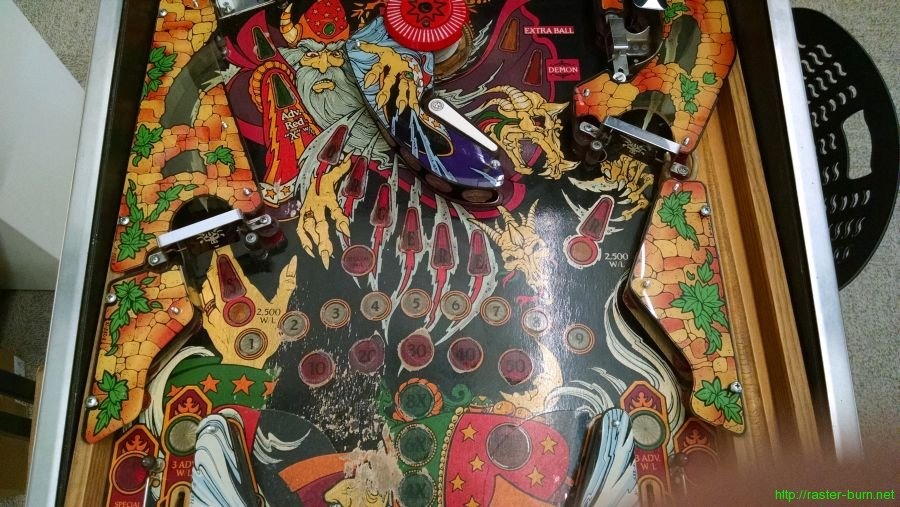
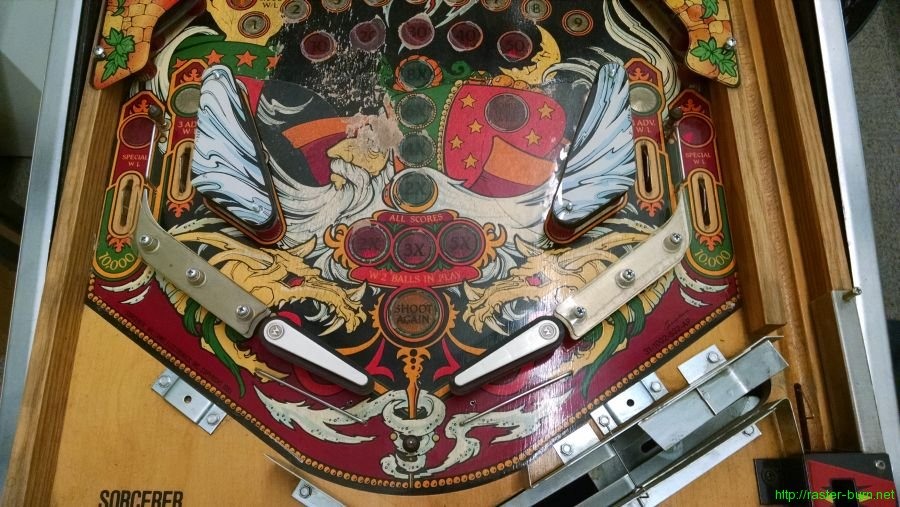
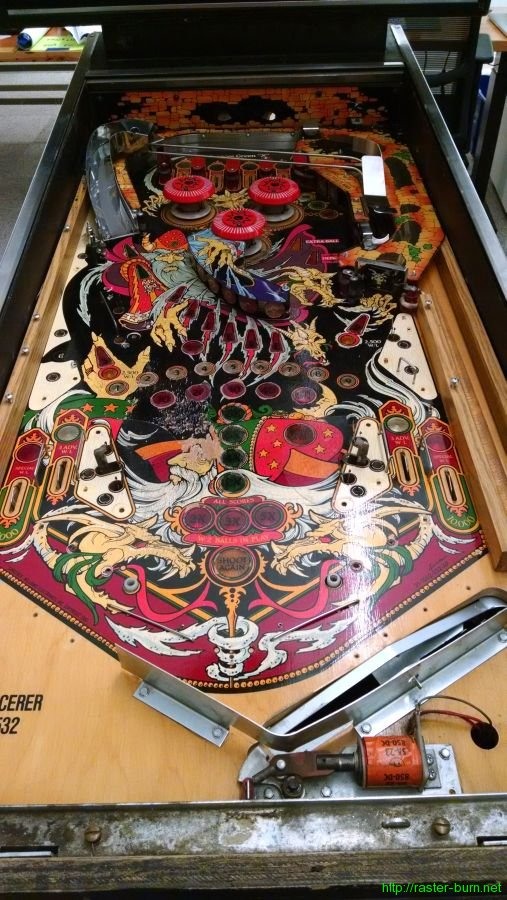
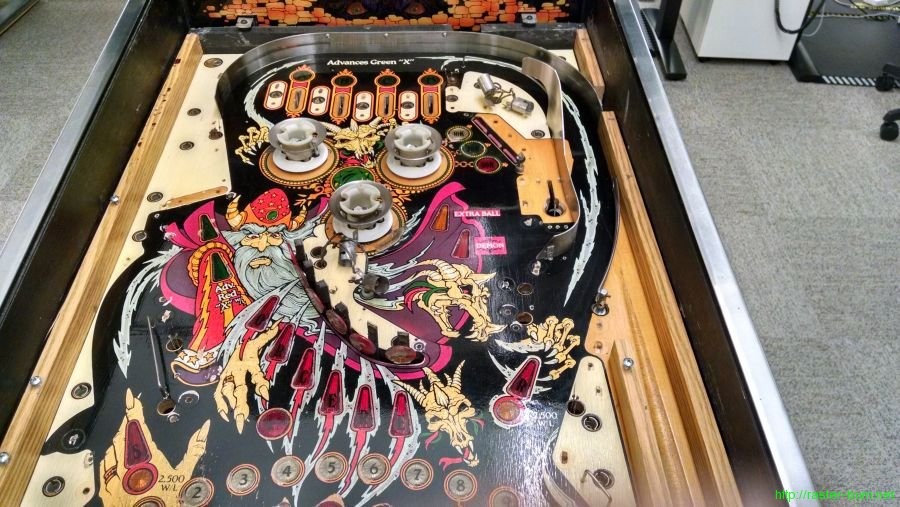
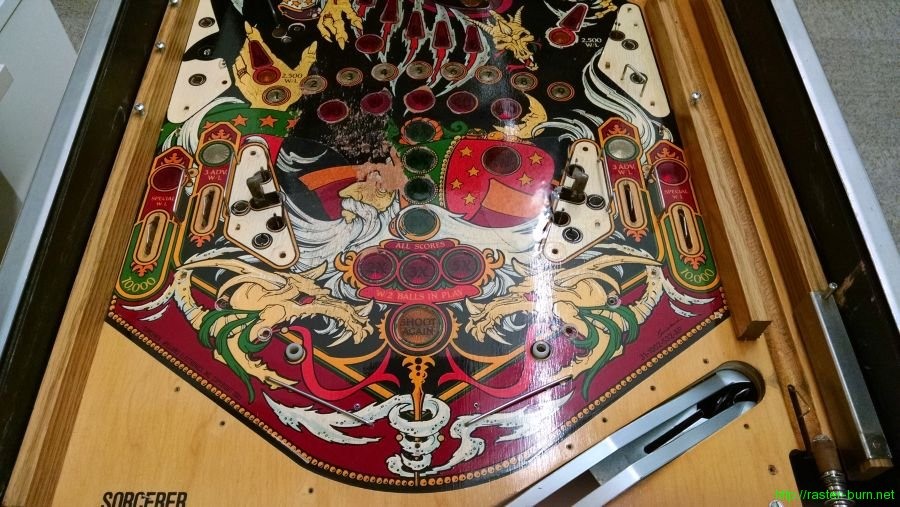
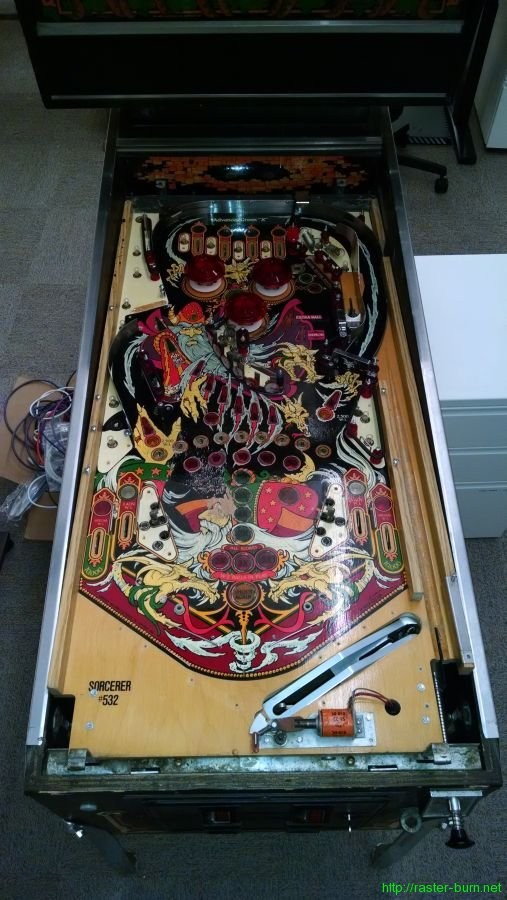
Prior to all that I also finished up the last of the playfield refurbishment. New decals for the targets from Action Pinball look great.

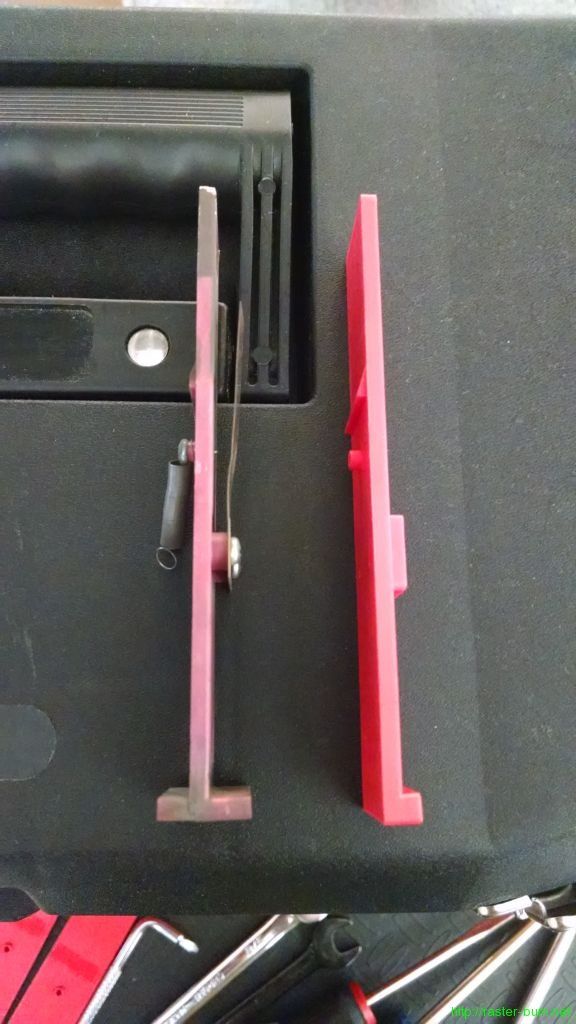
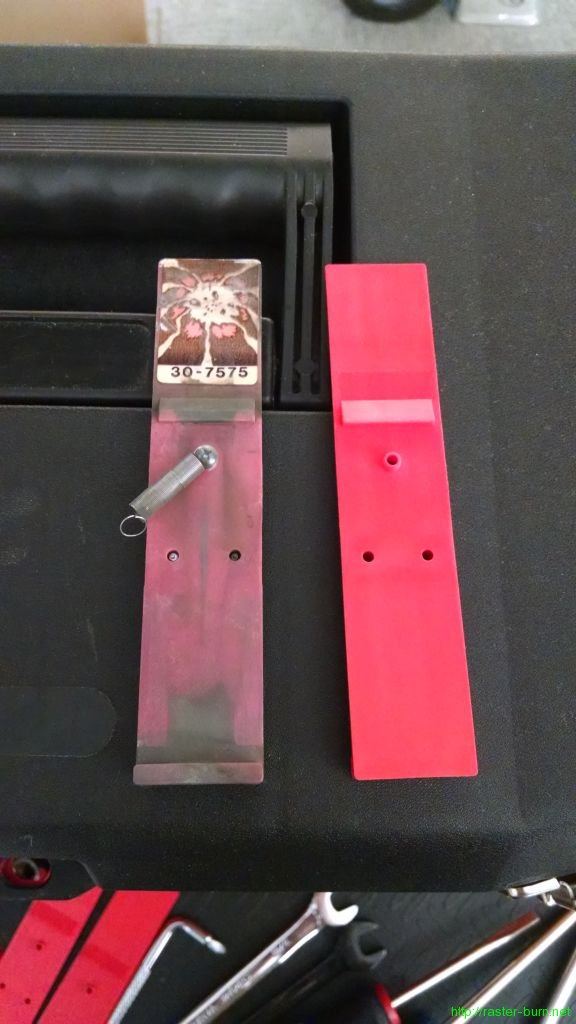
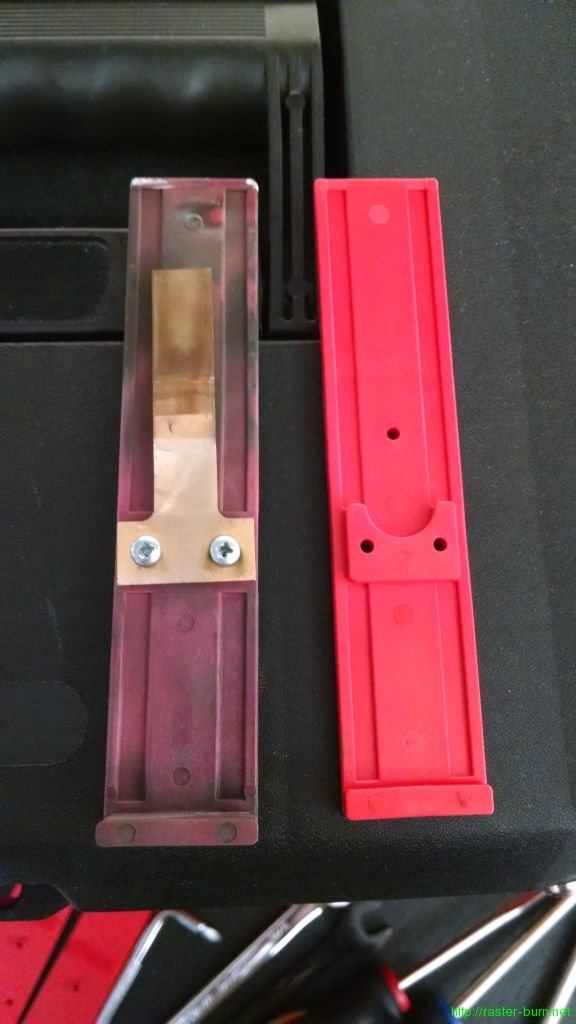
I was also originally going to replace the drop targets but ran into a snag with the early Williams style reproduction from Marco Specialties… I was sorta expecting it, since the part number called for in Sorcerer is different (A-9417), but it’s a little galling how minor the difference is while still making the repro part completely useless in my application.

Original on the left, repro on the right. The repro is mostly identical, but it’s missing the little tab that extends off the bottom of the drop target towards the front, meaning it won’t work in this game since the mechanism to raise the drop targets relies on that tab. Fortunately none of the originals are broken, so I just cleaned them and popped them back in place.

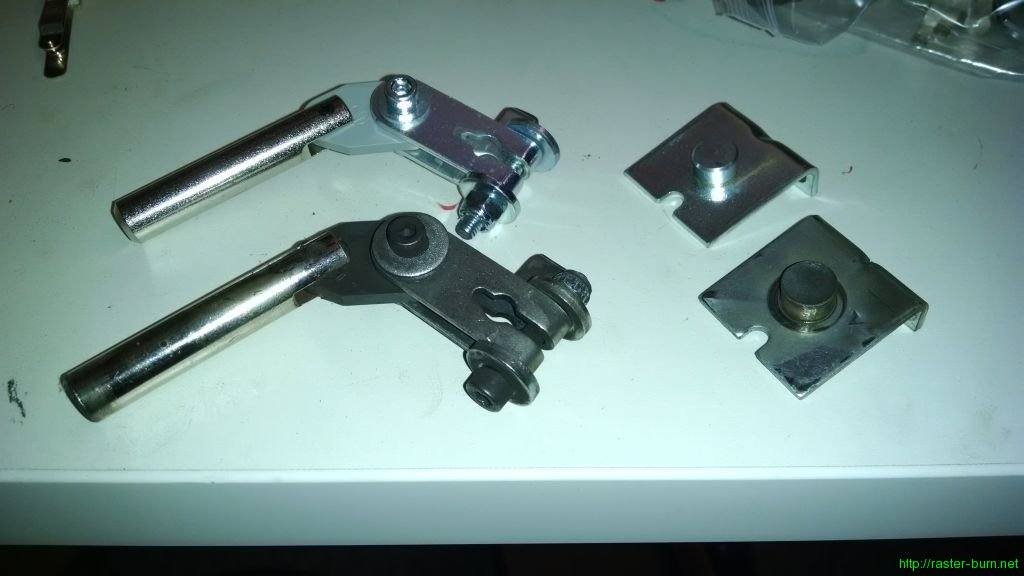
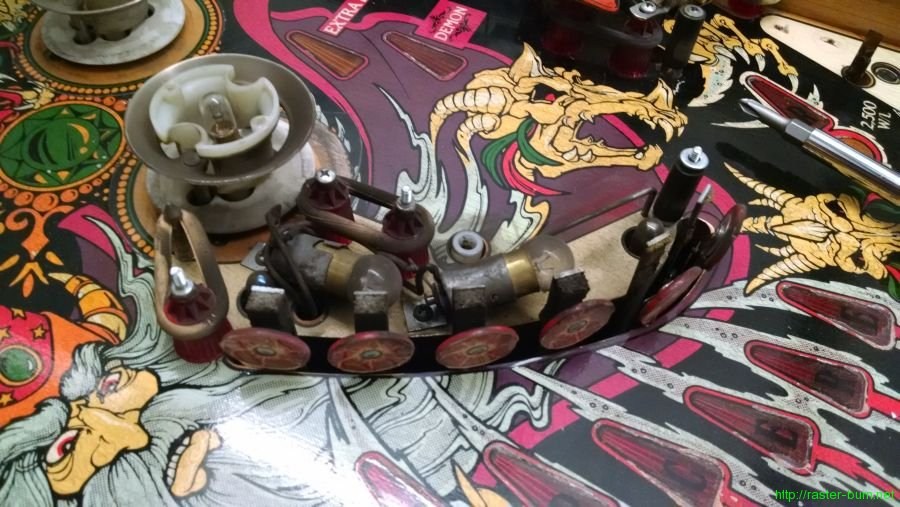
I also rebuilt the three flipper mechanisms with new parts. It looked like the upper flipper assembly had never been rebuilt, while the lower two looked like they might’ve been refreshed at least once.

This picture illustrates why this should always be done, with new parts up top and the old below. The plunger (long metal rod on the left that gets drawn in by the coil) is mushroomed out from making contact with the stop, which can cause it to bind in or damage the coil liner sleeve. The stop itself has been hammered down to a concave shape, which will accelerate wear on the plunger.

Bringing home the gold

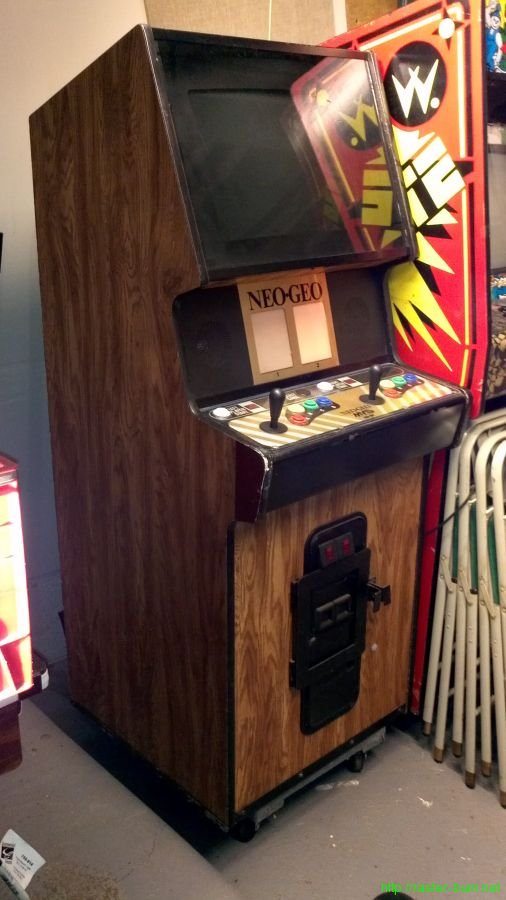
The MVS-2-19 ‘Gold’ cabinet isn’t the most appreciated Neo Geo variant. It breaks heavily from the aesthetic of its siblings and takes cues from the designs of earlier generations with faux wood grain exterior treatment, a subdued black and gold color scheme, and a bizzare elevated monitor setup that looks borrowed from some of Atari’s more outlandish designs. It’s also one of only two dedicated US market Neo Geo cabinets with a monitor smaller than 25″.

The odd look and small monitor make it undesirable to most collectors, even though it’s a bit of a rarity to find one. I’ve always found a bit of charm in the throwback styling though, and irrationally love anything with that stupid wood grain vinyl on it. The smaller monitor size also makes it blend better in a row of older games like mine. So I’d been looking for an MVS-2-19 for a while, not really expecting to find one locally.

I got a text message from a friend with a picture of one a few months ago though. Someone we both know who churns through large lots of used cabinets had it, and had been under the impression it was a poker machine conversion. My friend clued him in on it being a sorta scarce dedicated cabinet, and asked him to hold onto it for a bit before doing anything with it so I could check it out. I went over there a few days later and quickly made a deal on it. Picked it up in exchange for refurbishment of five monitor chassis I’d been working on, not too bad.

It isn’t a perfect example, but it’s also a lot better than many out there.

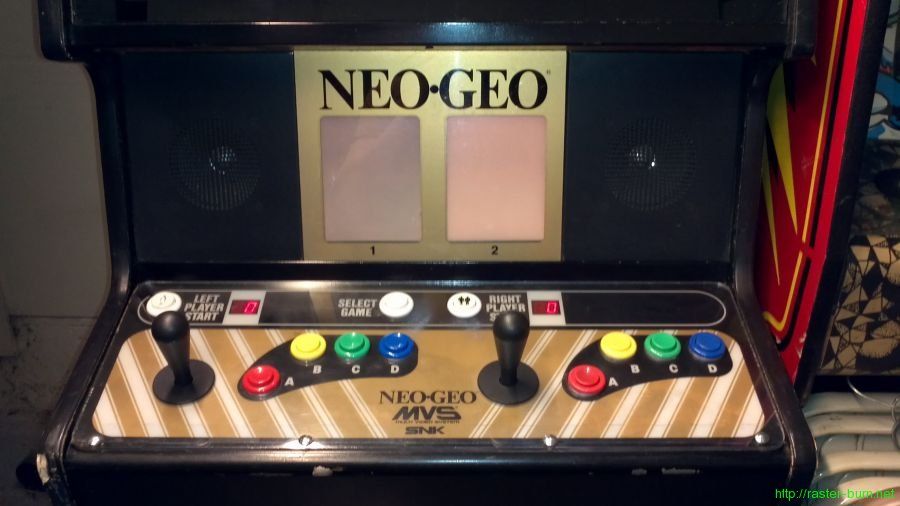
After some cleaning, the most important parts to get in good condition were very nice indeed. The gold colored control panel overlay and mini marquee holder are both unique to this design, and have never been accurately reproduced. Usually they’re destroyed by vandals or heavy use. Fortunately someone put a plexiglass plate over the overlay on this cabinet and it saved it from most wear, and the marquee holder didn’t get scratched up or tagged like a lot of them do.

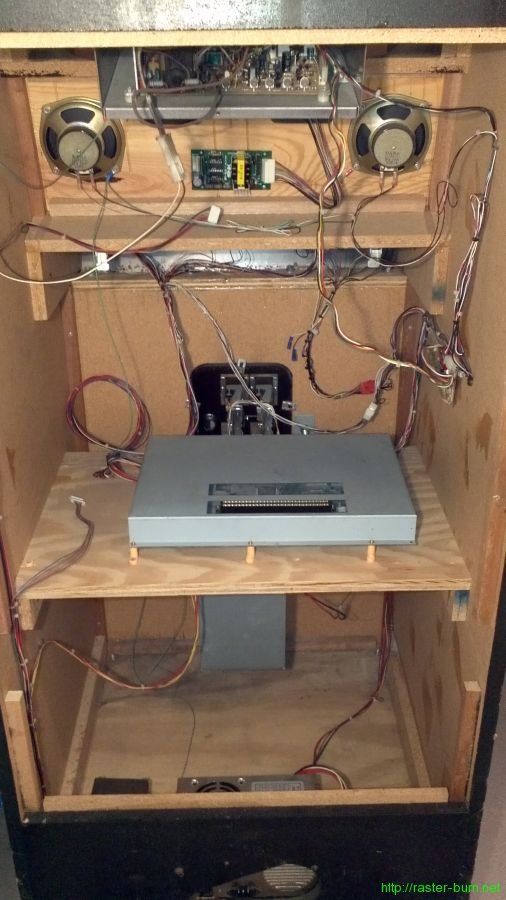
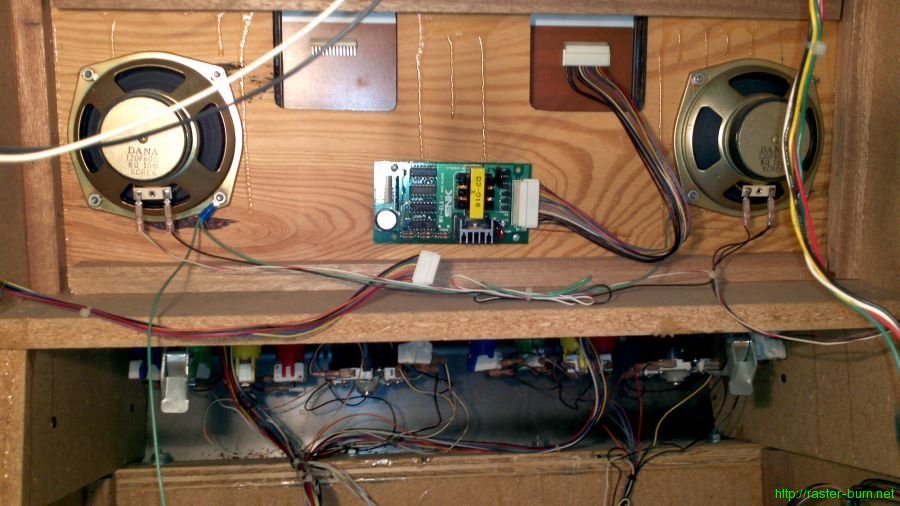
The interior was mostly unmolested, even found a bunch of documentation inside for a few different Neo Geo boards. It looks like the two slot board isn’t the original one, but it’s the right kind for the cabinet, and didn’t have any acid damage.

The electroluminescent panels were unplugged when I got it, and predictably don’t do anything but make an awful buzzing noise when plugged in. They’re almost always broken in MVS cabs, and while they can be repaired that’s pretty low priority for me since they’re purely cosmetic.

Sorcerer! Part 2

So, initial impression… This machine was not loved. This machine was out making someone money.

The thrashed playfield, mismatched rubbers, patched Mylar films around the pop bumpers, and plethora of blown lamps say that money was spent on maintaining this thing only to the degree required to keep quarters flowing into the coin box.

On top of that treatment, it was then stored in a fabulously dusty environment for years. Glass top or not, in a body shop dust is going to get everywhere.

With all that in mind there was really only one path forward. Competely tearing down the playfield elements and building it back up with every last part replaced or thoroughly cleaned.

I spent several hours removing almost everything above the wood on the playfield. I made an effort to meticulously photograph and bag parts in logical groups to keep everything organized, to avoid making myself a basket case by taking it all apart without documentation.

Once the playfield parts were removed I cleaned the entire thing, and then applied several coats of wax to protect the wood and art that remained and provide a smooth surface for play.

Reassembly went far more slowly than take down, as even the effort spent photographing and grouping parts as they were removed was not enough to completely avoid confusion. I also spent way too much time on those little red star posts with a nylon brush, as they have a ton of little spaces that attract wax residue, deposits from sparking switches, and metal dust from electromechanical mechanisms.

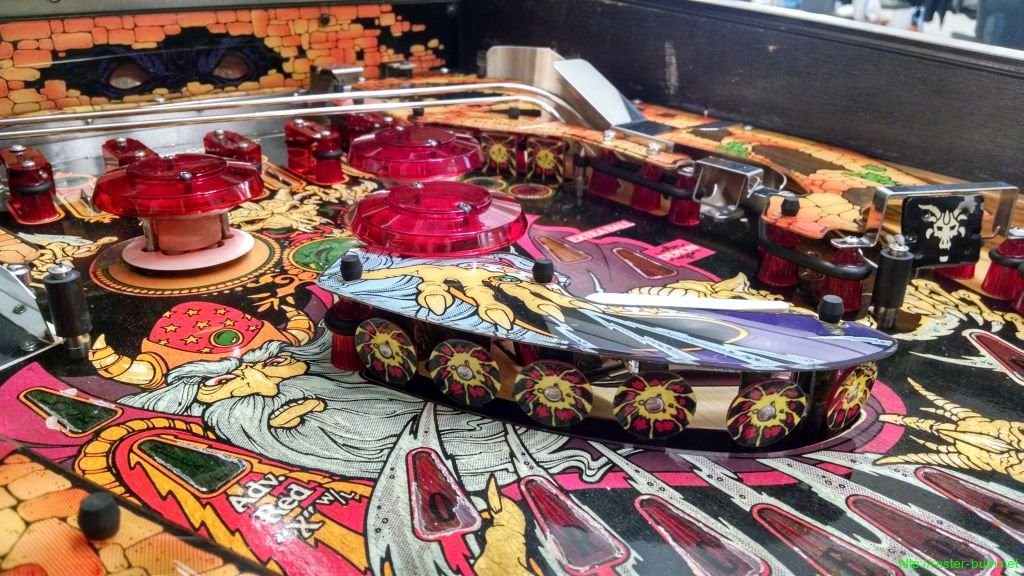
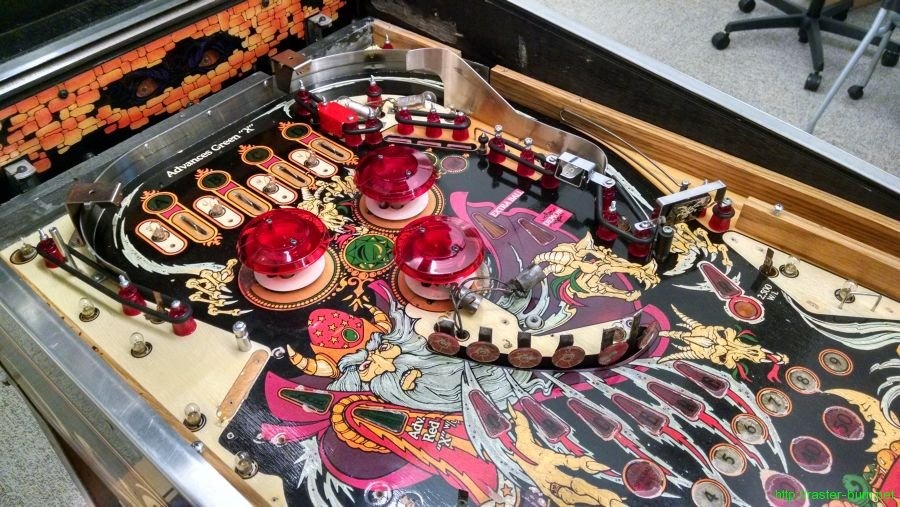
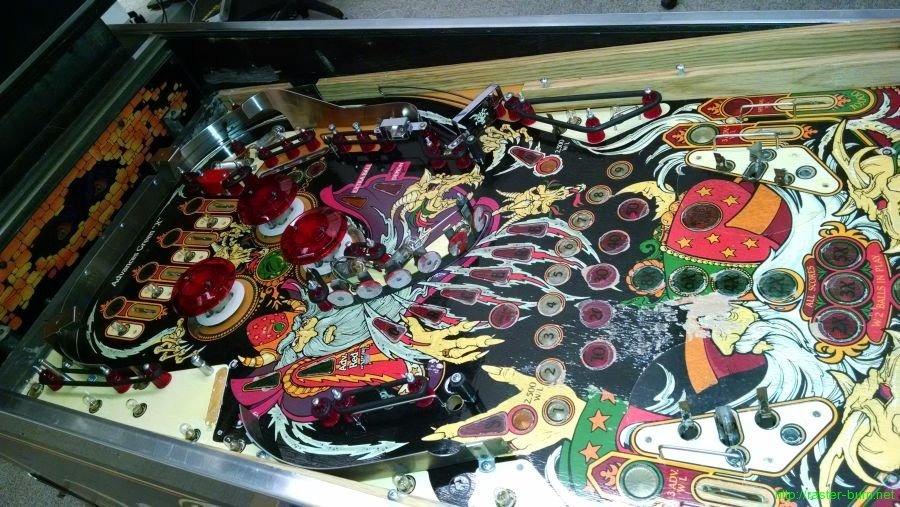
Progress so far is good though, with roughly half of the playfield repopulated. I swapped out the pop bumper caps for new transparent parts since I liked the look of them, and the originals are not reproduced so I’d rather not place them back in harms way. Also planning on doing the same for the original opaque upper lane dividers so I can get a consistent look going throughout the machine.

Still have yet to dive into the electronics, aside from testing the scoring displays in another System 9 machine I was working on a while back. Enough of the displays are damaged that a new LED based setup will be coming, and the power supply is another likely candidate for replacement. The System 9 main board itself will be repaired by yours truly when the time comes, as reproductions are non-existent, and working examples can set one back nearly as much as an entire machine would.

See the full gallery below for all of the reference pictures I took as I was disassembling the playfield: