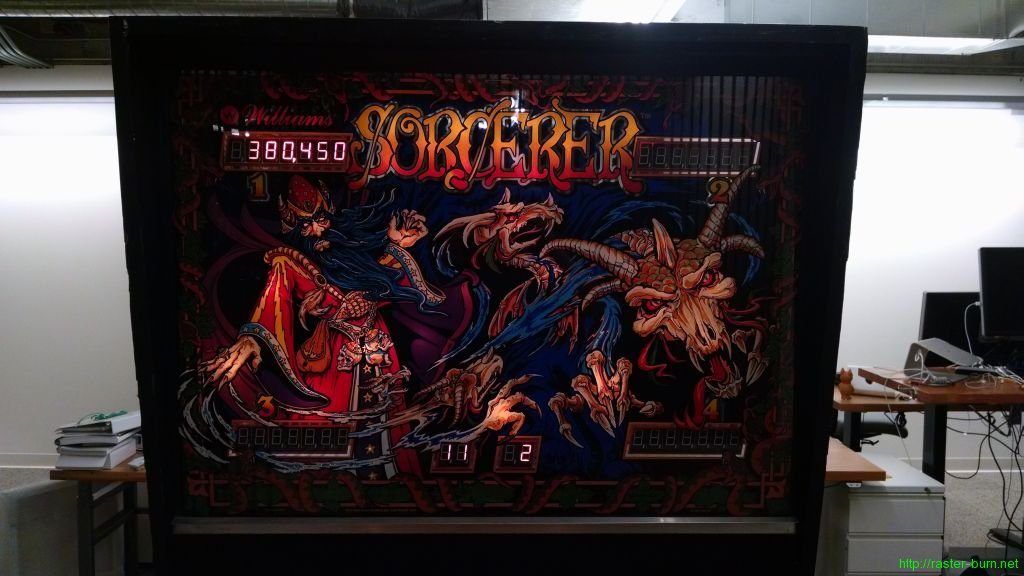
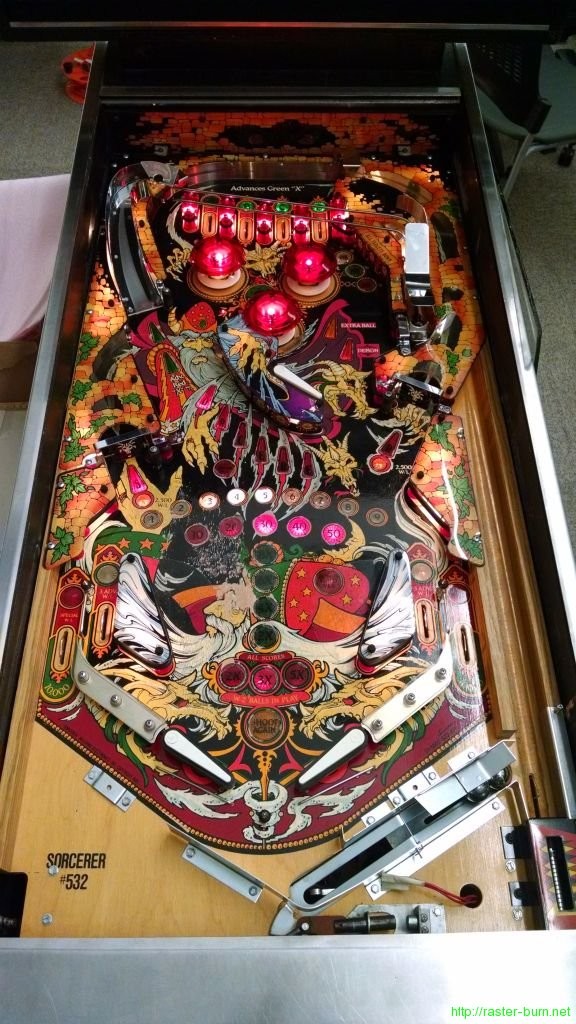
I got to play my first game of Sorcerer ever this past Friday. Found an allegedly clean and working System 9 MPU on eBay and snapped it up. The low resolution pictures hid a lot of shoddy repair work that I wouldn’t have described as kindly as the seller did, but after some reflow and fixing a few traces it does mostly work. Still no sound, but the game will play.
The outhole solenoid locked on when I powered the table up at first, and I went to the common culprit, the solenoid drive transistors. They were fine, so I crept up circuit from there and replaced the 7408 IC next in line. It’d already been socketed, which made me a little suspicious. The outhole kicker worked as expected next time I brought the table up, and I got a half dozen games in with no problems, but after another power cycle it was back to locking that solenoid on. So, something seems to be killing the 7408 in that transistor drive circuit. Lame, but I have some idea of what might be going on to do that.
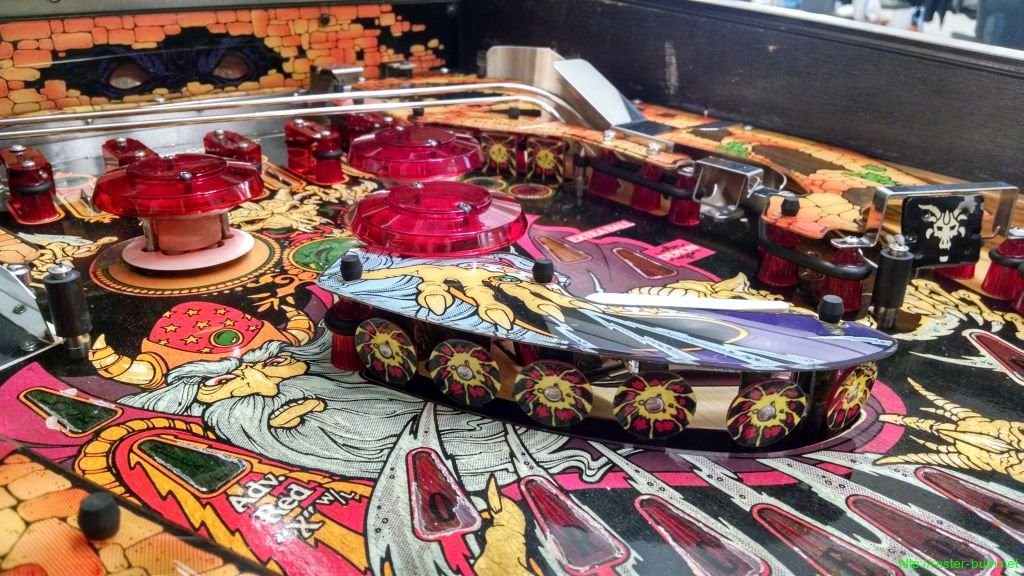
Prior to all that I also finished up the last of the playfield refurbishment. New decals for the targets from Action Pinball look great.
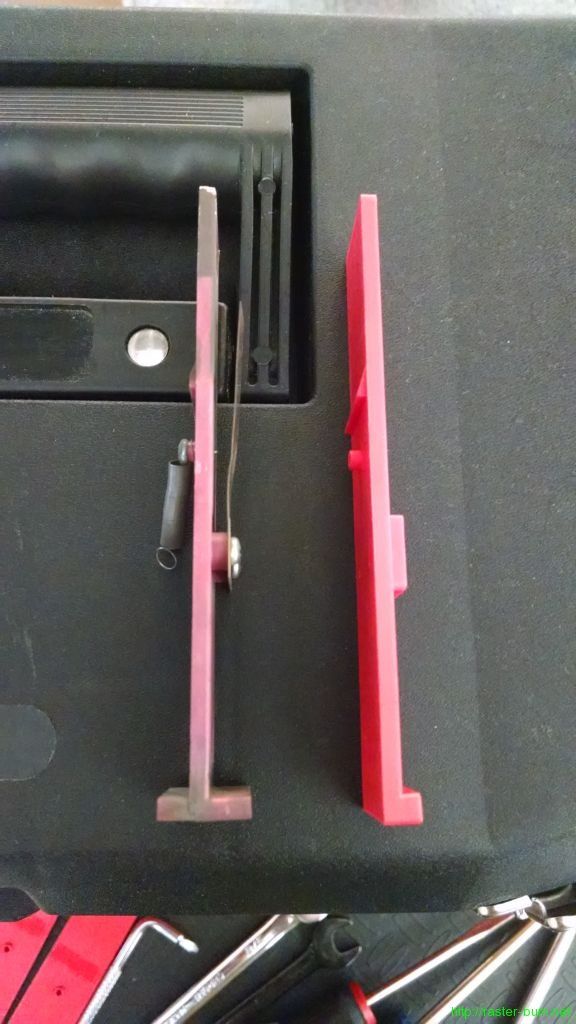
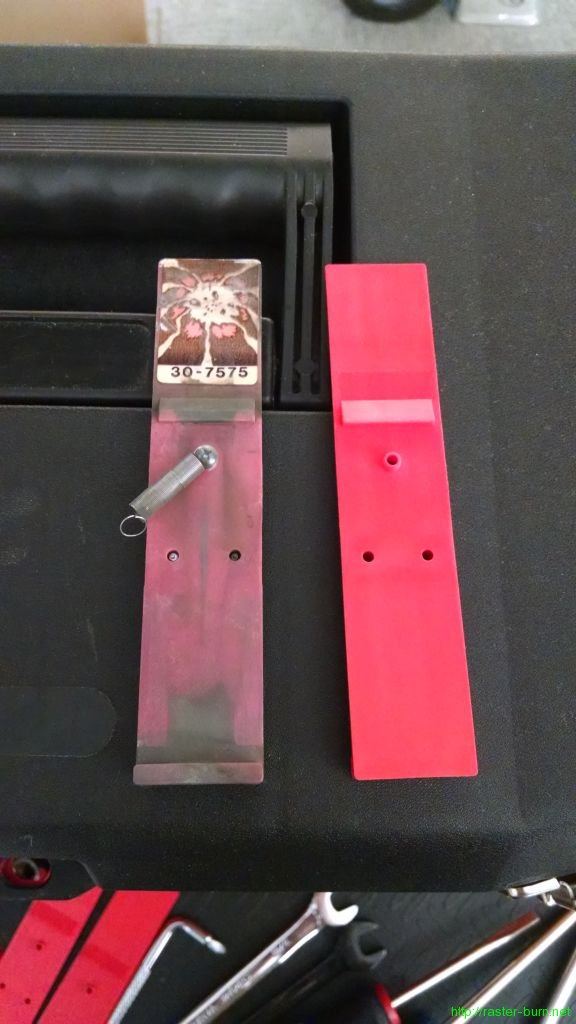
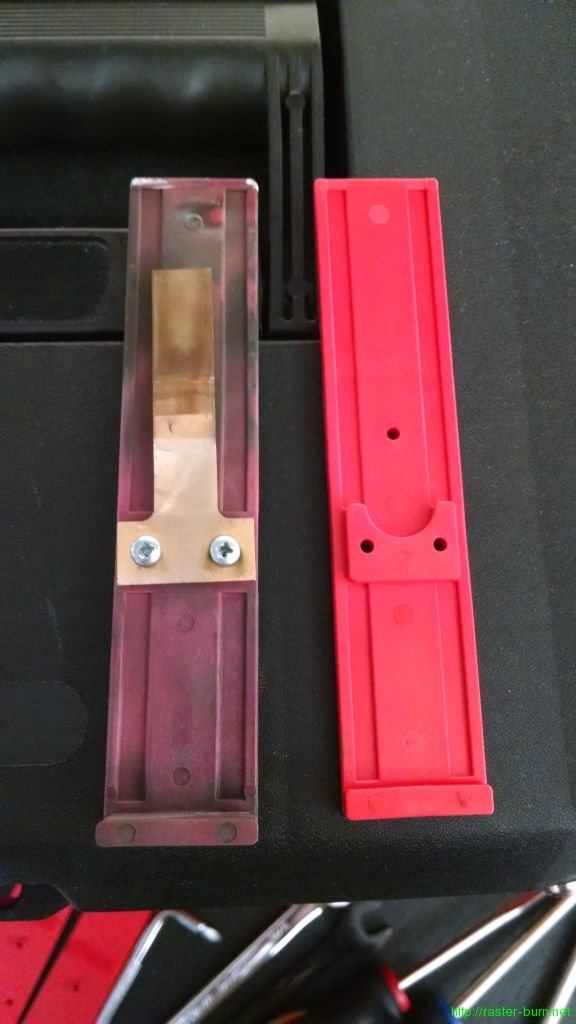
I was also originally going to replace the drop targets but ran into a snag with the early Williams style reproduction from Marco Specialties… I was sorta expecting it, since the part number called for in Sorcerer is different (A-9417), but it’s a little galling how minor the difference is while still making the repro part completely useless in my application.
Original on the left, repro on the right. The repro is mostly identical, but it’s missing the little tab that extends off the bottom of the drop target towards the front, meaning it won’t work in this game since the mechanism to raise the drop targets relies on that tab. Fortunately none of the originals are broken, so I just cleaned them and popped them back in place.
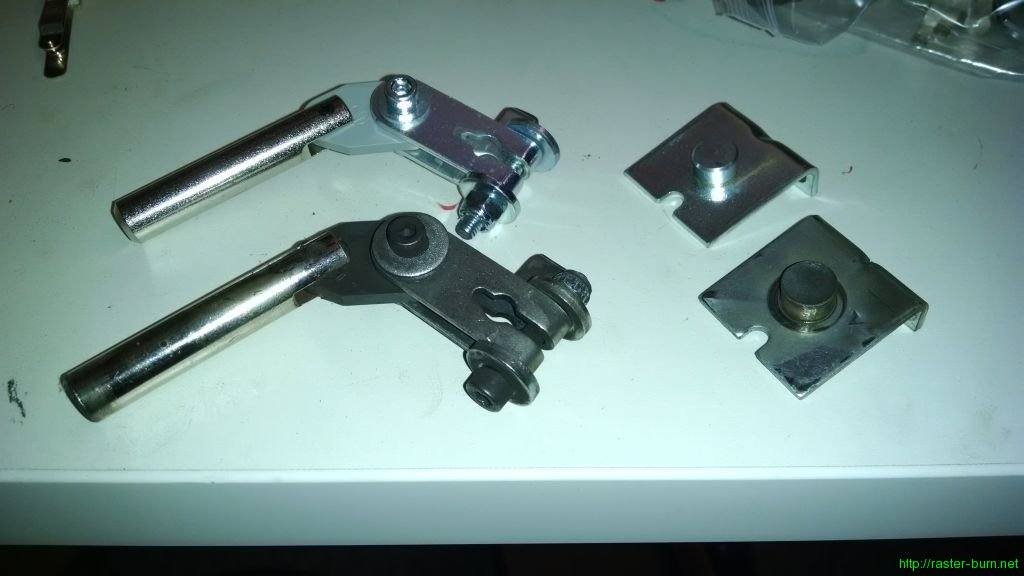
I also rebuilt the three flipper mechanisms with new parts. It looked like the upper flipper assembly had never been rebuilt, while the lower two looked like they might’ve been refreshed at least once.
This picture illustrates why this should always be done, with new parts up top and the old below. The plunger (long metal rod on the left that gets drawn in by the coil) is mushroomed out from making contact with the stop, which can cause it to bind in or damage the coil liner sleeve. The stop itself has been hammered down to a concave shape, which will accelerate wear on the plunger.

