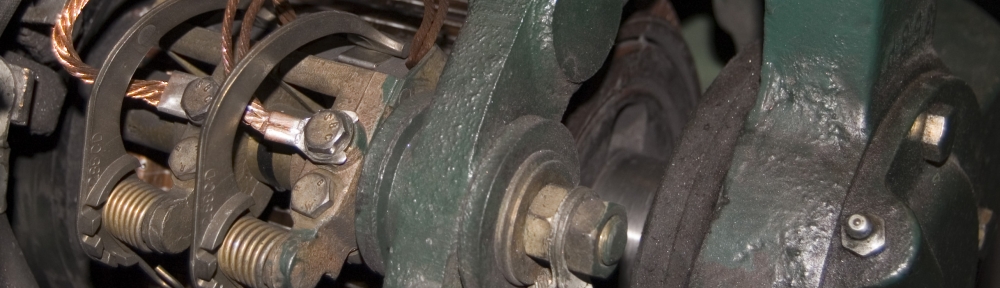

The Atari Roadblasters I picked up is in good overall condition, and the major parts are working, but most of the controls have problems of one sort or another. The steering yoke was half disassembled when I picked the machine up, with a pile of parts rattling around in the coin box. A few of the trigger and thumb button switches had been replaced, with incorrect parts, and one of the actuator buttons and several screws were gone altogether.
I brokered a deal with another local collector and got my hands on a second mostly complete yoke and pedal assembly… I still needed the right switches though…

I knew I recognized the switches from somewhere… That somewhere turned out to be the mechanical switch keyboards all the nerds are going crazy for nowadays (self included). I happened to have such a thing lying around, one of the cheaper and more commonplace of its kind, a Dell AT101W.

This model comes populated with Alps black keyswitches of the non-clicky variety. The one I had was also fucking filthy. As a rule, if you haven’t personally cleaned a keyboard in the last year or so (and I mean really, complete disassembly involved, cleaned it) it probably looks like this inside. Thought you all might appreciate that knowledge…

The other side of that mess is a PCB like this, to which each of those keyswitches is soldered.

Some quality time with my desoldering pump later, I was able to peel the PCB away from the keyswitches and their mounting plate. If you desolder the connections well, they’ll come apart much like this. If you do it wrong, you’ll either get nowhere, or rip the guts out of all of the keyswitches. Don’t try to do this with wick or a manual pump, is all I can say.

Even exercising some care I ended up breaking a pin or two on several keyswitches. Seems like they’re fairly brittle. Even with some loss I still ended up with plenty for this project though.
Removing the switches from the mounting plate was tedious but straightforward. Each switch has four tabs that secure it to the plate. I used a steel ruler to push in one side of two tabs at a time. It took a while but I was able to remove all of the switches without damage.


Alright, this is what really matters… On the left is one of the Omron B3G-S keyswitches that came out of the yokes originally. On the right is one of the black Alps from the Dell keyboard. Below is the small PCB the switches mount too and ride on inside the yoke assembly.
We can see a few differences right off. For one, the Omron switches have three pins, while the Alps have only two. The extra pin on the Omrons doesn’t matter, it only comes into play if you want to use these switches in a normally closed configuration, which is not the case for the Atari yoke. The small PCB the switches will be installed on is set up for a variety of different pinouts, so the slight difference in alignment doesn’t matter either.
There are two differences that *do* matter though…

First, the Alps switches have slightly larger pins than the Omron ones. This was easy to handle by enlarging the holes on the PCB with an appropriately sized drill bit in a pin vise.

Second, the Alps switches have a different setup for mounting then the Omron switches, and the yoke body halves assume you’re using the Omron type. To get the Alps to fit I had to clip off the tabs, and file down the remaining plastic to match the profile of the Omron switches while retaining the rectangular protrusion that keeps the switches from being pushed down into the yoke assembly.
The above picture shows an Omron switch on the left, a modified Alps in the middle, and an unmodified Alps on the right. A small straight file is sufficient to mod the Alps switches to fit, they should end up around 14mm wide when all is said and done.

Here we can see one of the original Omron switches installed in the lower position with the white actuator pin, and a modified Alps switched installed in the upper position with a black actuator pin.
It’s a bit of work, but considering the high failure rate of the Omron switches, and the fact that used replacements start at six bucks each and only get higher from there, I found it to be worth the effort. A single mechanical switch keyboard should have me covered for several lifetimes as far as replacement switches for this style of yoke go, and I know this style of standard key switch is used in other games as well.
If you’re another Roadblasters owner coming upon this information be advised that this is only confirmed for the kit style Roadblasters yoke. The dedicated Roadblasters yoke is a different assembly entirely and may use different switches. If anyone has pictures of the internals of a dedicated style yoke, or information on the switches used therein, please send them to me and I’ll update the post to include that information.


