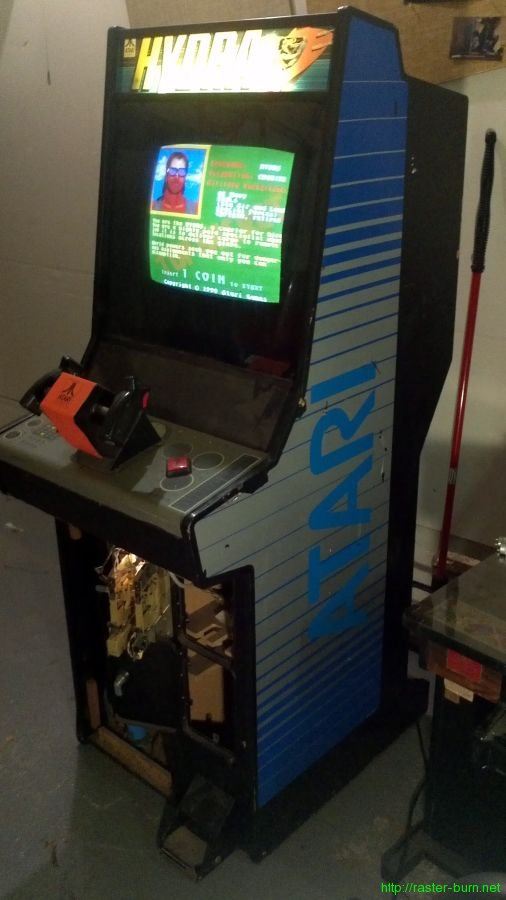
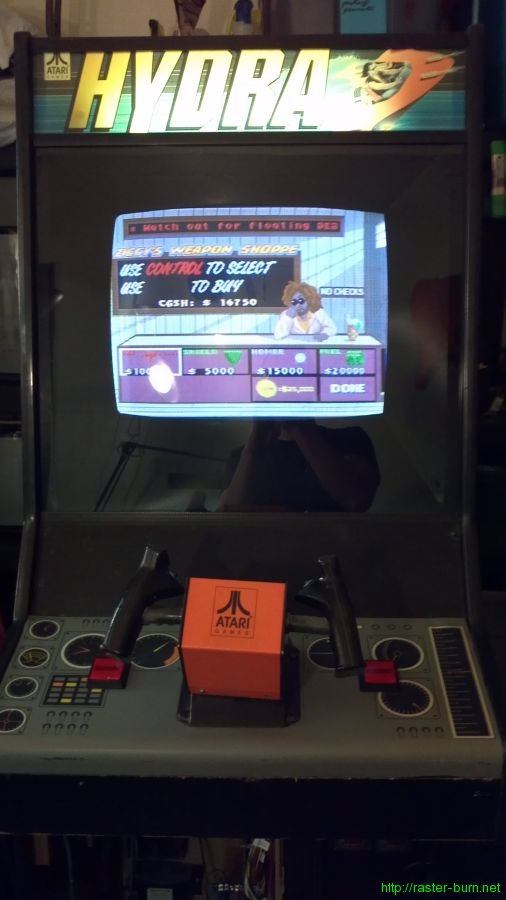
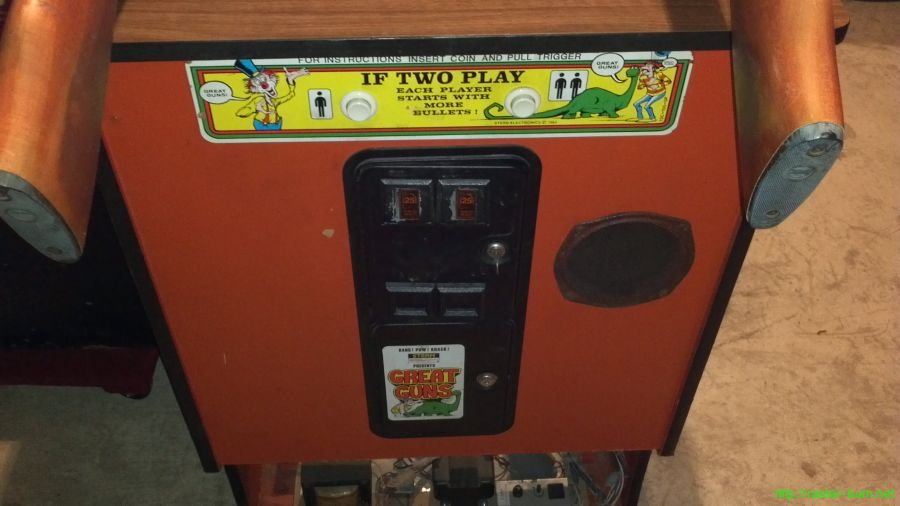
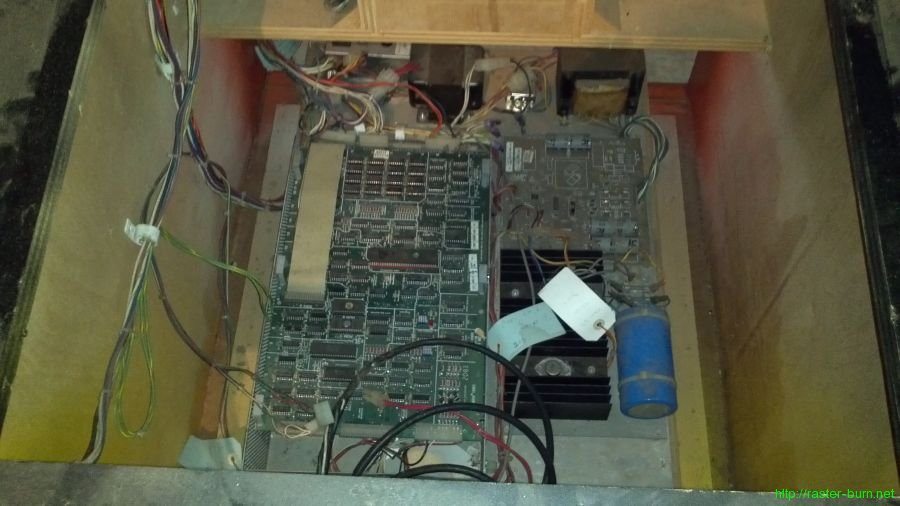
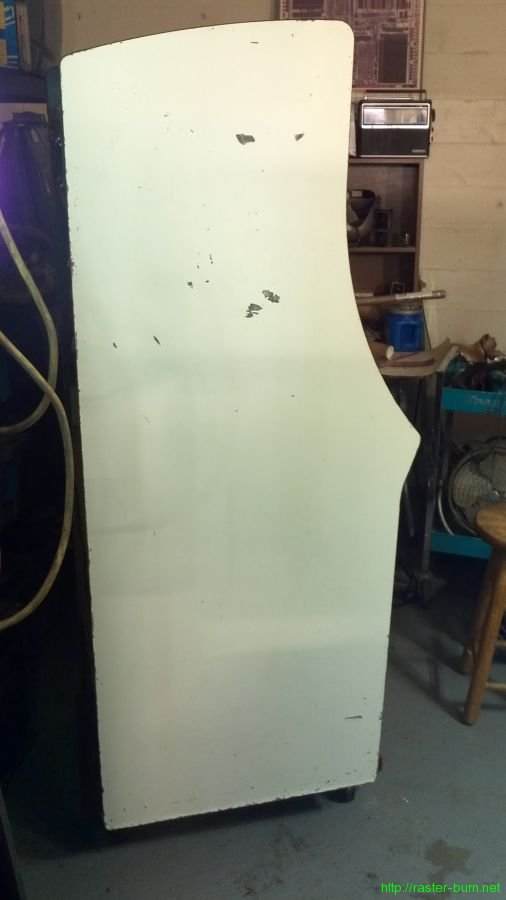
Back in September of last year I picked up this Atari System 1 cabinet from a guy down in Salem.
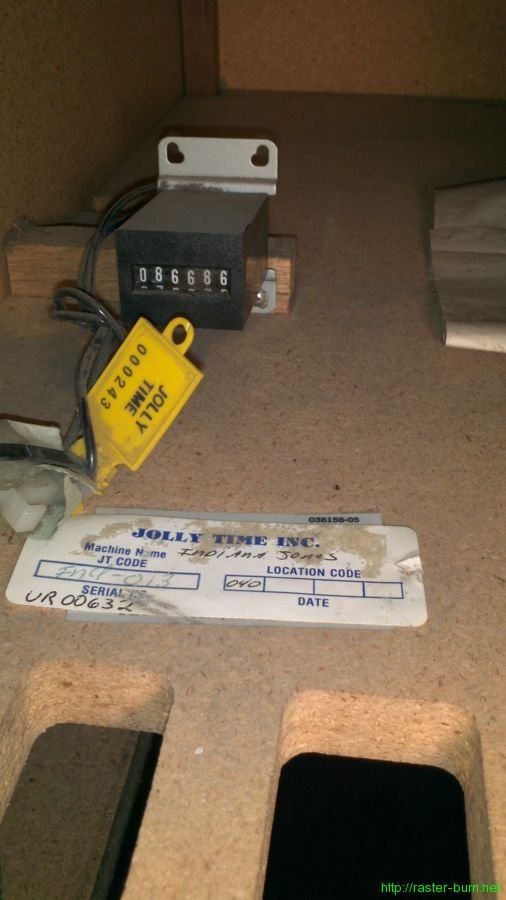
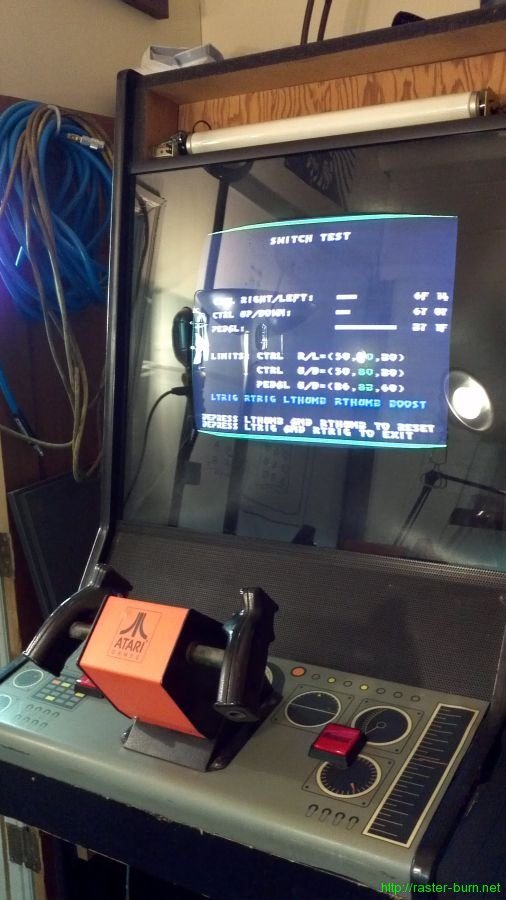
Originally an Indiana Jones, at some point it received a Hydra conversion kit. The two axis flight yoke controller installed for that is similar to the one used in several other Atari games, Star Wars most famously. It uses a 5k potentiometer for each axis, and has a trigger and button in each hand grip, which makes it one of the more versatile yoke style controllers (others lack the second axis or the thumb buttons). The Hydra kit also added a foot pedal with another 5k pot which adds to the games the cabinet can potentially support.
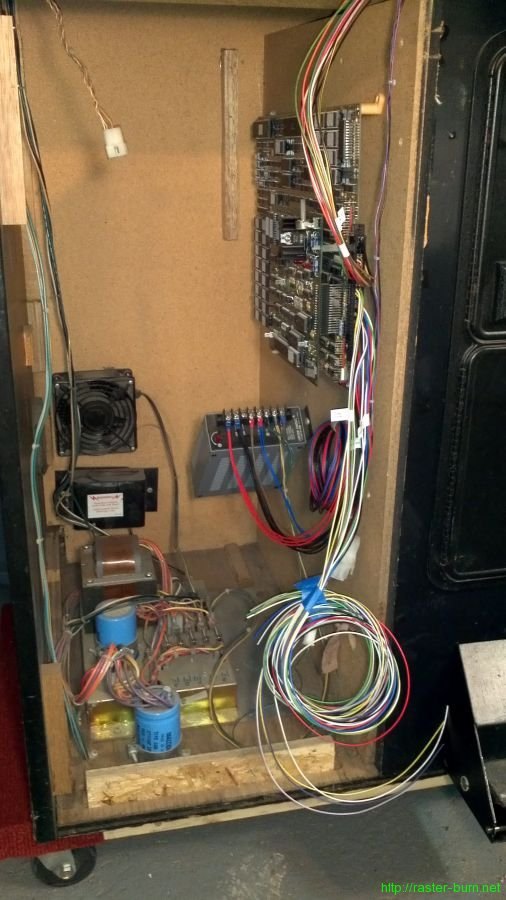
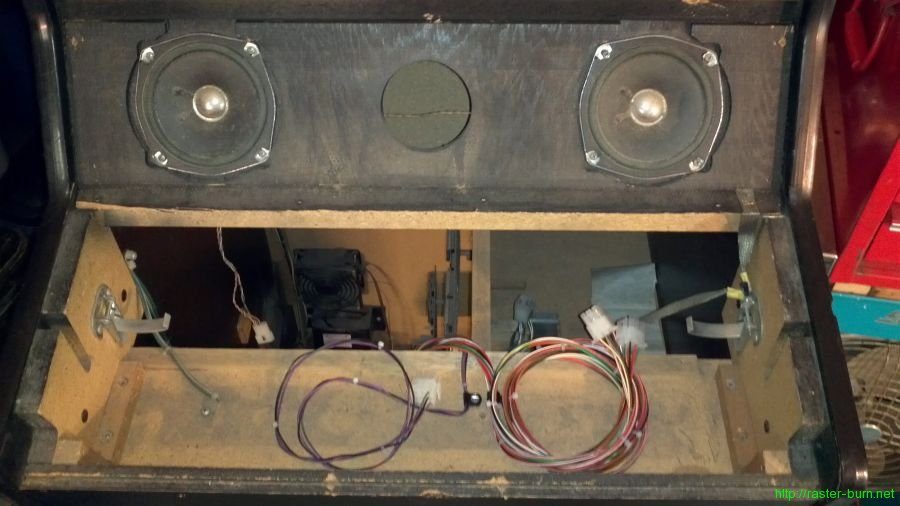
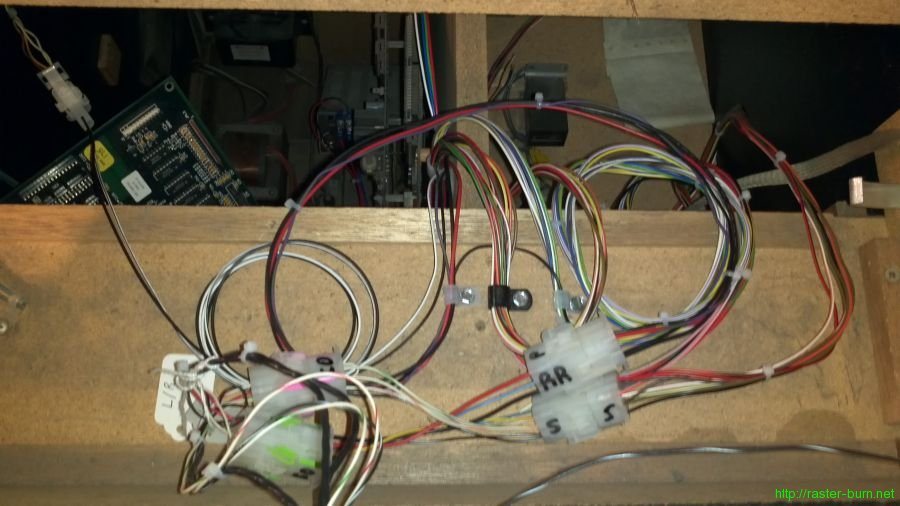
I decided I’d like to wire it up so it could easily be swapped between different games using the Hydra yoke and pedal. I started out with installing a new unhacked JAMMA wiring harness, and running the wiring for player 1 and 2, and the pedal, straight up to the control panel area.
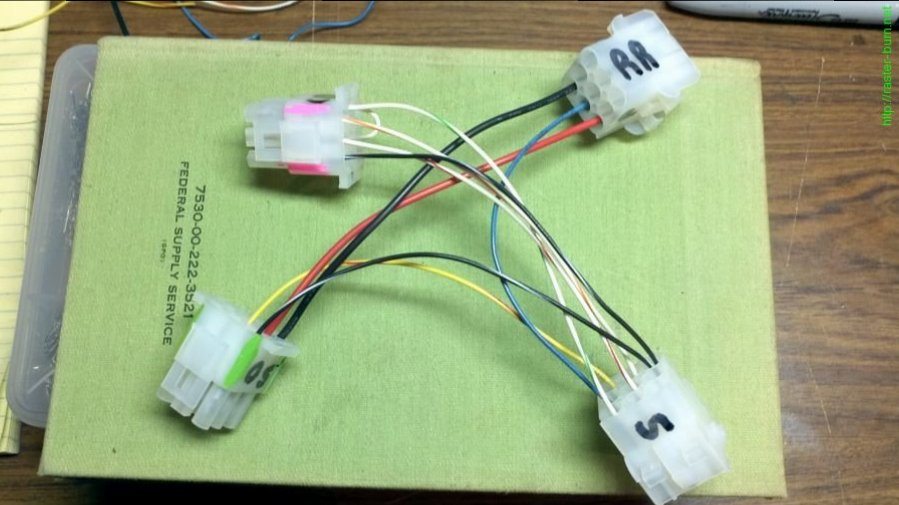
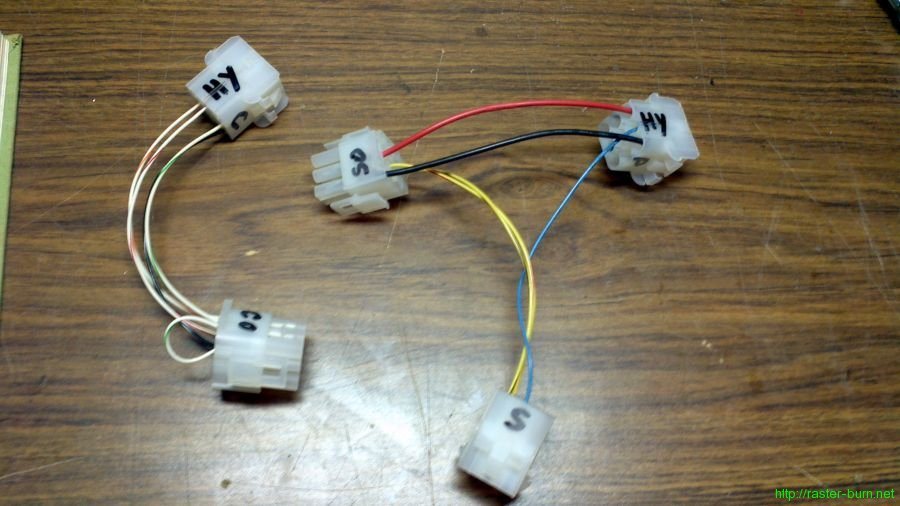
Then I built some adapters I could place in line between the control panel and pedal wiring and the JAMMA harness to adjust the pinout for different games.
I struggled with the wiring for the potentiometers initially. Not having worked with them before I didn’t realize that they need to have power run across them and then have a reading taken from the wiper. I tried wiring them up with just wiper and ground pins and was stymied for an embarrassingly long time by the odd values I was getting trying to calibrate the controls.
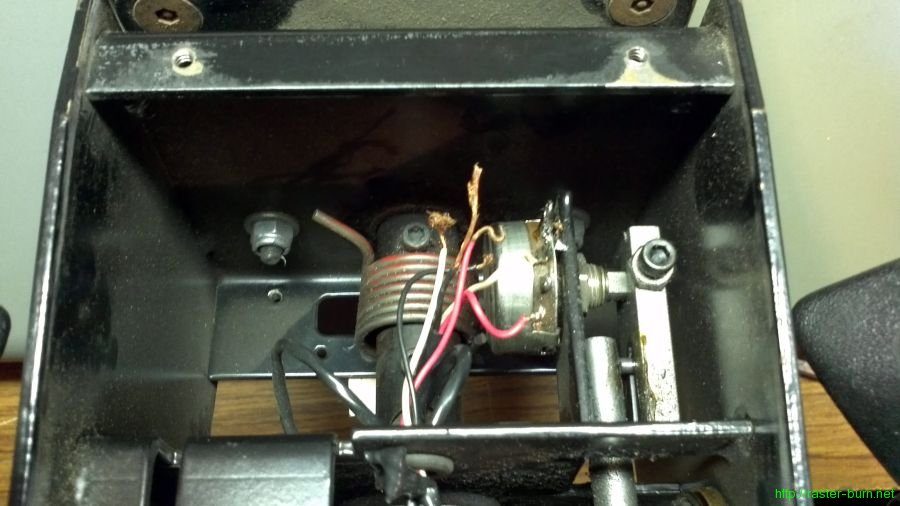
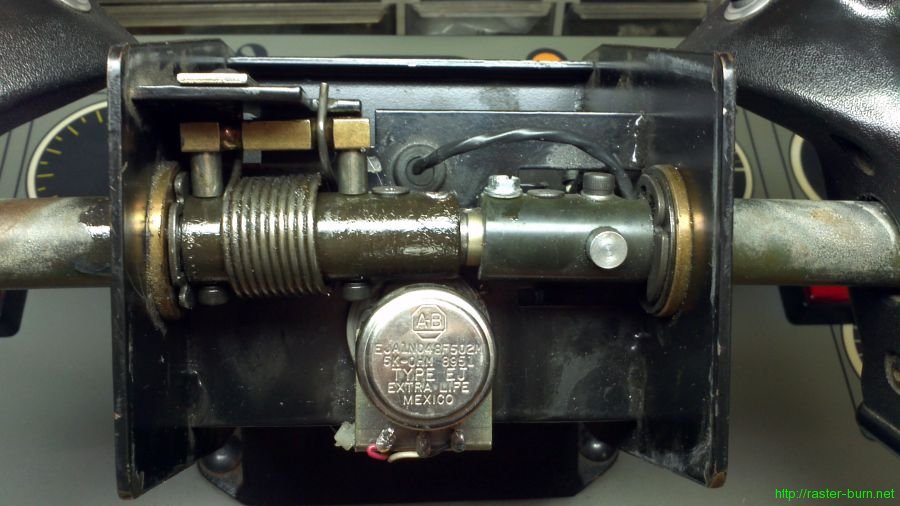
Once I ran a 5V feed up to the control panel and modified my adapters to accommodate power I got things working as expected. Then I turned my attention to the yoke controller itself. It’s definitely seen some hard use and questionable maintenance. I reworked the wiring inside the yoke and fixed the shameful soldering quickly enough.
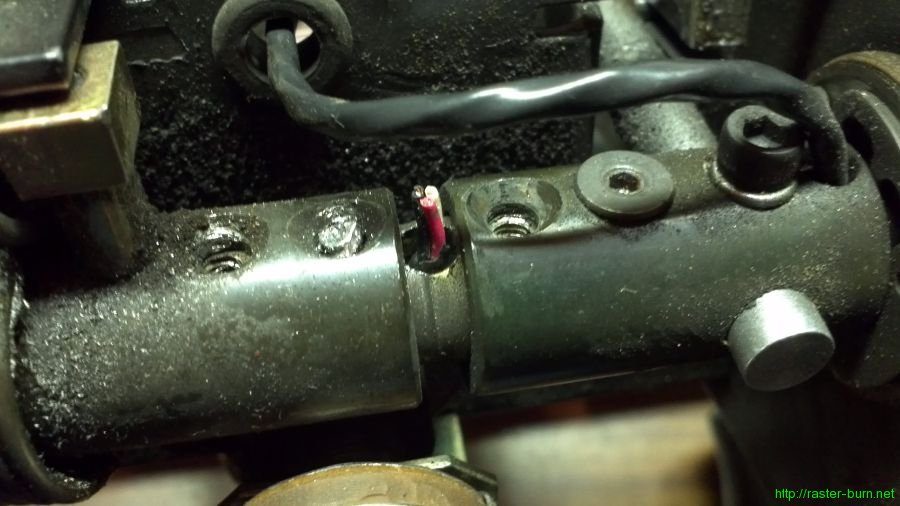
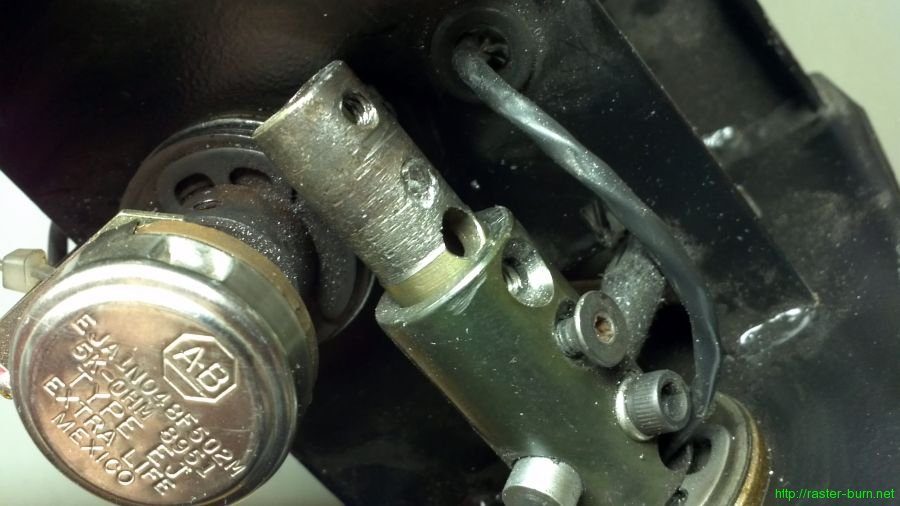
The bad part was this bodge job. At some point the original screws holding the left handgrip in place were broken or lost, and replaced with square drive carpentry screws, one of which itself ended up breaking off. Messed around with that situation for too damn long, in the end I couldn’t remove the broken screw and just drilled out enough of it to allow the handgrip to come off.
Unsurprisingly, wood screws left the assembly with considerable play allowing the parts to abrade horribly.
I put it back together as best I could and greased the bushings and springs. The hex head screw isn’t exactly what belongs there but at least the threading and length are right. Good enough for now. I need to take the whole thing apart more thoroughly later on to rewire the left handgrip buttons and replace the broken centering spring. That was a little bit more project than I cared to bite off at the moment though since none of the remaining flaws impede gameplay.
Did some testing with the new adapter for Hydra, all looks good…
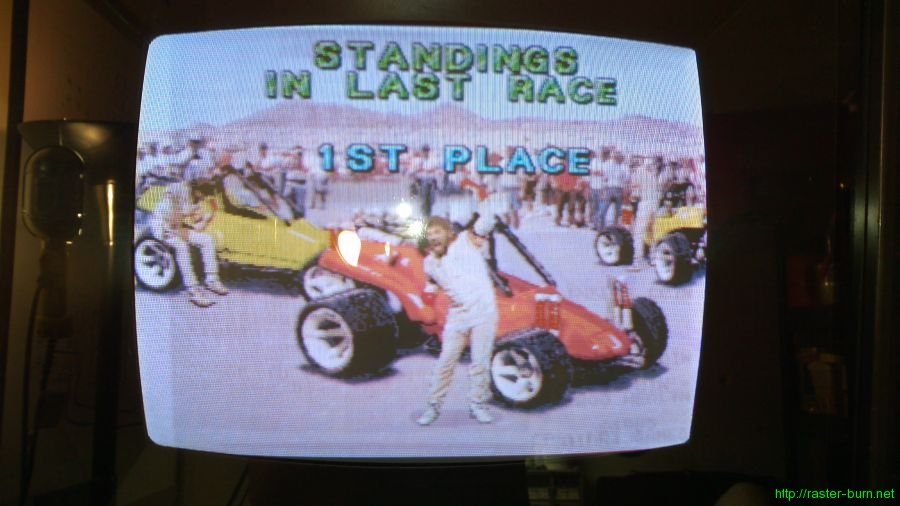
…then with Road Riot 4wd which runs on very similar hardware.
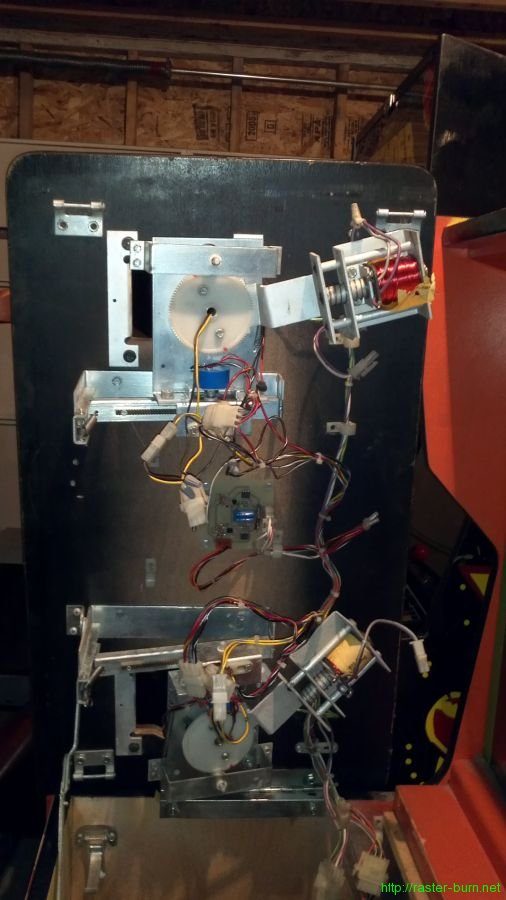
Success! That takes care of the major to do item for this cabinet. I still need to fabricate a new front door for the compartment with the power supply and PCB, and perform the rest of the yoke repairs. After that I want to build another adapter for the Vapor TRX board I have, and set up that PCB with a flash drive replacement for the failing Quantum Fireball hard drive it came with.

