
Curious how it turned out? Click here for the followup to this post!
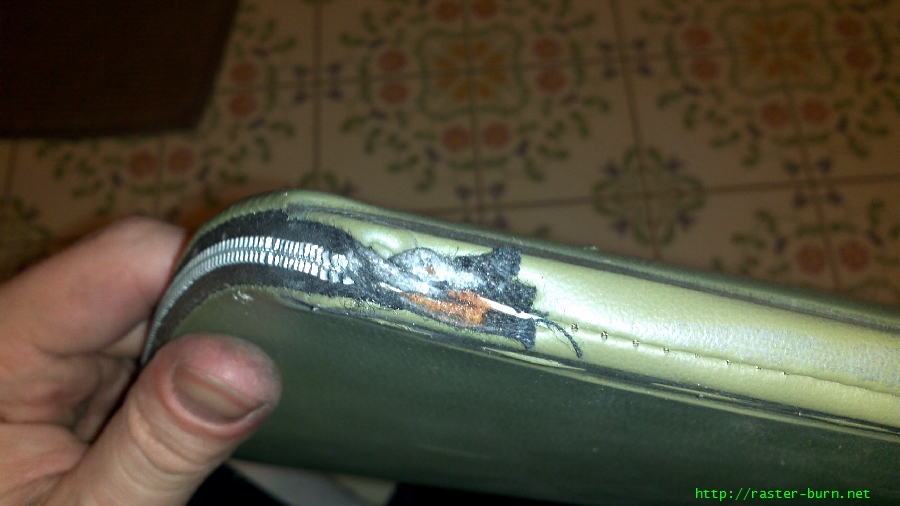
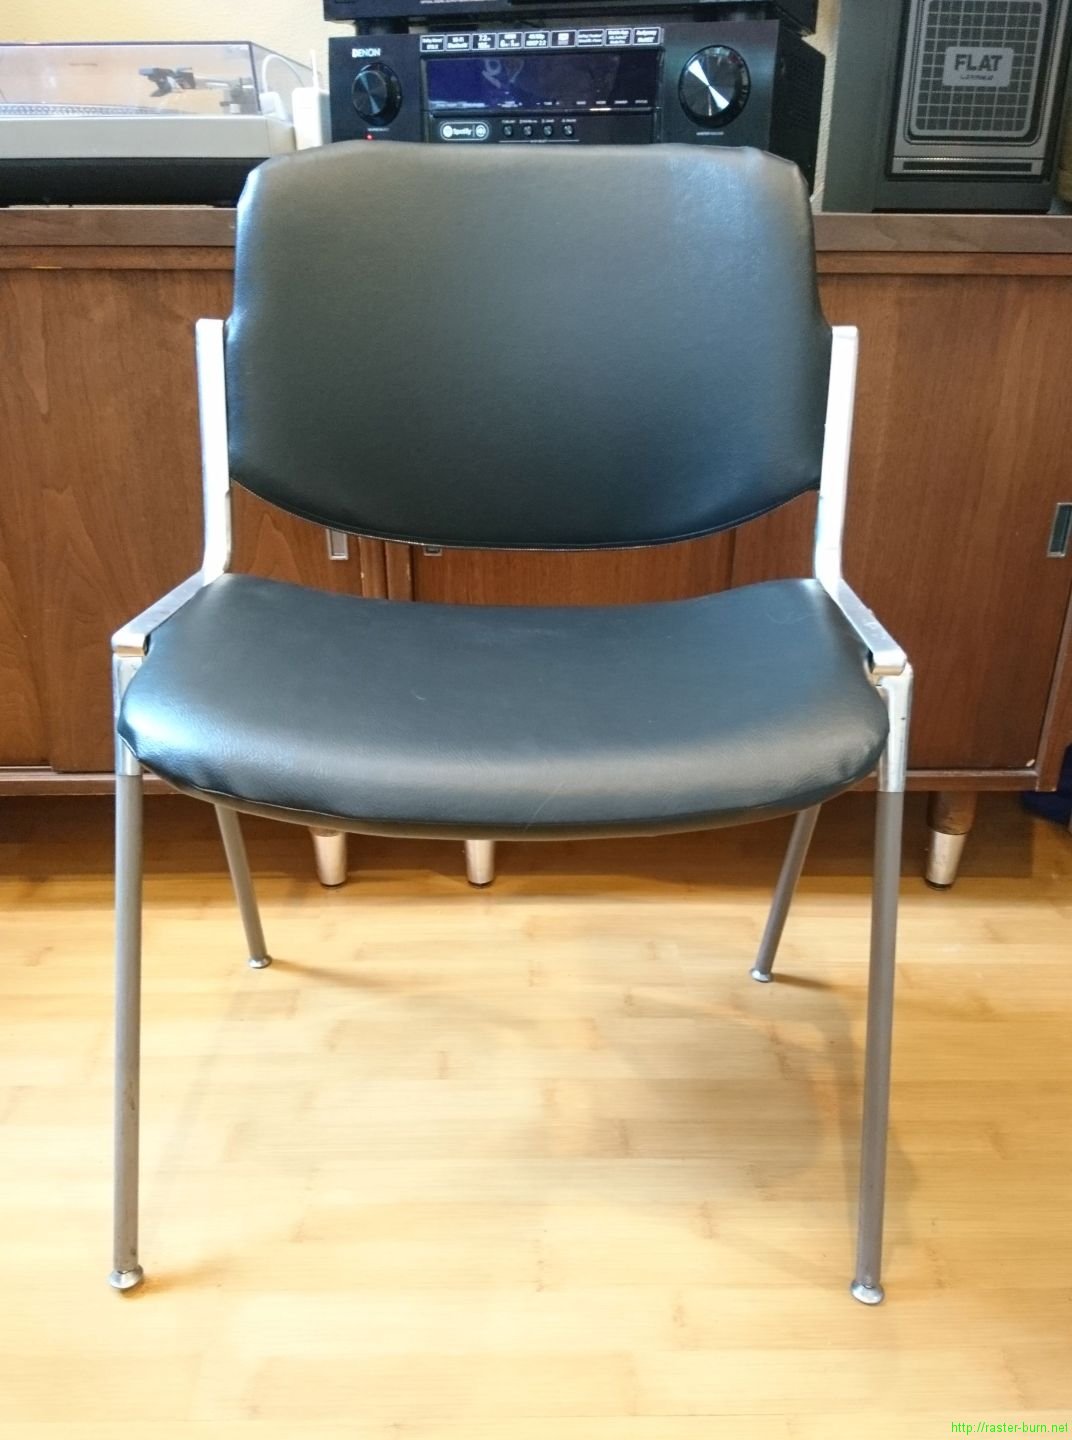
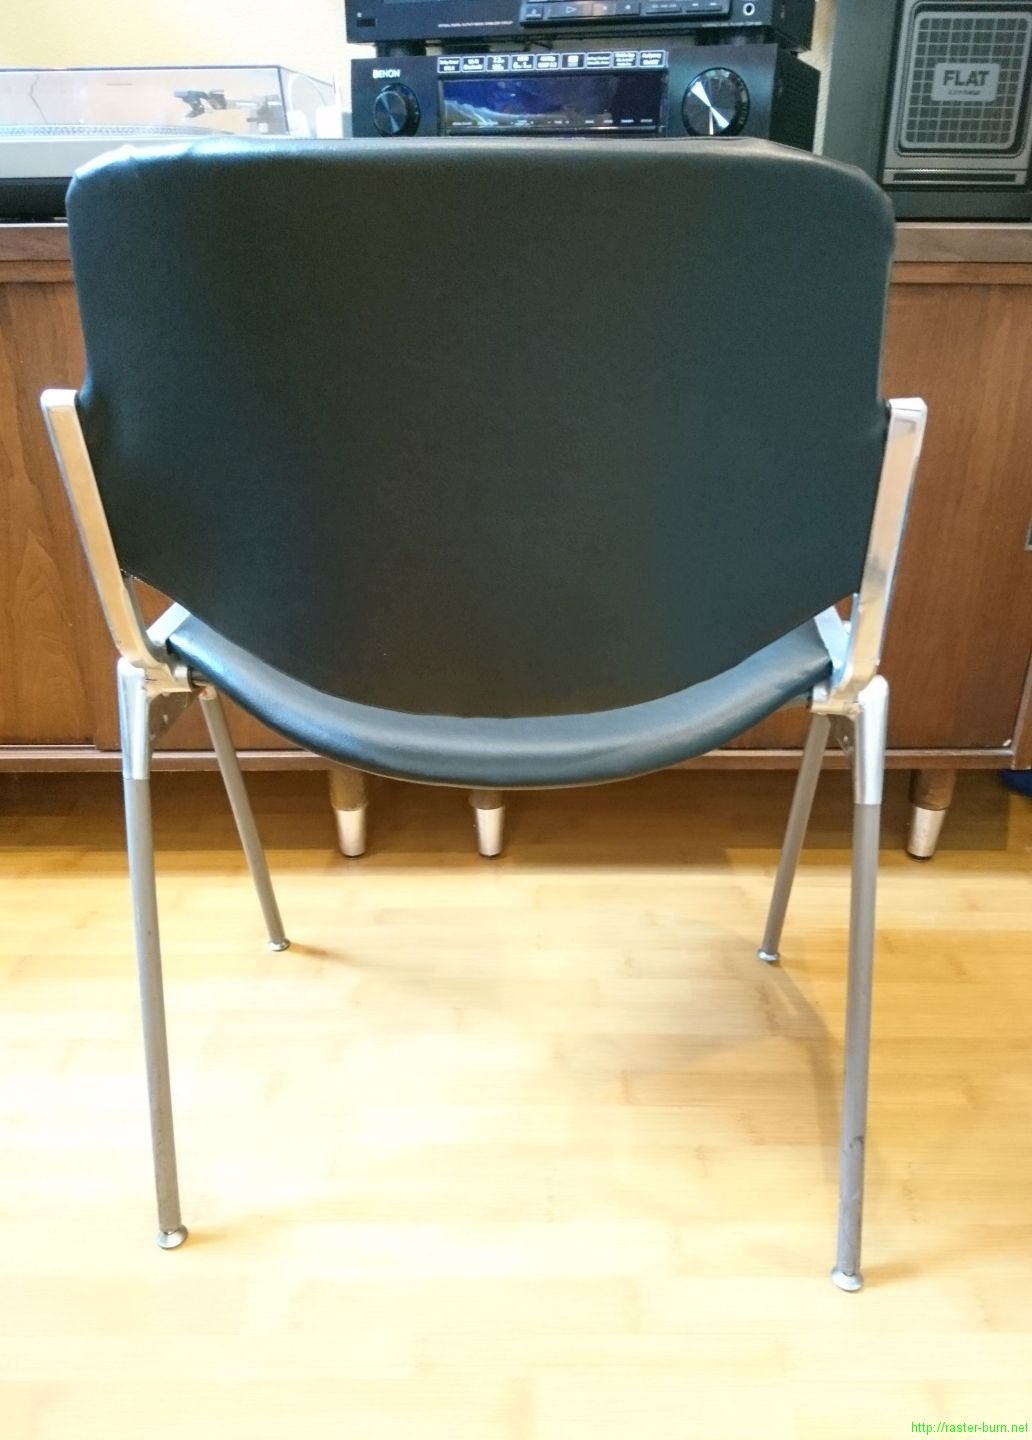
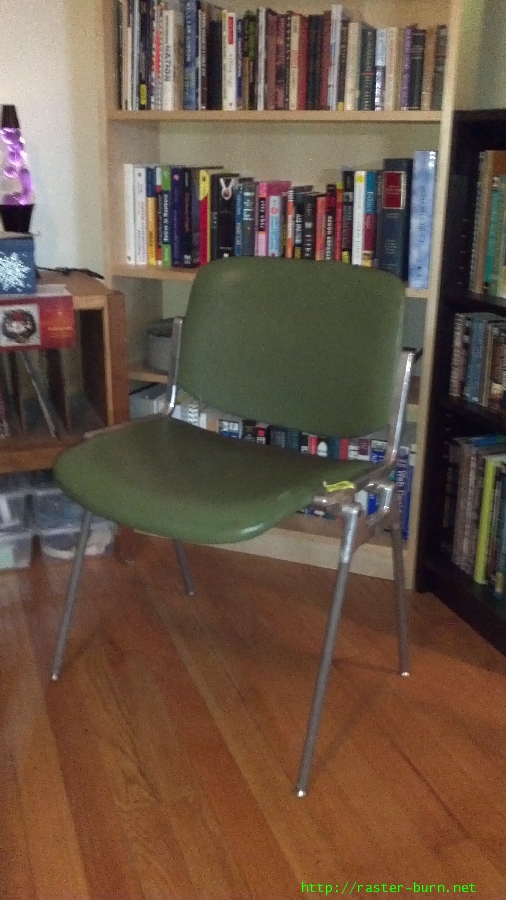
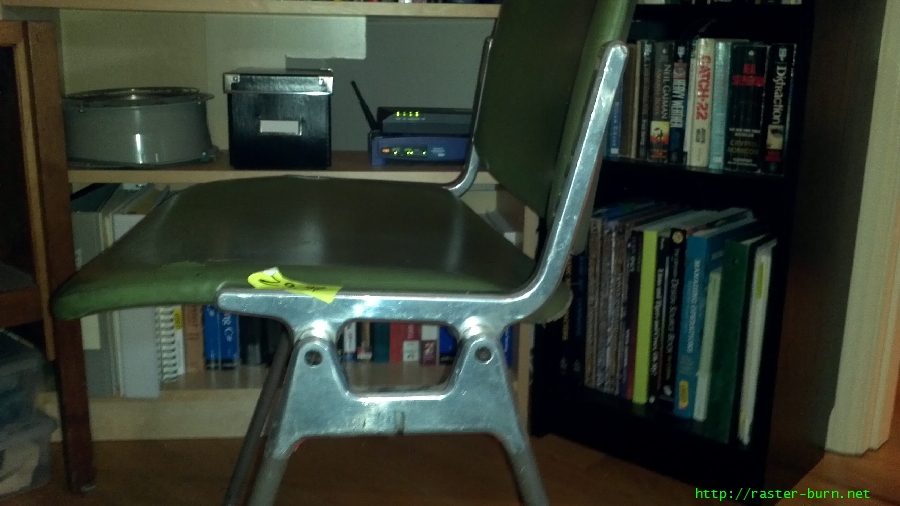
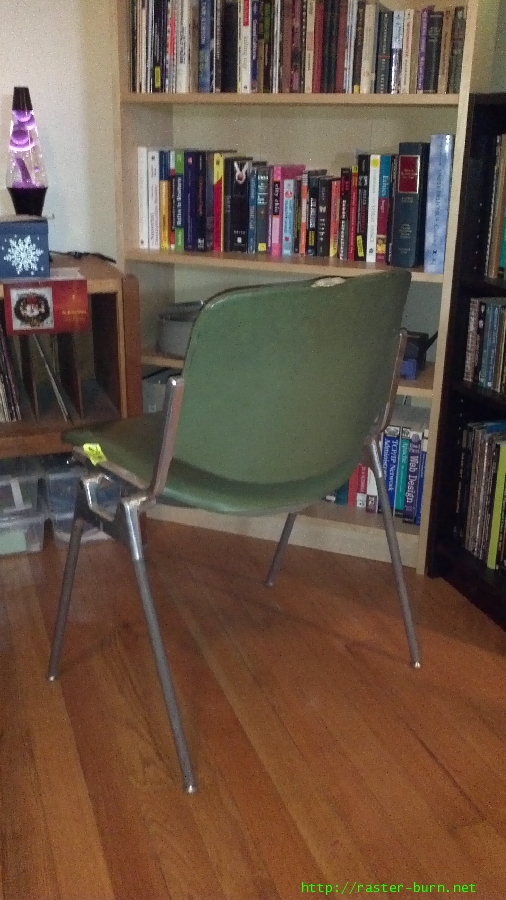
The upholstery on the Castelli DSC 106 I bought was torn, and rather discolored from damp storage, not worth trying to salvage. I decided to pull it all off and see what the plywood underneath looked like.

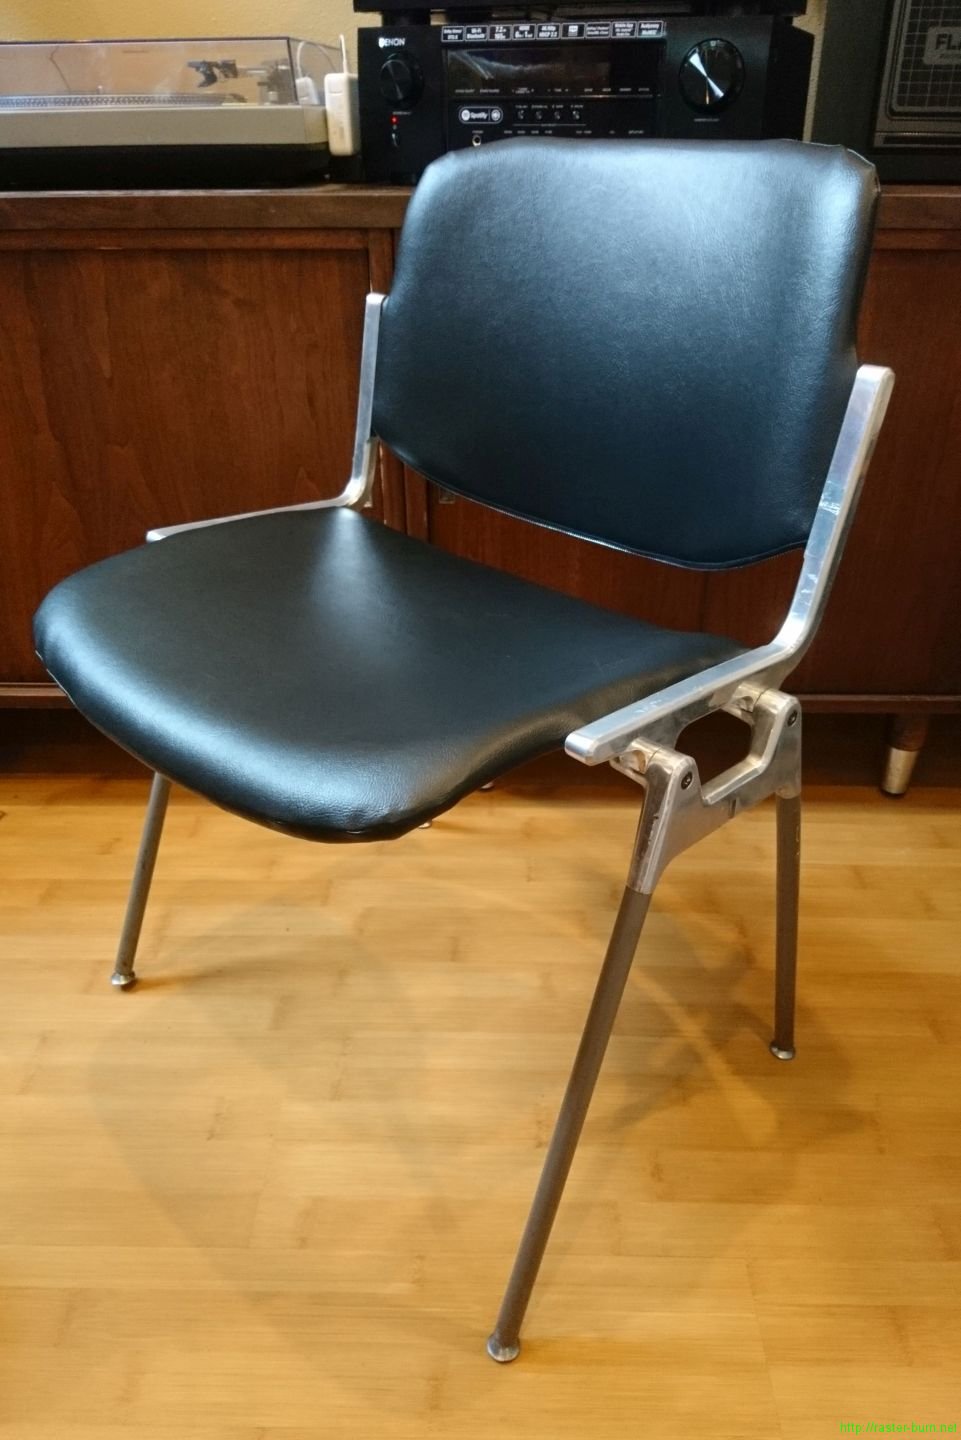
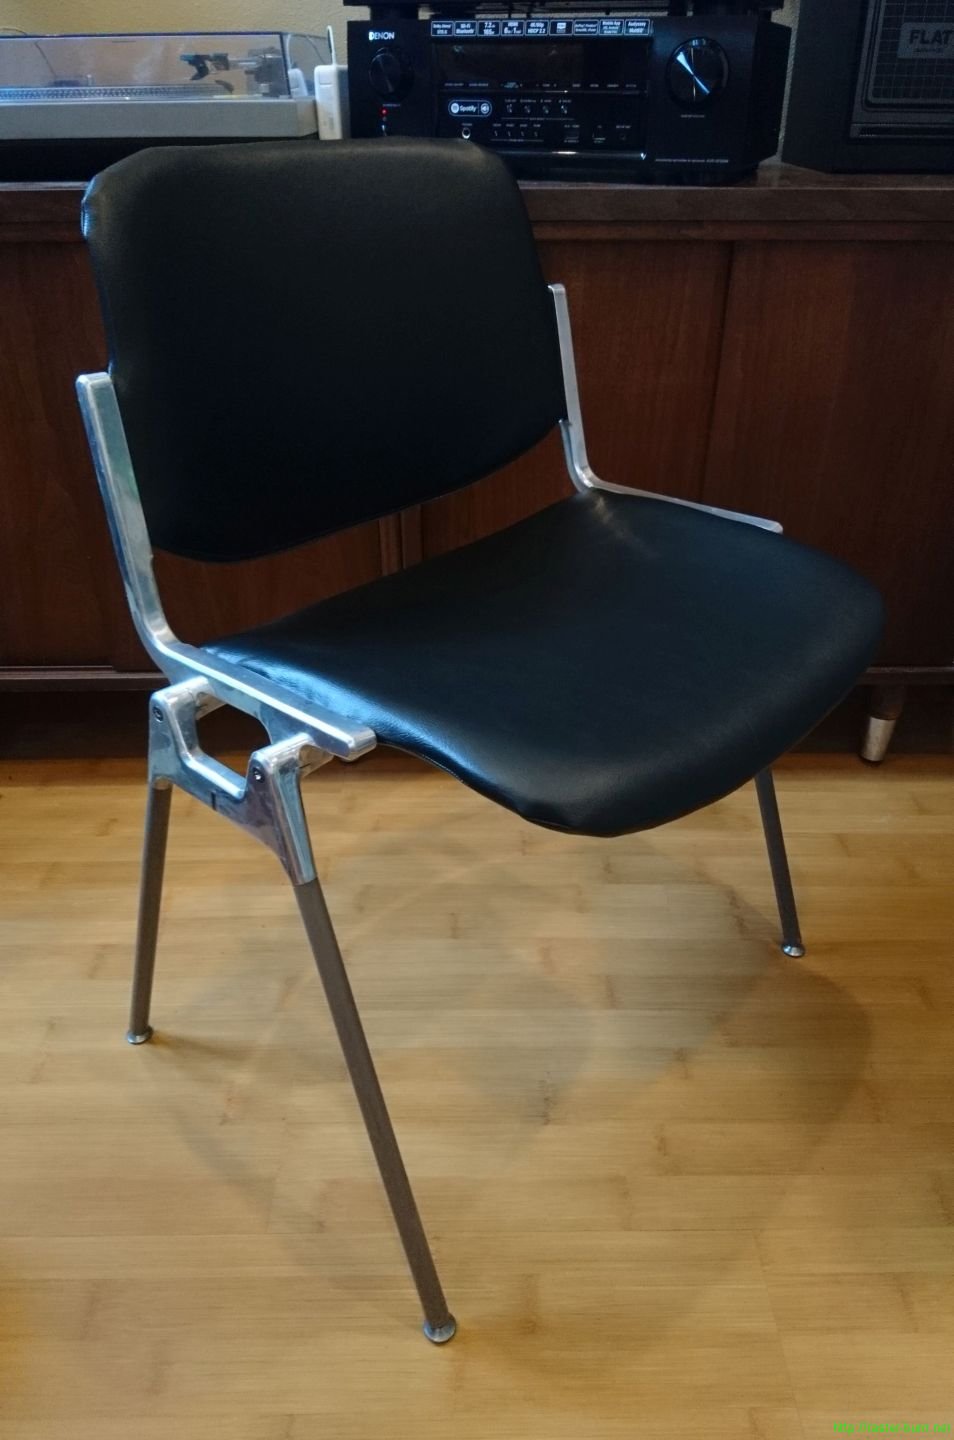
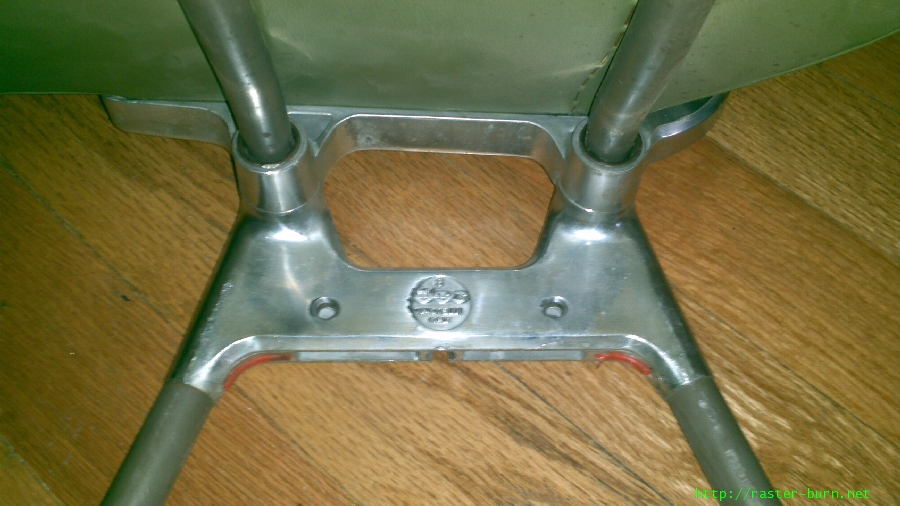
First step was to take out the screws, and knock the frame apart. Surprisingly easy, only took a couple whacks with a rubber mallet and it came right apart.

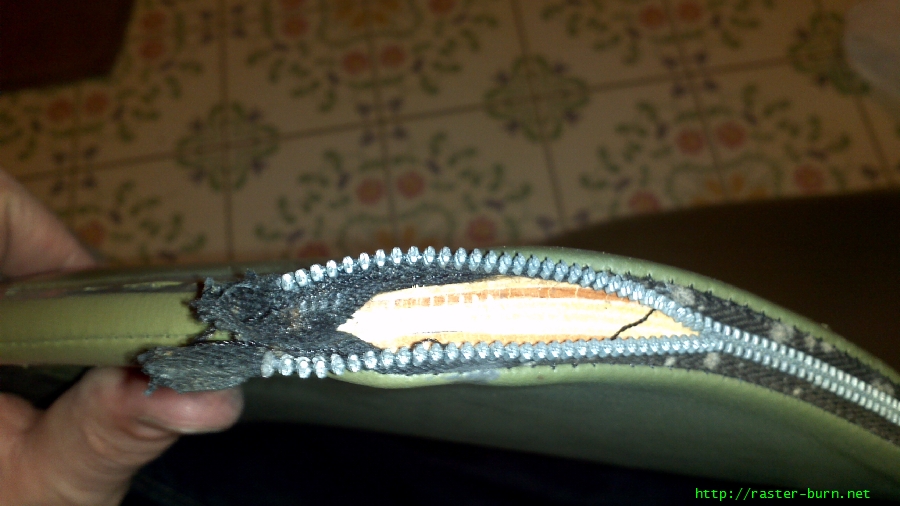
The seat and back fit into notches in the cast frame pieces.

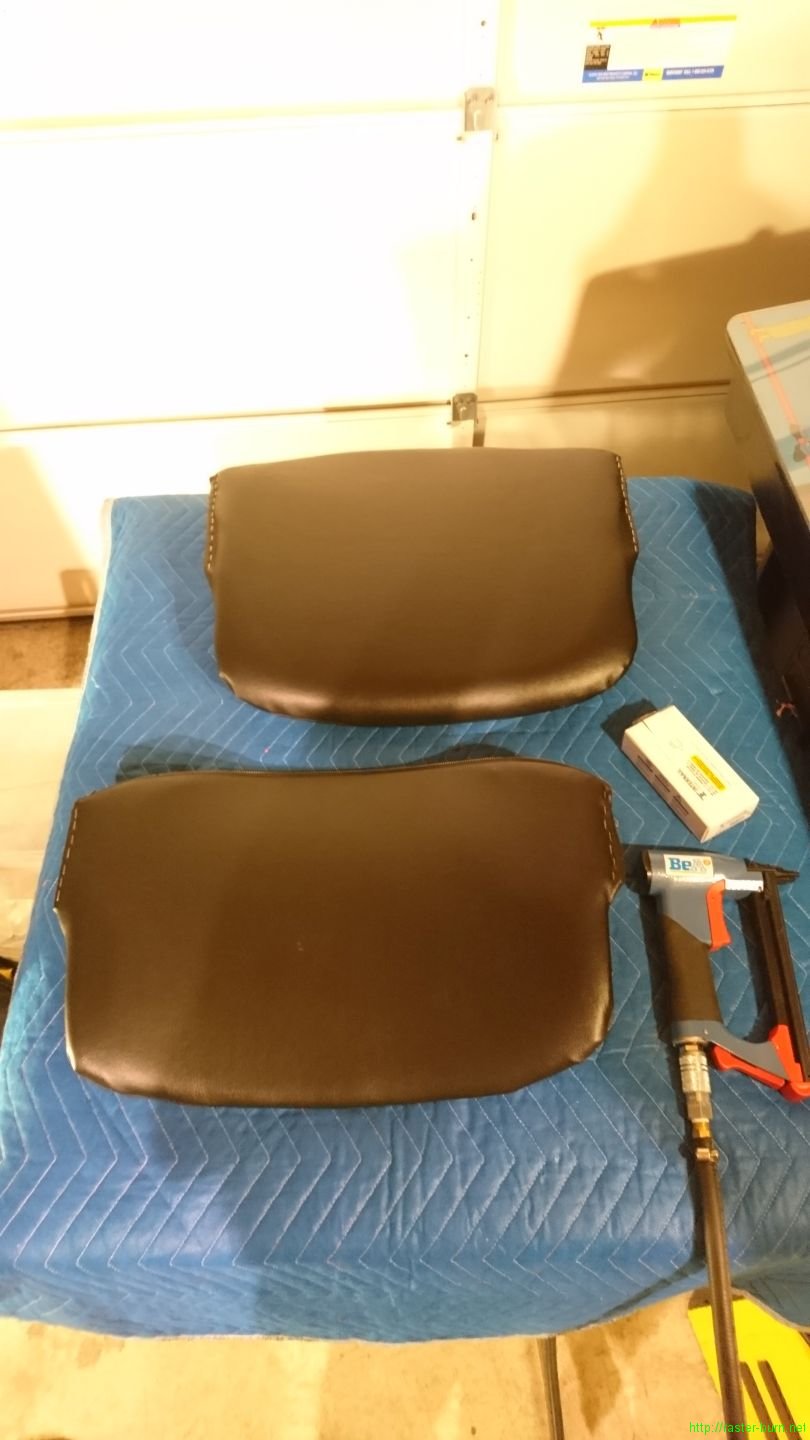
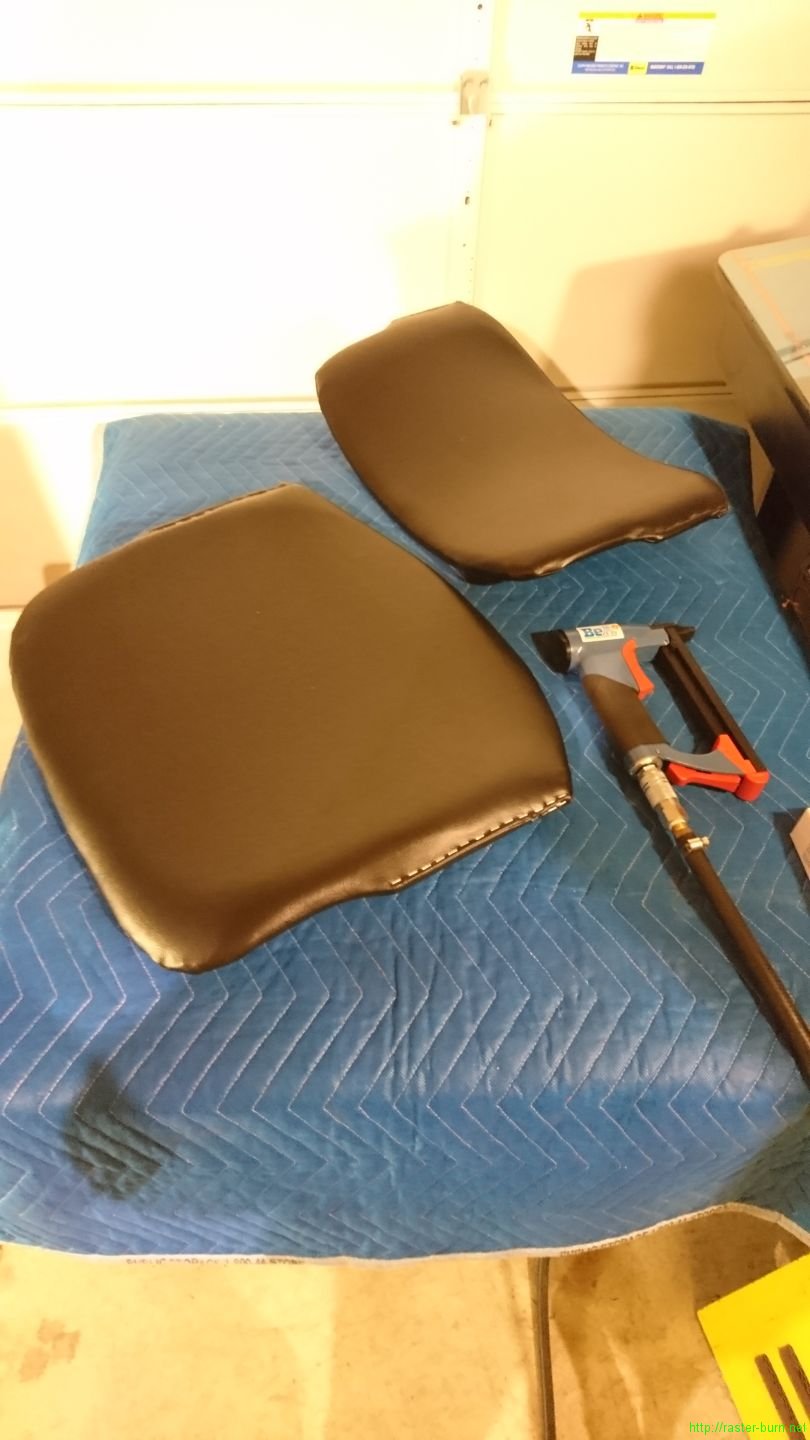
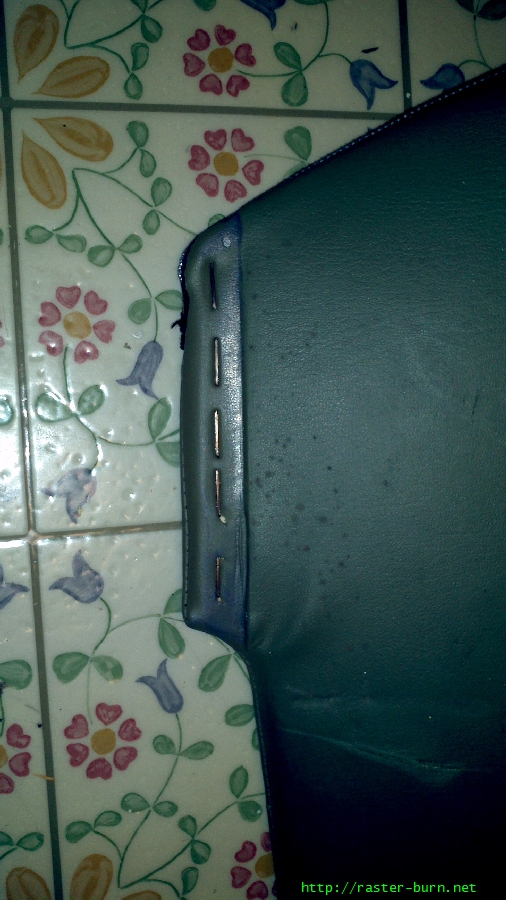
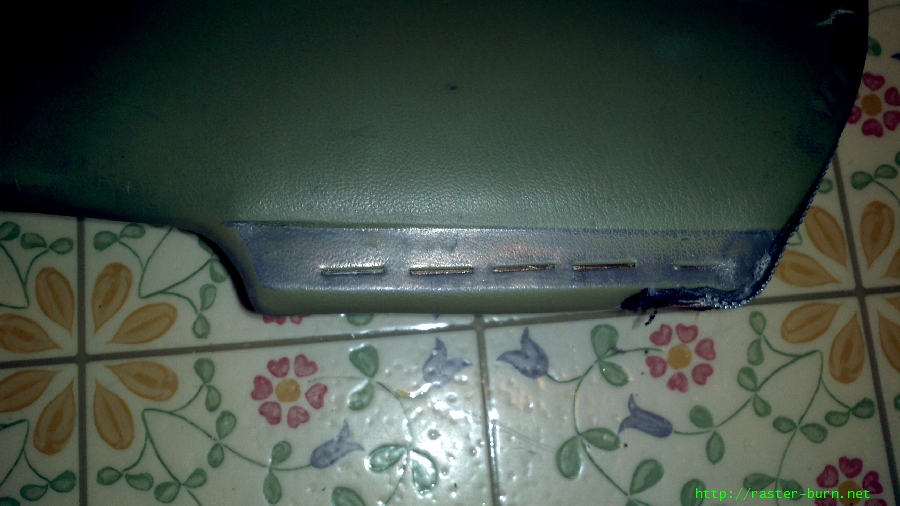
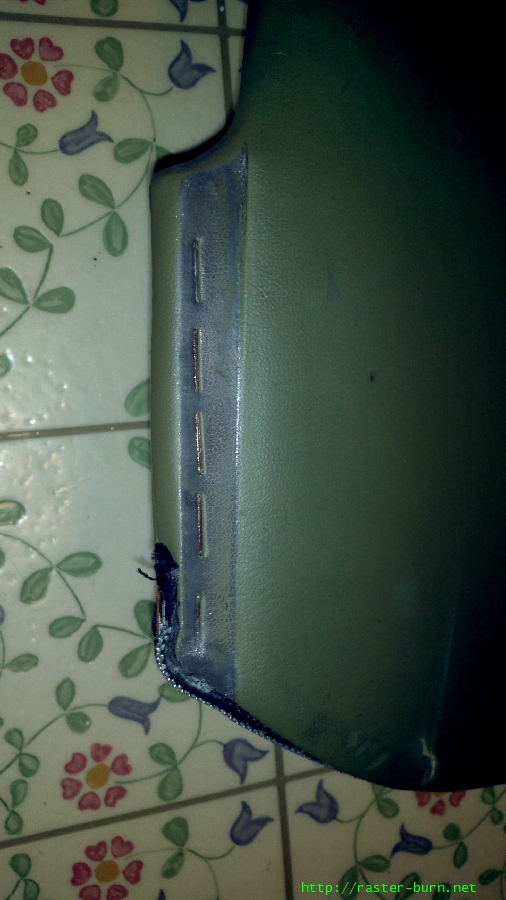
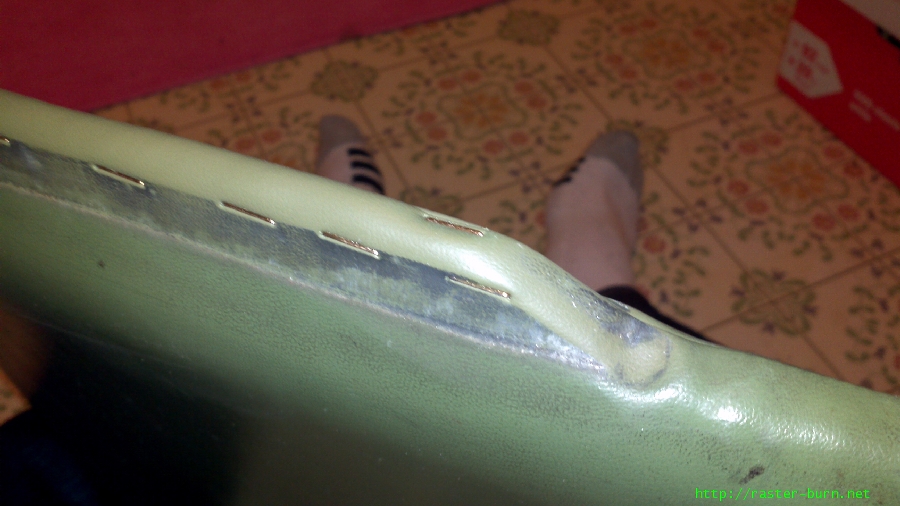
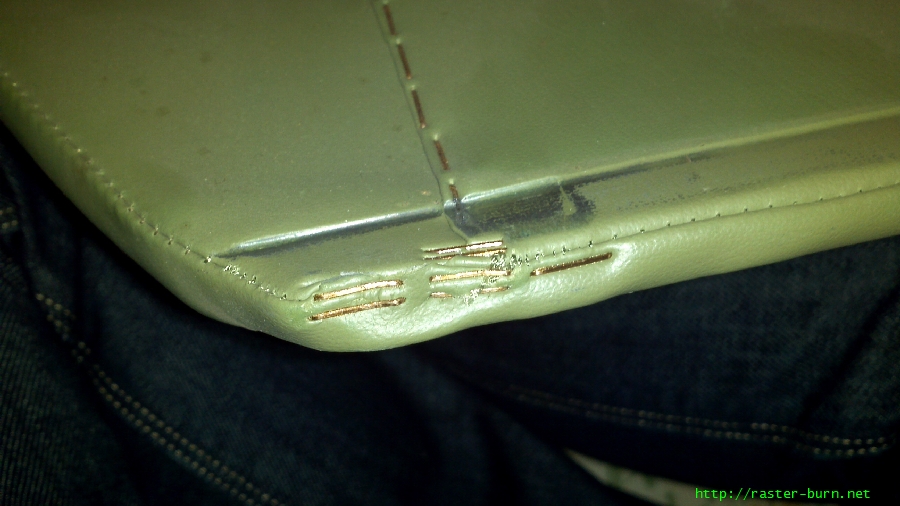
The vinyl covering was stapled into place with what look to be brass plated steel staples.

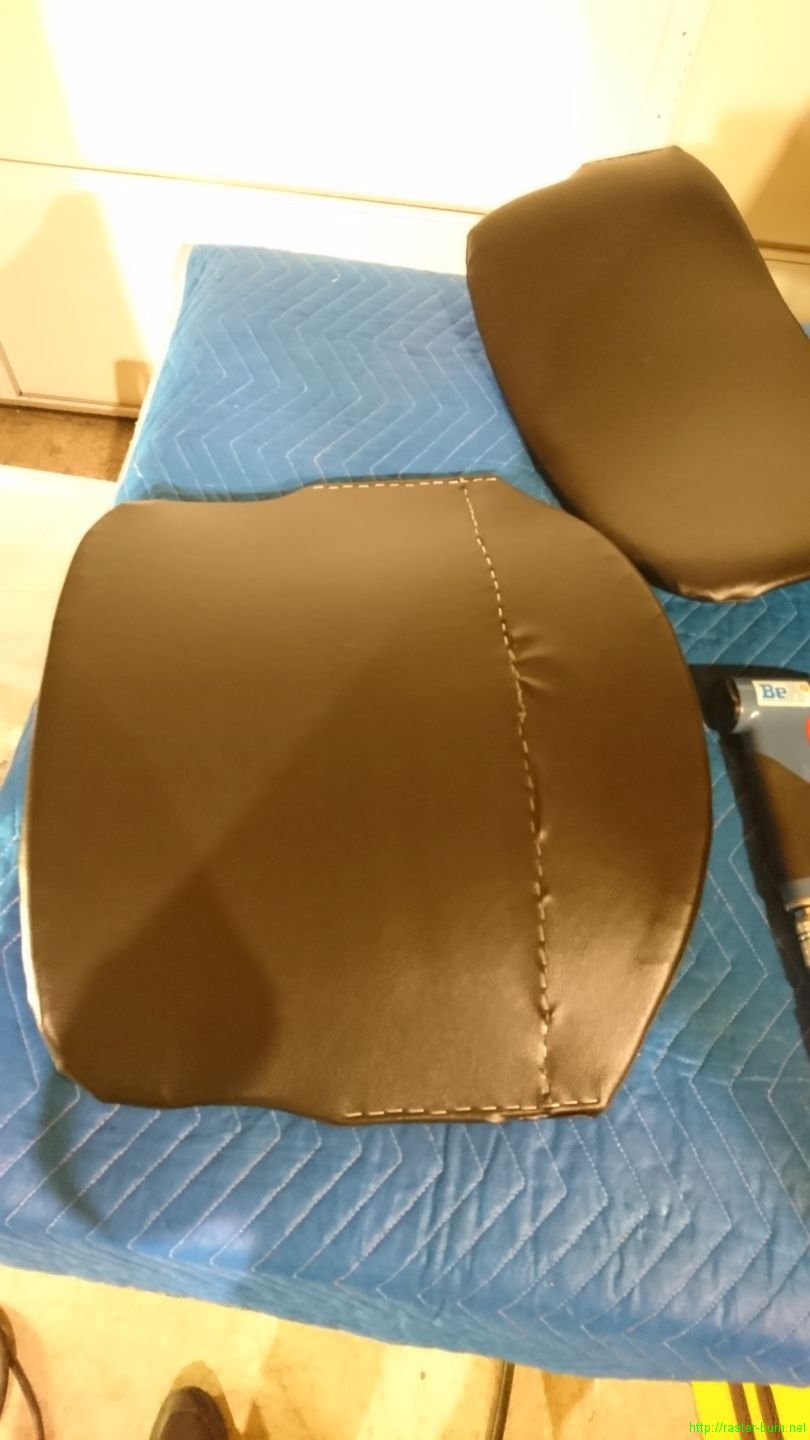
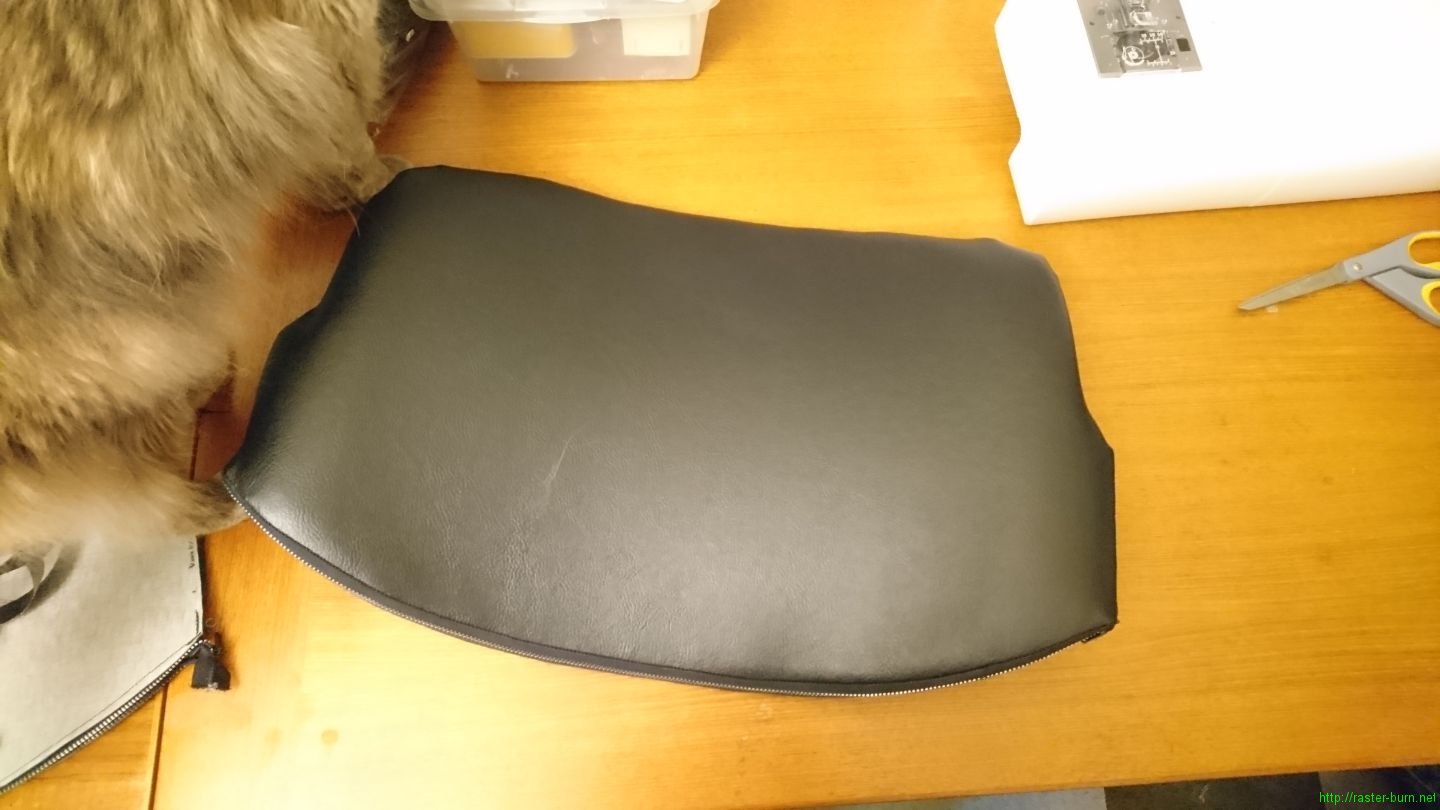
The back cover is odd. It has a zipper for one of the seams.

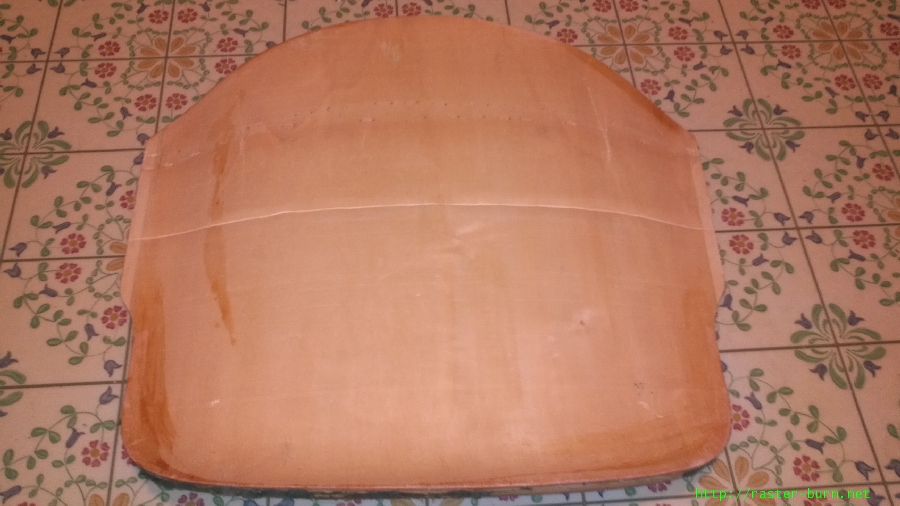
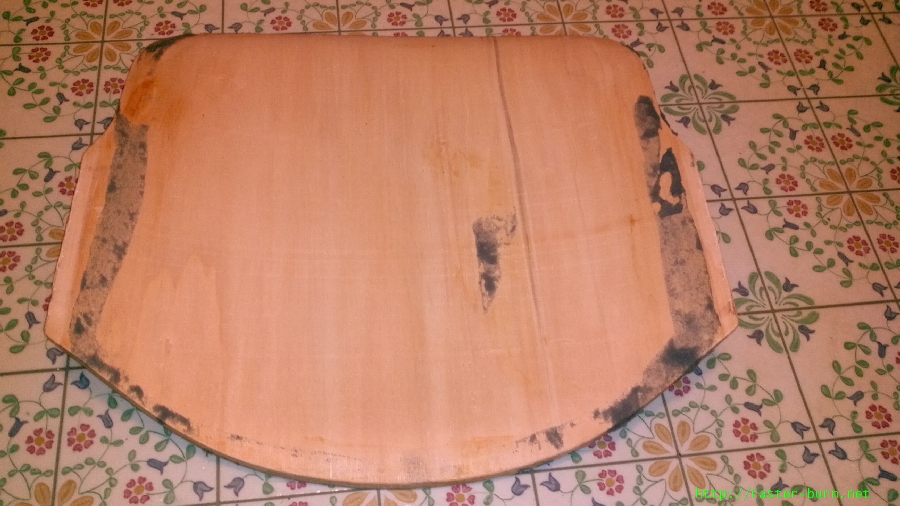
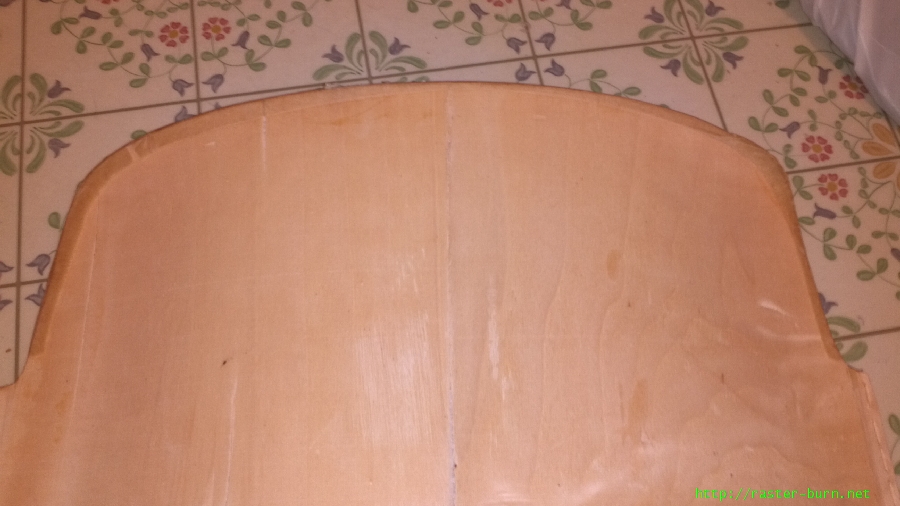
The wood underneath was not perfect, but it’s not bad for plywood. The back has a few cracks in the top layer of plywood, and marring from the production process. I’m going to sand things a bit, mostly to get rid of splinters on the edges, and varnish it. Should look pretty decent at the end, if a little bit richer in character than the ones originally produced with a wood finish.
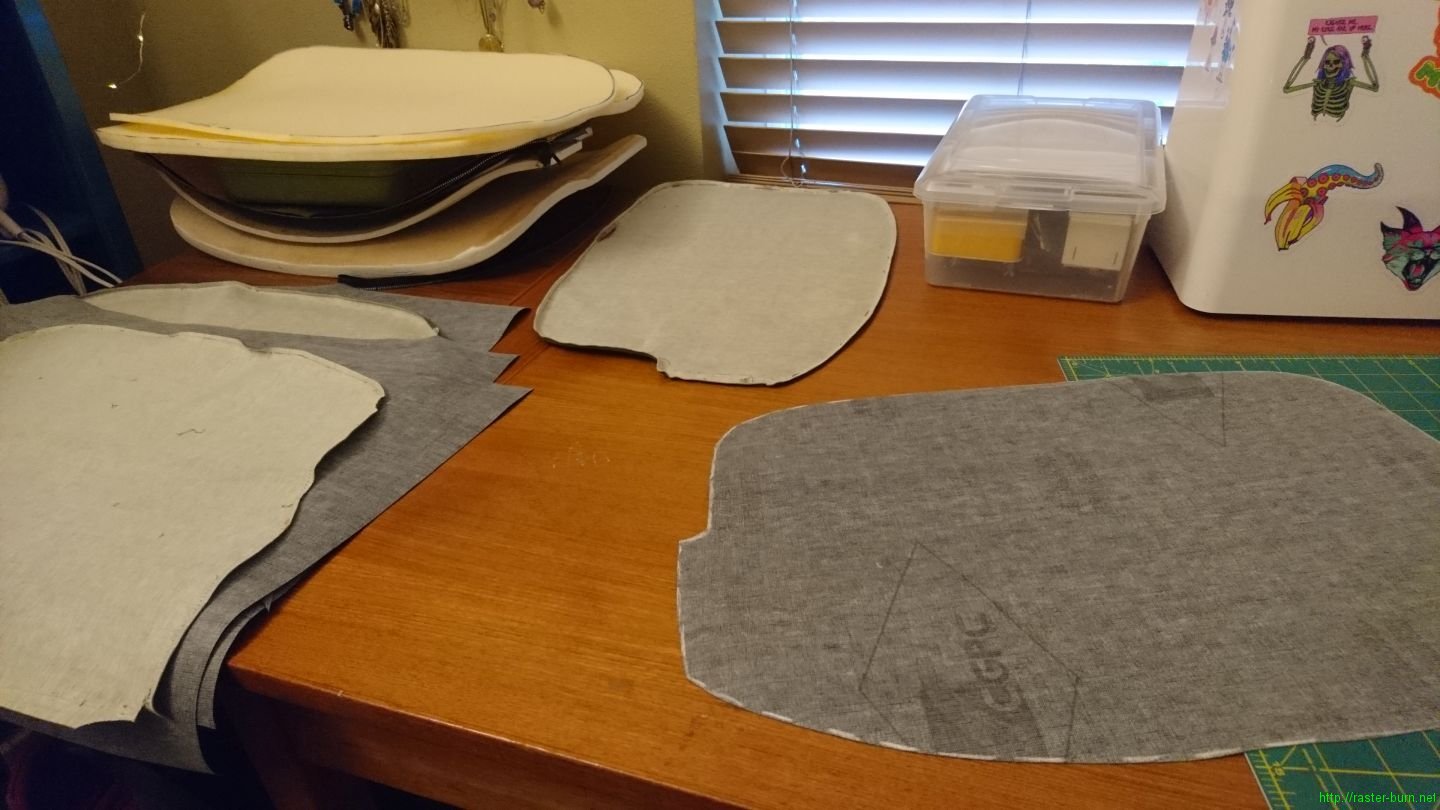
The rest of the pictures I took of the tear down process are in the gallery below. Lots of detail shots of the upholstery seams and fasteners, so I can get as close to original as possible if I decide I want to put a new cover on in the future.
Curious how it turned out? Click here for the followup to this post!

Hi
I have 10 castelli chairs. I have stripped the original vinyl cover like you did in your blog entery. I discovered mine have not-so-good plywood quality and was contimplating on how I should finish them. I was thinking that I would fill the cracks with wood filler and then sand them and then stain it in a walnut finish. For plan B incase plan A doesn’t work out, I was thinking of painting the plywood with a neutral latex paint.
Question: did you ever finish the refurbishment of your castelli after you stripped the vinyl? Did you stain, paint or recover it? I’m curious to find out how you finished it off.
Looking forward to your reply.
Connie
To be honest… I’ve got the parts half primed in my garage :P I opted to just lay down some KILZ and then I’ll put down thick gloss color paint of some sort. They’ll end up looking a bit rough around the edges but that’s alright, most of my furniture has a little ‘character’ anyway.
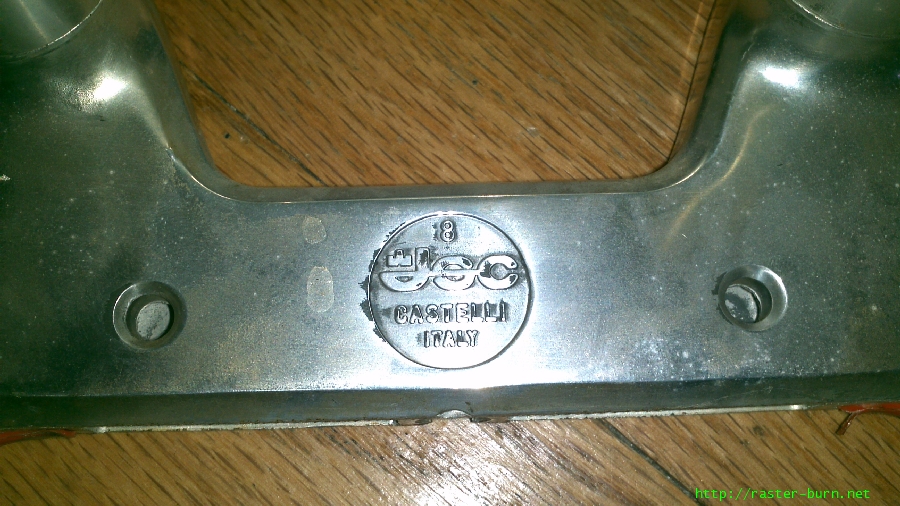
What kind of number markings, if any, do your chairs have?
Finally finished this one out, you can see the results here: http://raster-burn.net/wordpress/2021/06/13/castelli-dsc-106-part-ii-reupholstery/
Hey, I just wanted to say thank you for the great write-up and detailed photos. I recently got my hands on 9 of these, so it’s great to see how others handled the upholstery issues.
This is super helpful. Thanks. Funny thing about mine are the backs of mine have staples and the seat portion has a zipper. Its completely opposite!
Hi – I’m wondering if, without the upholstery, the back and seat still fit snugly into the aluminum component? Without the upholstery is it a slightly loose fit?
Thanks!
It is slightly loose! I shimmed it a bit with some scrap material, you can get a pretty solid fit without having the edges be visible outside of the bracket that way.
I’m not strong enough to separate parts but you have confirmed construction. Need a strong man and mallet…
I ve got two of these at the moment, with wooden armrests in a burgundy fabric which I love, I wanted to initially only clean the fabric (got them from a friend moving to another country) but I noticed that there are a lot of irregularities due to the upholstery being almost completely “pulverized”. So, I will probably need to open up the fabric clean the wood and put new cushioning before, on the positive side this will make cleaning the fabric easier. Gotta find the time tho. Do you know what kind of material was the upholstery made of?
Some kind of pleather stuff. I replaced it with new material of the same sort from a local upholstery supply place (Inex Upholstery, if you’re in Portland, they’re great!). I did a followup post about that here: http://raster-burn.net/wordpress/2021/06/13/castelli-dsc-106-part-ii-reupholstery/
Ended up getting rid of my DSC when I left the US. I had intended to keep and ship it, but had it out to sit on while doing a garage sale ahead of moving and someone all but demanded to buy it off me and didn’t balk at my “well, I don’t really want to, but…” price, so that was that.